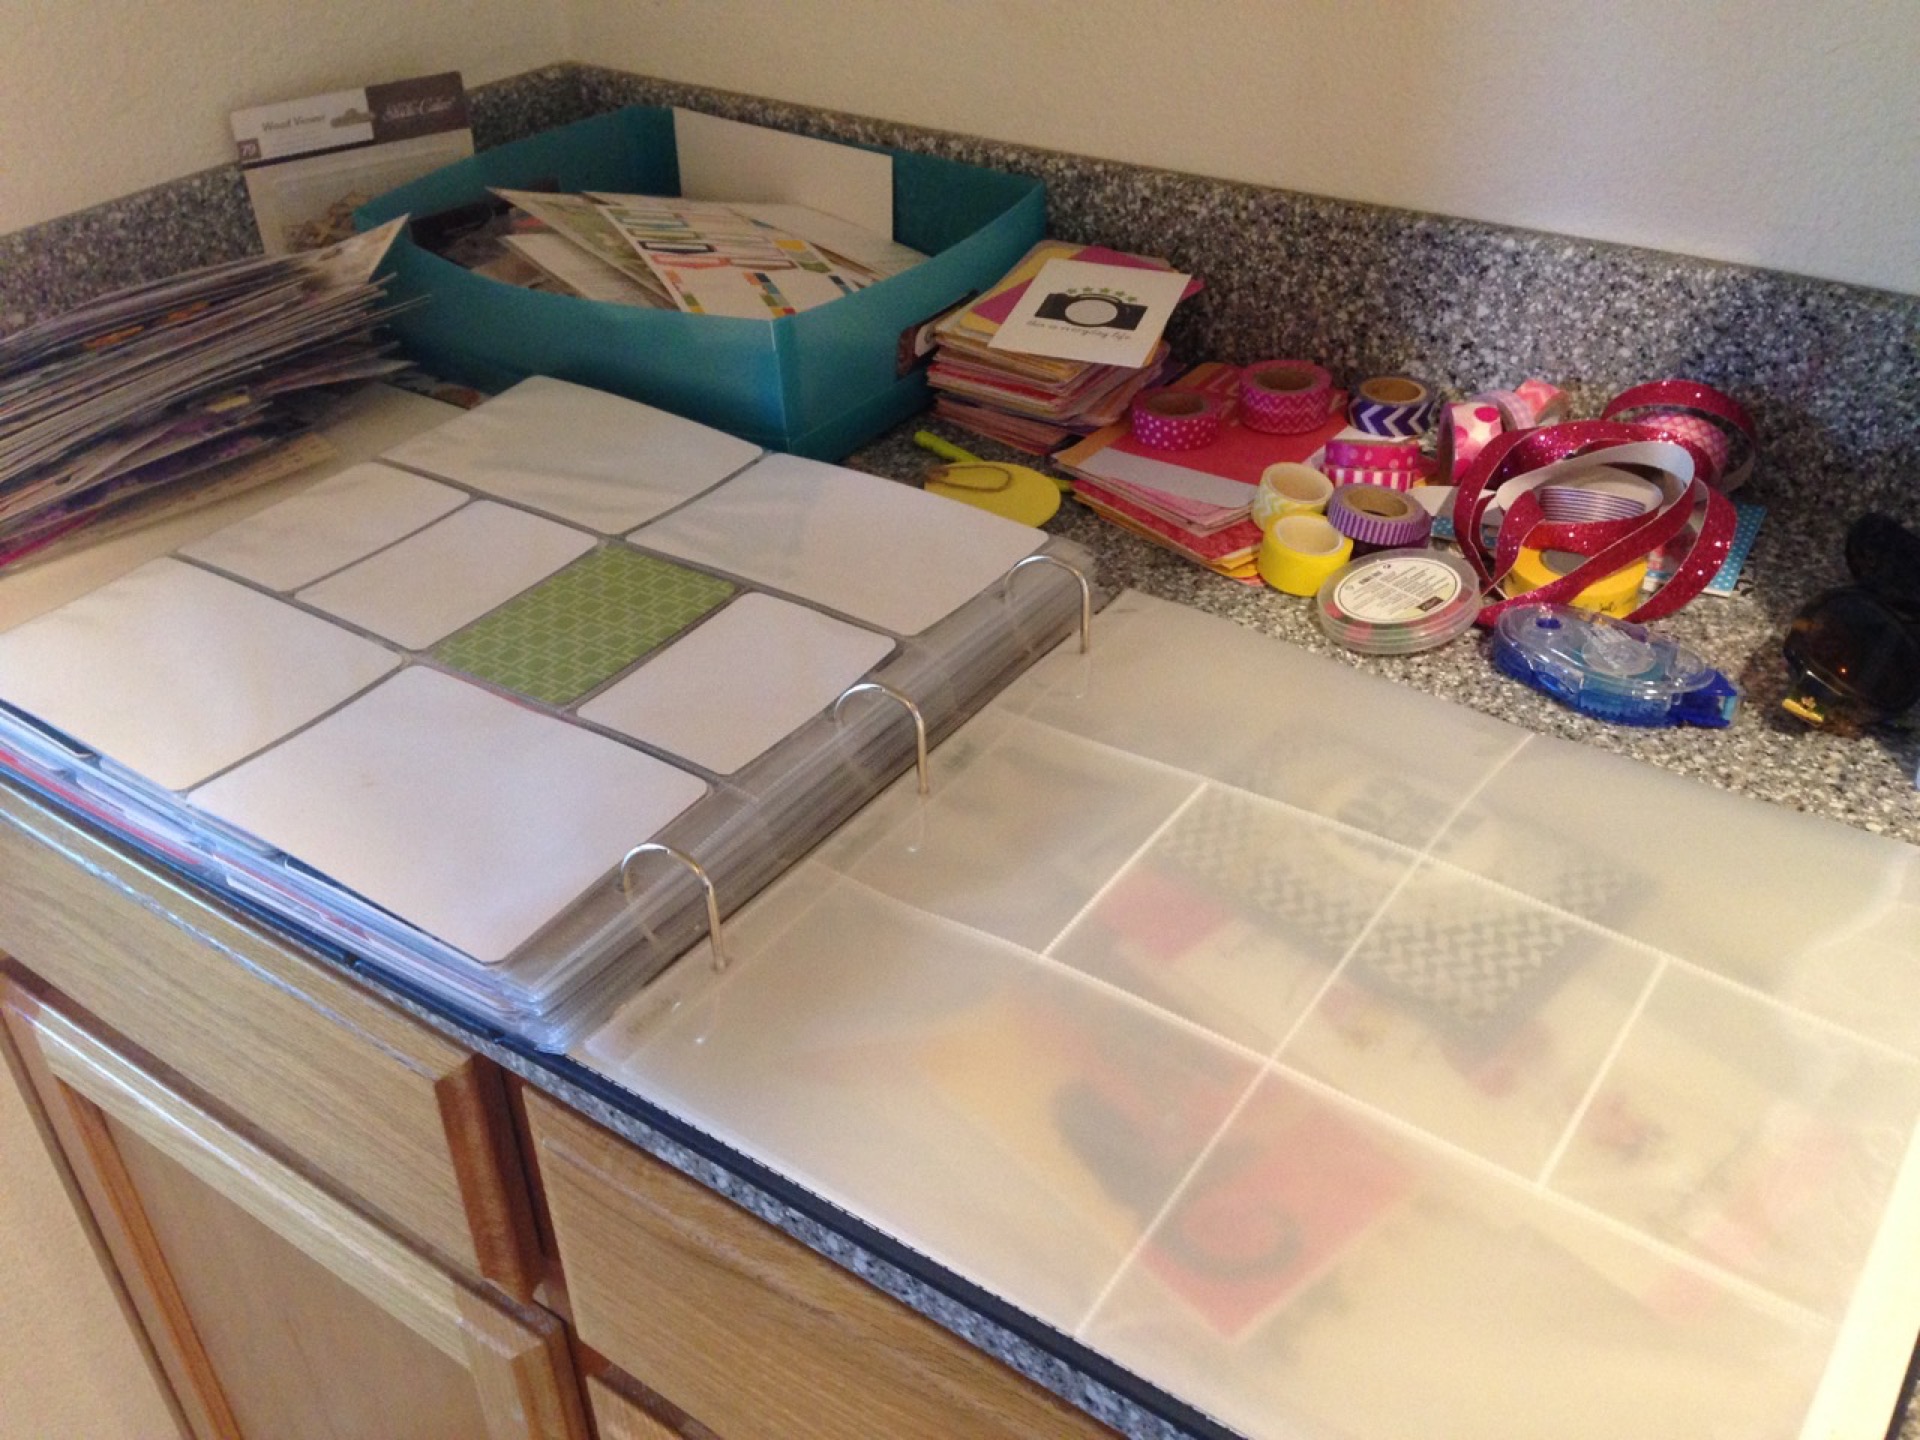
Working on my June Project Life kit... I'm thinking that the color scheme will be green, blue, and navy.
Blog Calendar
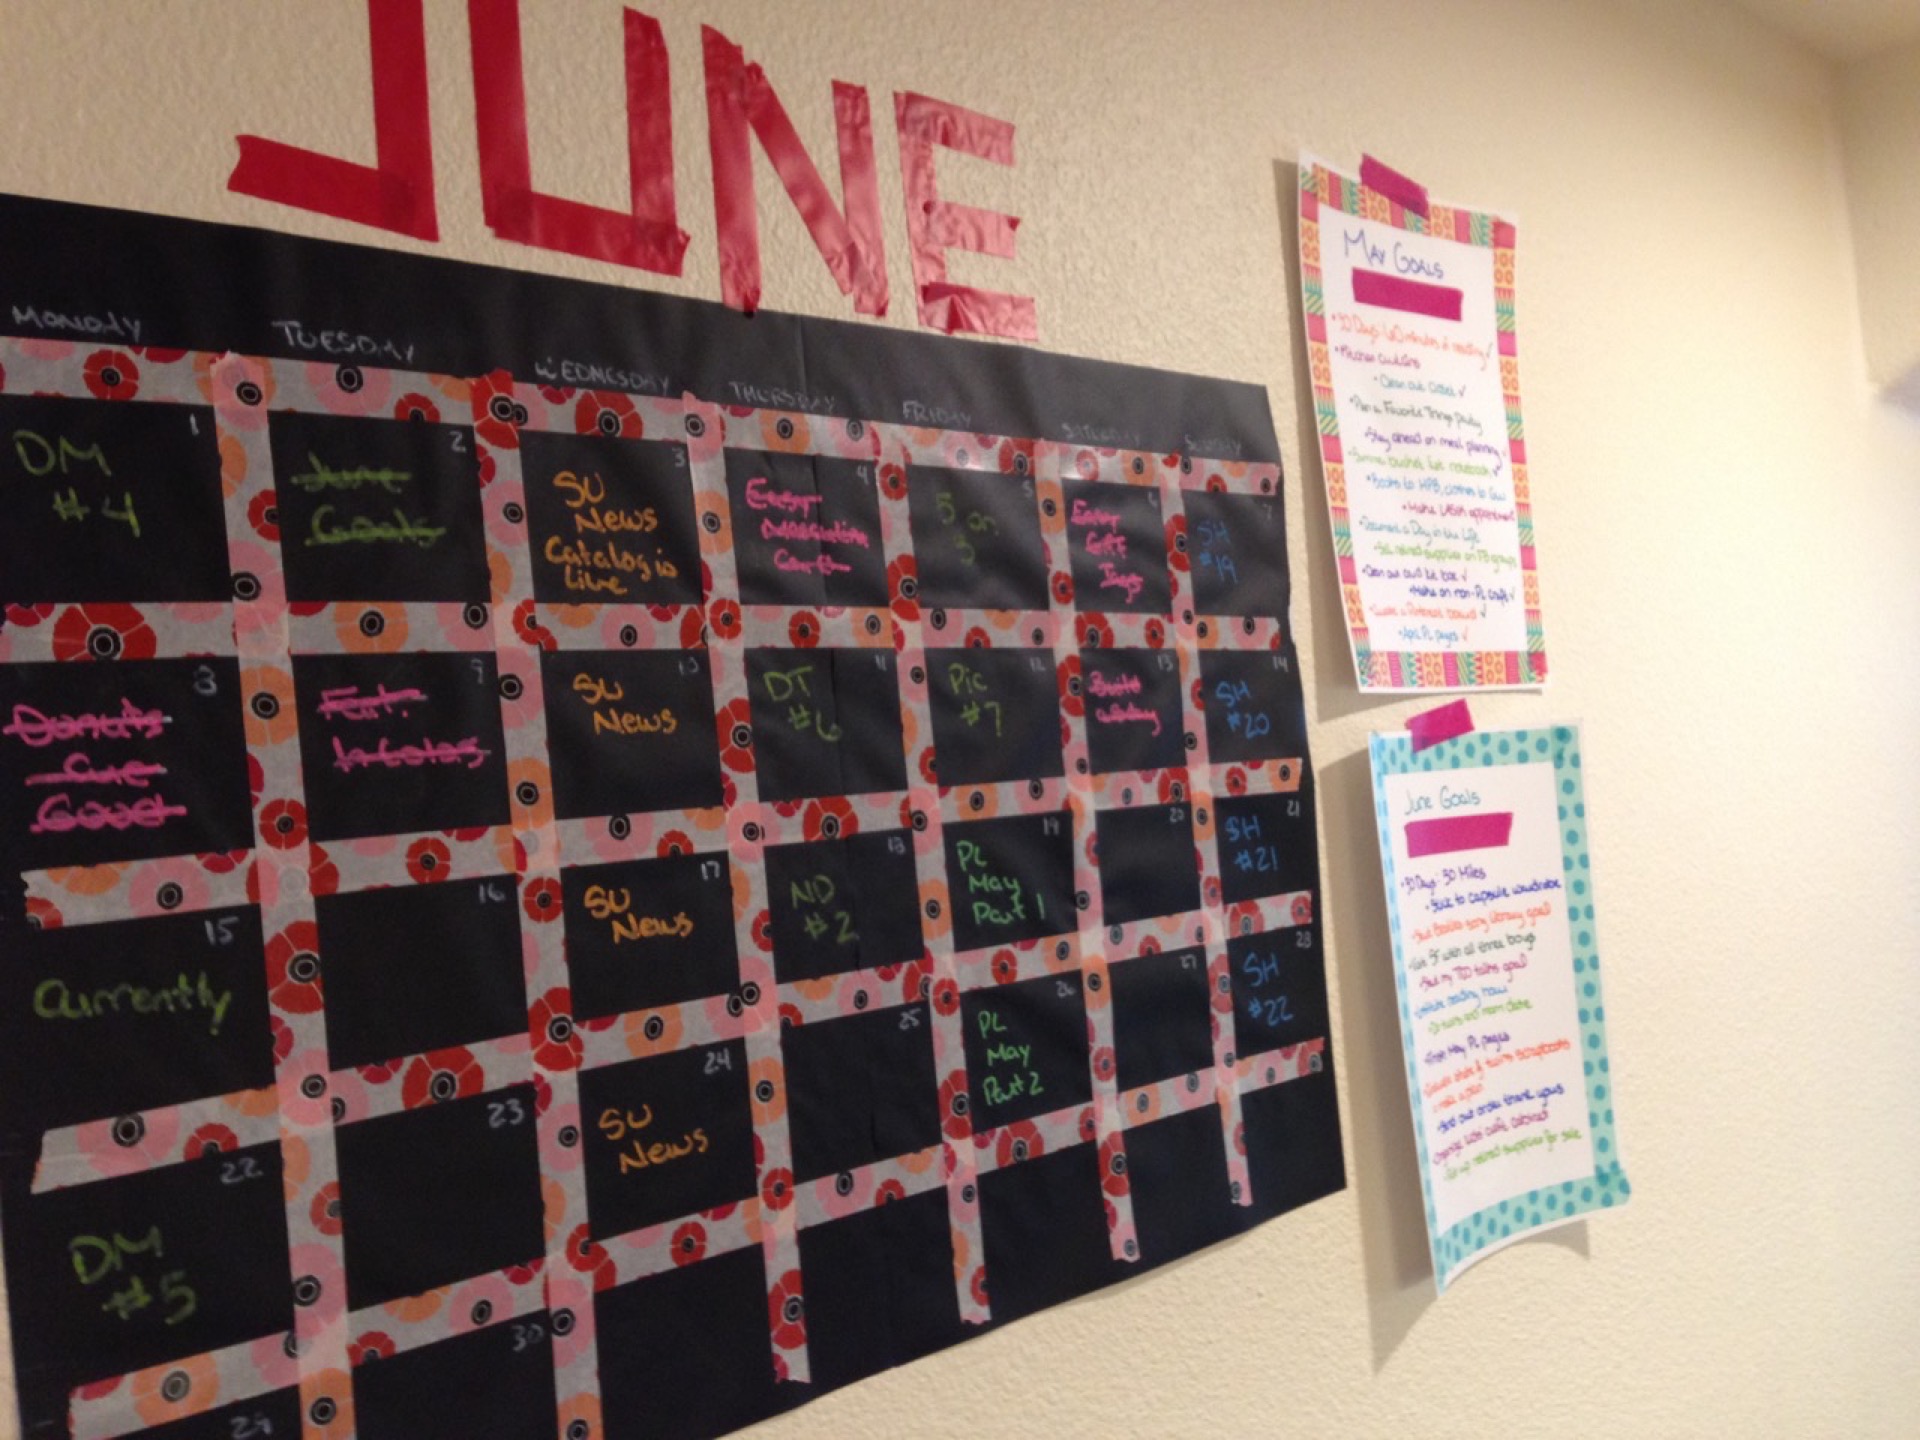
I attempted a non-greeting card project the other day. While it's done and up, I feel like this was one of those potential Pinterest fails. I saw cute chalkboard calendars online and wanted one of my own. I bought some adhesive chalkboard sheets online. I pieced those together and adhered them to the wall. From there, I added washi tape to mark off the boxes. The month name is also done in washi tape. Finally, I bought some liquid chalk markers to fill out my calendar. The sheets on the side are my monthly goals. Posting them will hopefully keep my goals in my mind.
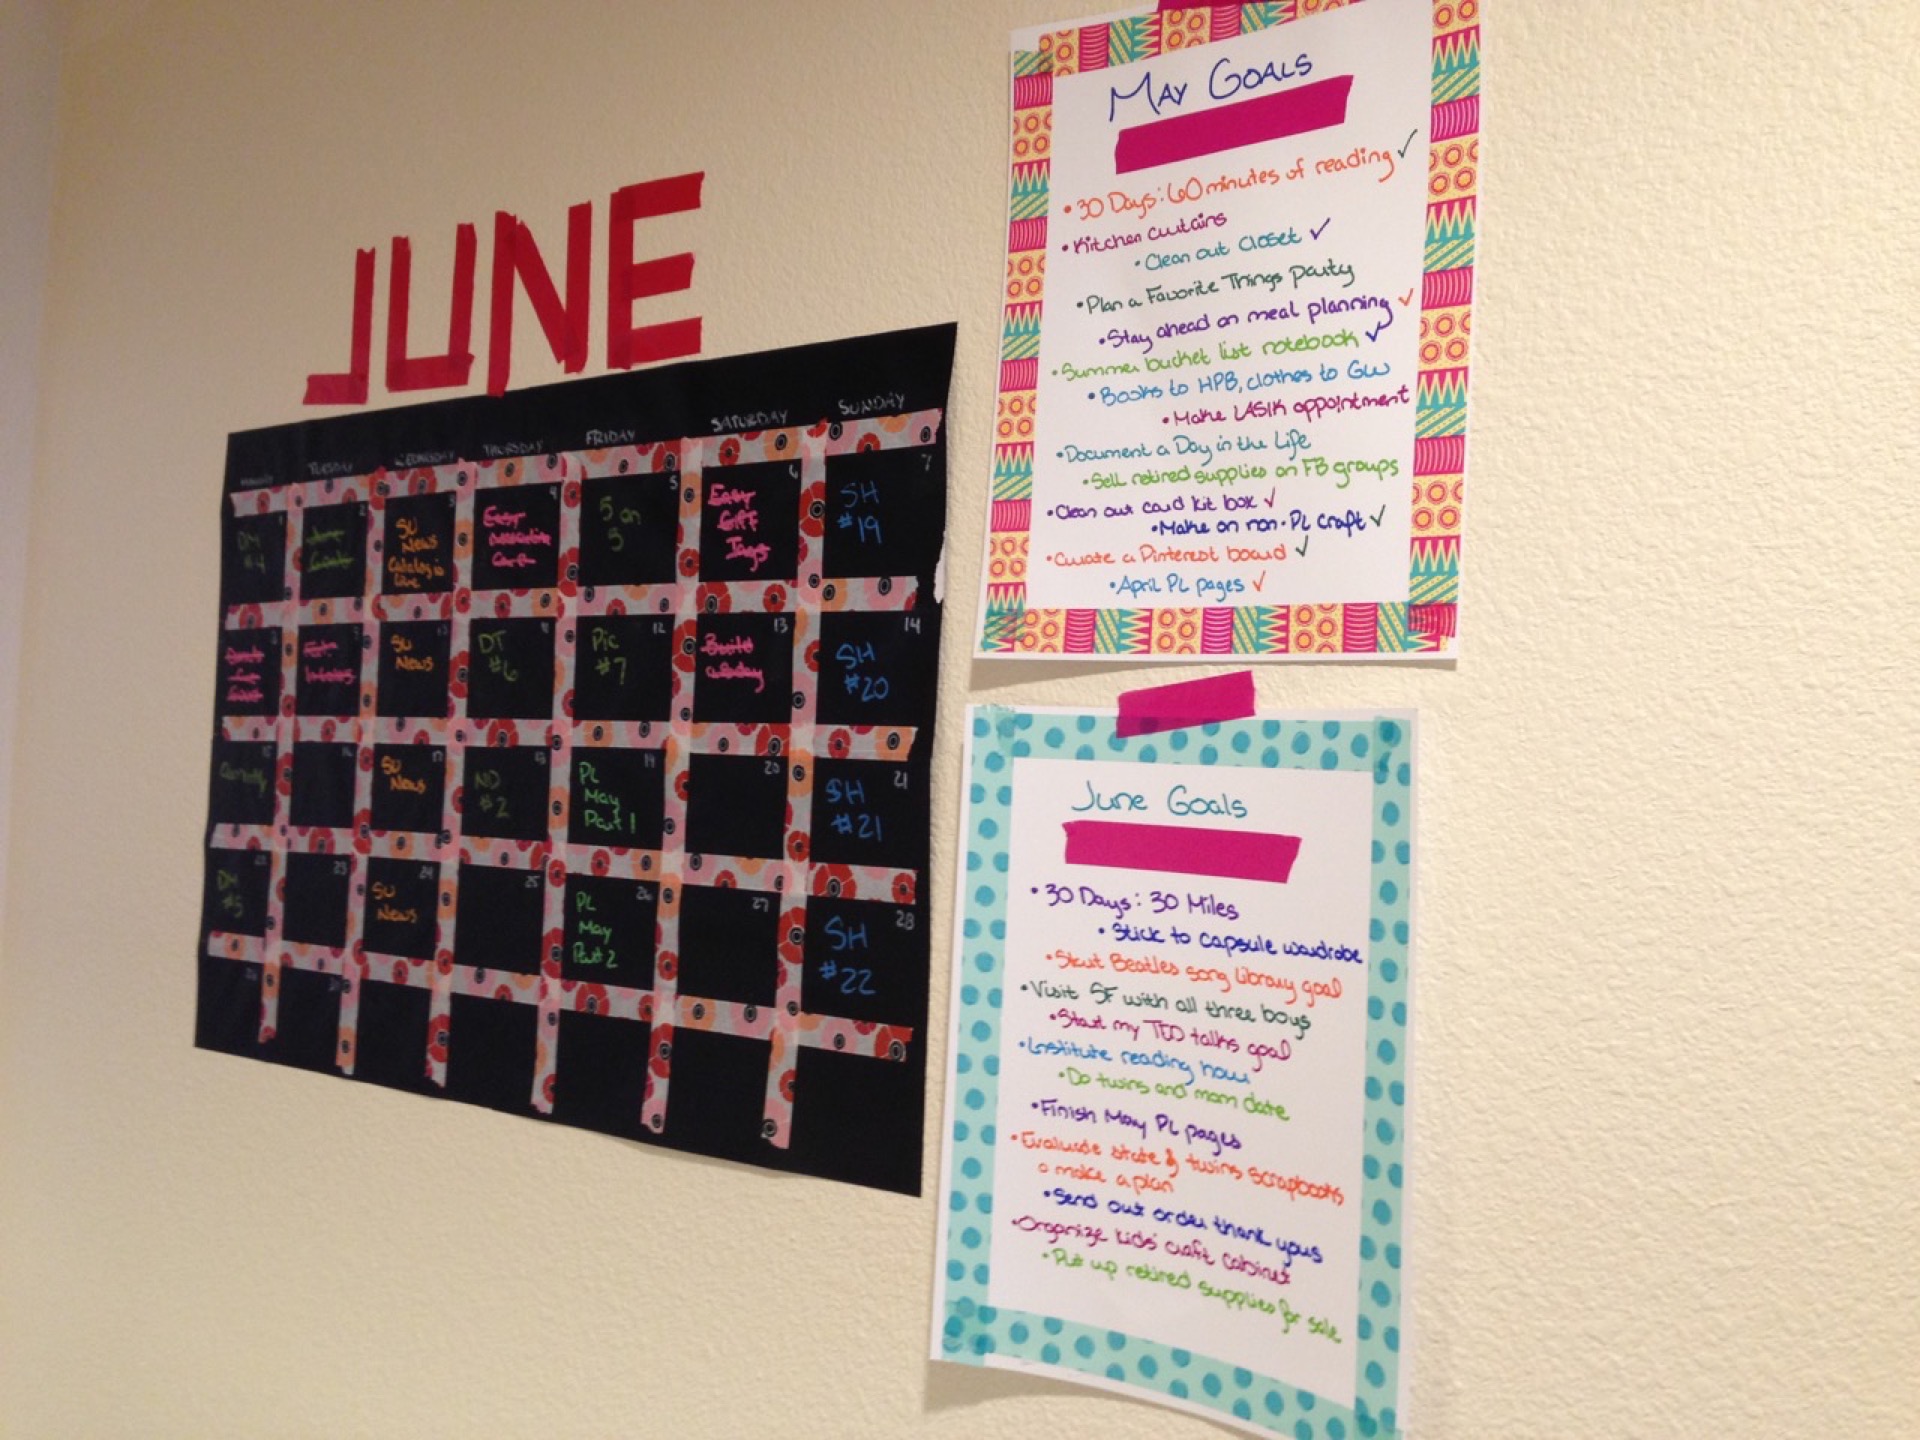
I like the look of the craft, but I can see some issues with this project. The washi tape and chalkboard pieces do not stay on the wall very well. Maybe it's just because our walls are too bumpy. At any rate, I have had to smooth this out a few times in the last four days. I will probably get angry at some point in the near future and rip it down. We'll see. Cute idea, not so great execution.
Donuts are good!
I'm really digging the new Cherry on Top DSP stack. Instead of the old 4.5" x 6.5" size, the new DSP stacks come in 6" x 6" size. Not sure how I feel about the size change, but I'm really loving the colors and patterns from this particular stack.
I saw a cute donut card on Pinterest and knew i had to create my own card. I love the layered patterned paper and fun colors. The donut pattern is the cutest! To make the donut I layered a piece of DSP on top of Chocolate Chip cardstock. I used the smallest circle framelit to cut out the donut hole. Too cute!

- Stamps: Hello There (retired)
- Inks: Watermelon Wonder
- Cardstock: Cucumber Crush; Chocolate Chip; Whisper White; Cherry on Top DSP
- Accessories: Cherry on Top Washi Tape
- Tools: Circles Framelits; 1 3/4" Scallop Punch
Sunday Haul #18
A small craft supply purchasing week, but I did pick up a few items. The other day, Arthur and I were early leaving the South Bay area so we popped over to Michael's. I picked up some snail (always need snail), but of course I got some other things. I grabbed another pack of white paper, some enamel dots, a photo pictures paper pack, Heidi Swapp planner stamps, and a fall-themed word stamp. The fall-themed word stamp was a complete impulse buy but it was on clearance plus an extra 50% off. Had to grab it!

I also picked up my May stamp club order from Pam. I ordered the chalkboard paper, yellow citrus chalk ink, rose coral chalk ink, and chalk lines stamp set. I had a specific card in mind for these items.

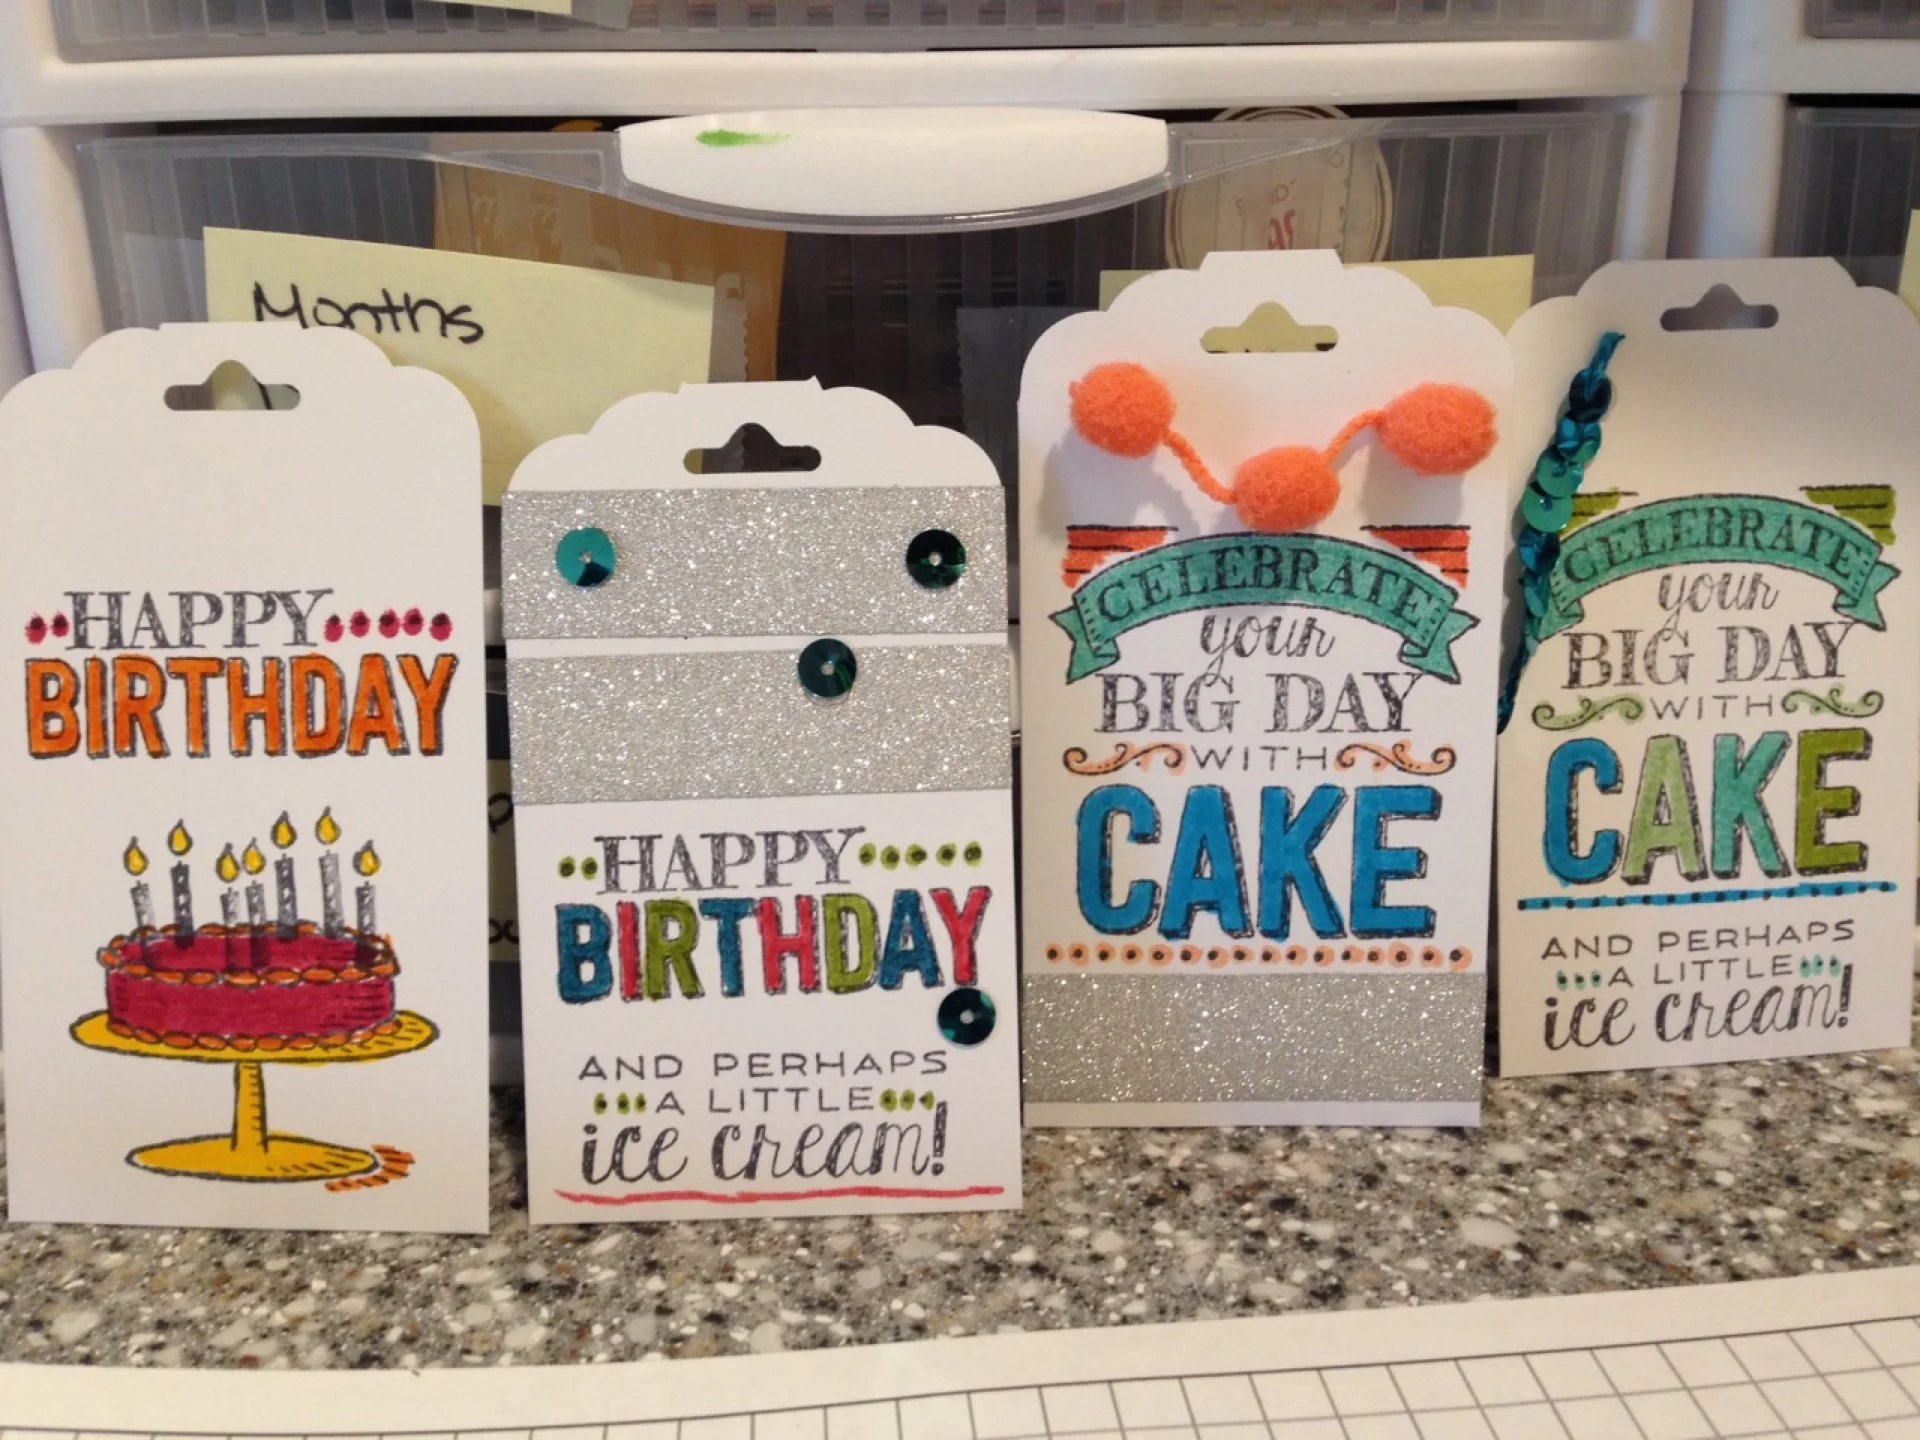
Easy Fun Gift Tags
Our little project for June stamp club will be these fun little birthday gift tags. My goal for each month's club is to make three cards and one small project. This was the perfect simple, yet customizable project. I used one of my favorite yet retired stamp sets, Big Day. I love the ability to color the stamps. In the end, I did a fun combo of colors and accessories. My favorite is the tag with the Calypso Coral pom pom trim.
- Stamps: Big Day
- Inks: Basic Gray; lots of random markers
- Cardstock: Whisper White
- Accessories: Bermuda Bay Sequin Trim; Calypso Coral Pom Pom Trim; random scraps of ribbon; silver glitter tape
- Tools: Scallop Tag Topper
5 on 5
Not a lot of crafting done this week. You'll see why with the pictures...
1. Check out that look Arthur is giving Nick! He didn't quite know what to think of the big boys in his house.

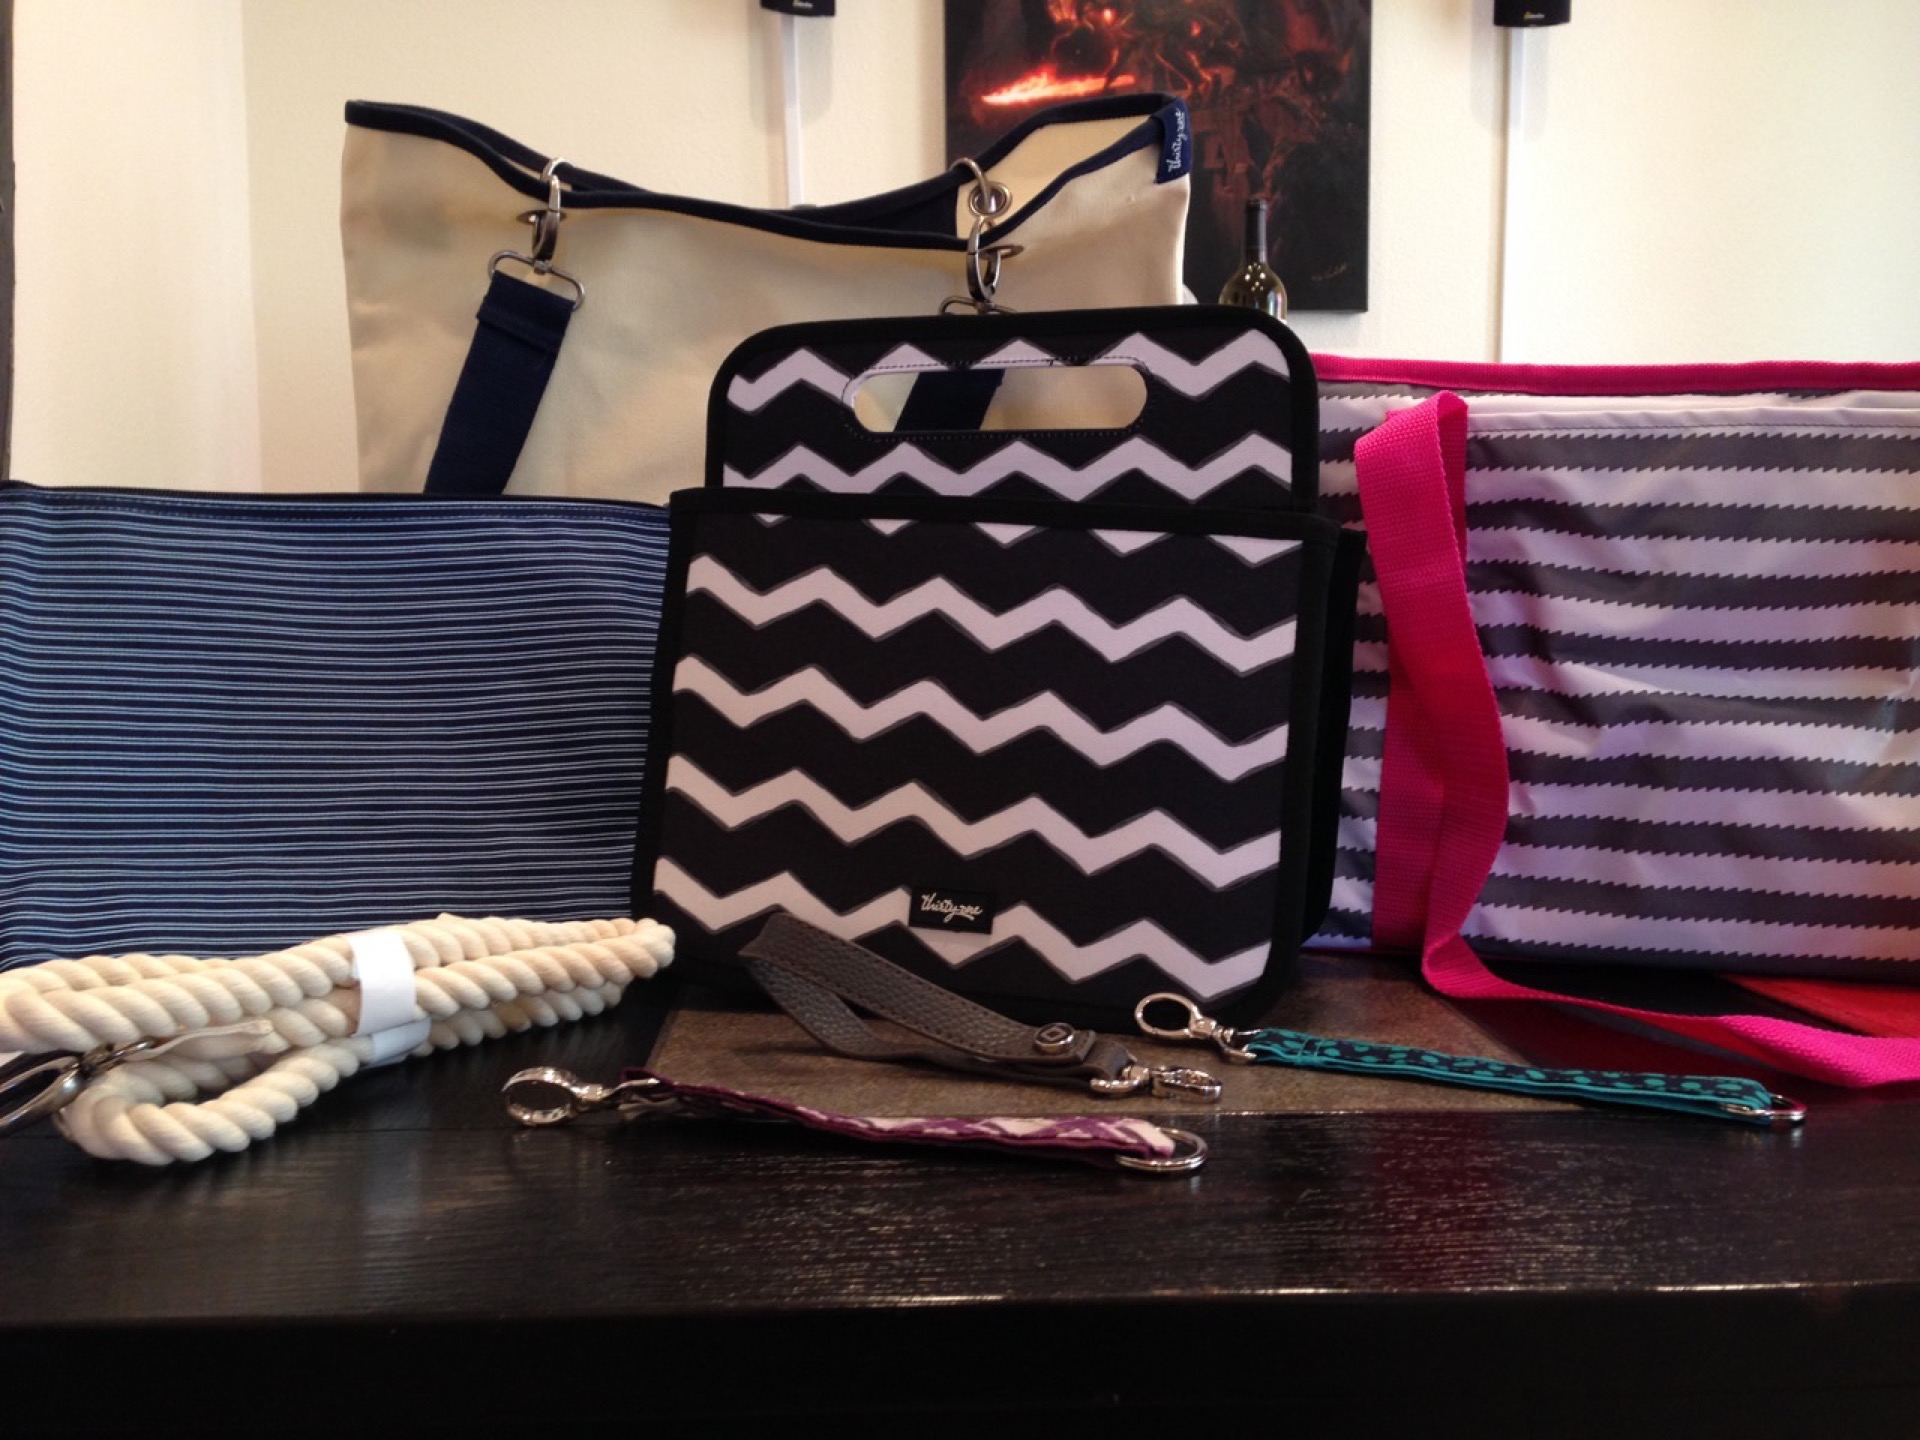
2. My Thirty-One box was delivered this week. I took advantage of the 12 weeks of summer hostess specials and scored a Canvas Crew Tote (in back), rope strap for Canvas Crew Tote, Zipper Pouch, Double Duty Caddy, Fresh Market Thermal (so big!), a Wristlet strap for my All About the Benjamins wallet, and a couple of key fobs. I've already been using the key fobs and zipper pouch. Looking forward to using my new Fresh Market Thermal for picnics. Check out the site for great products and make sure to use me as your consultant.
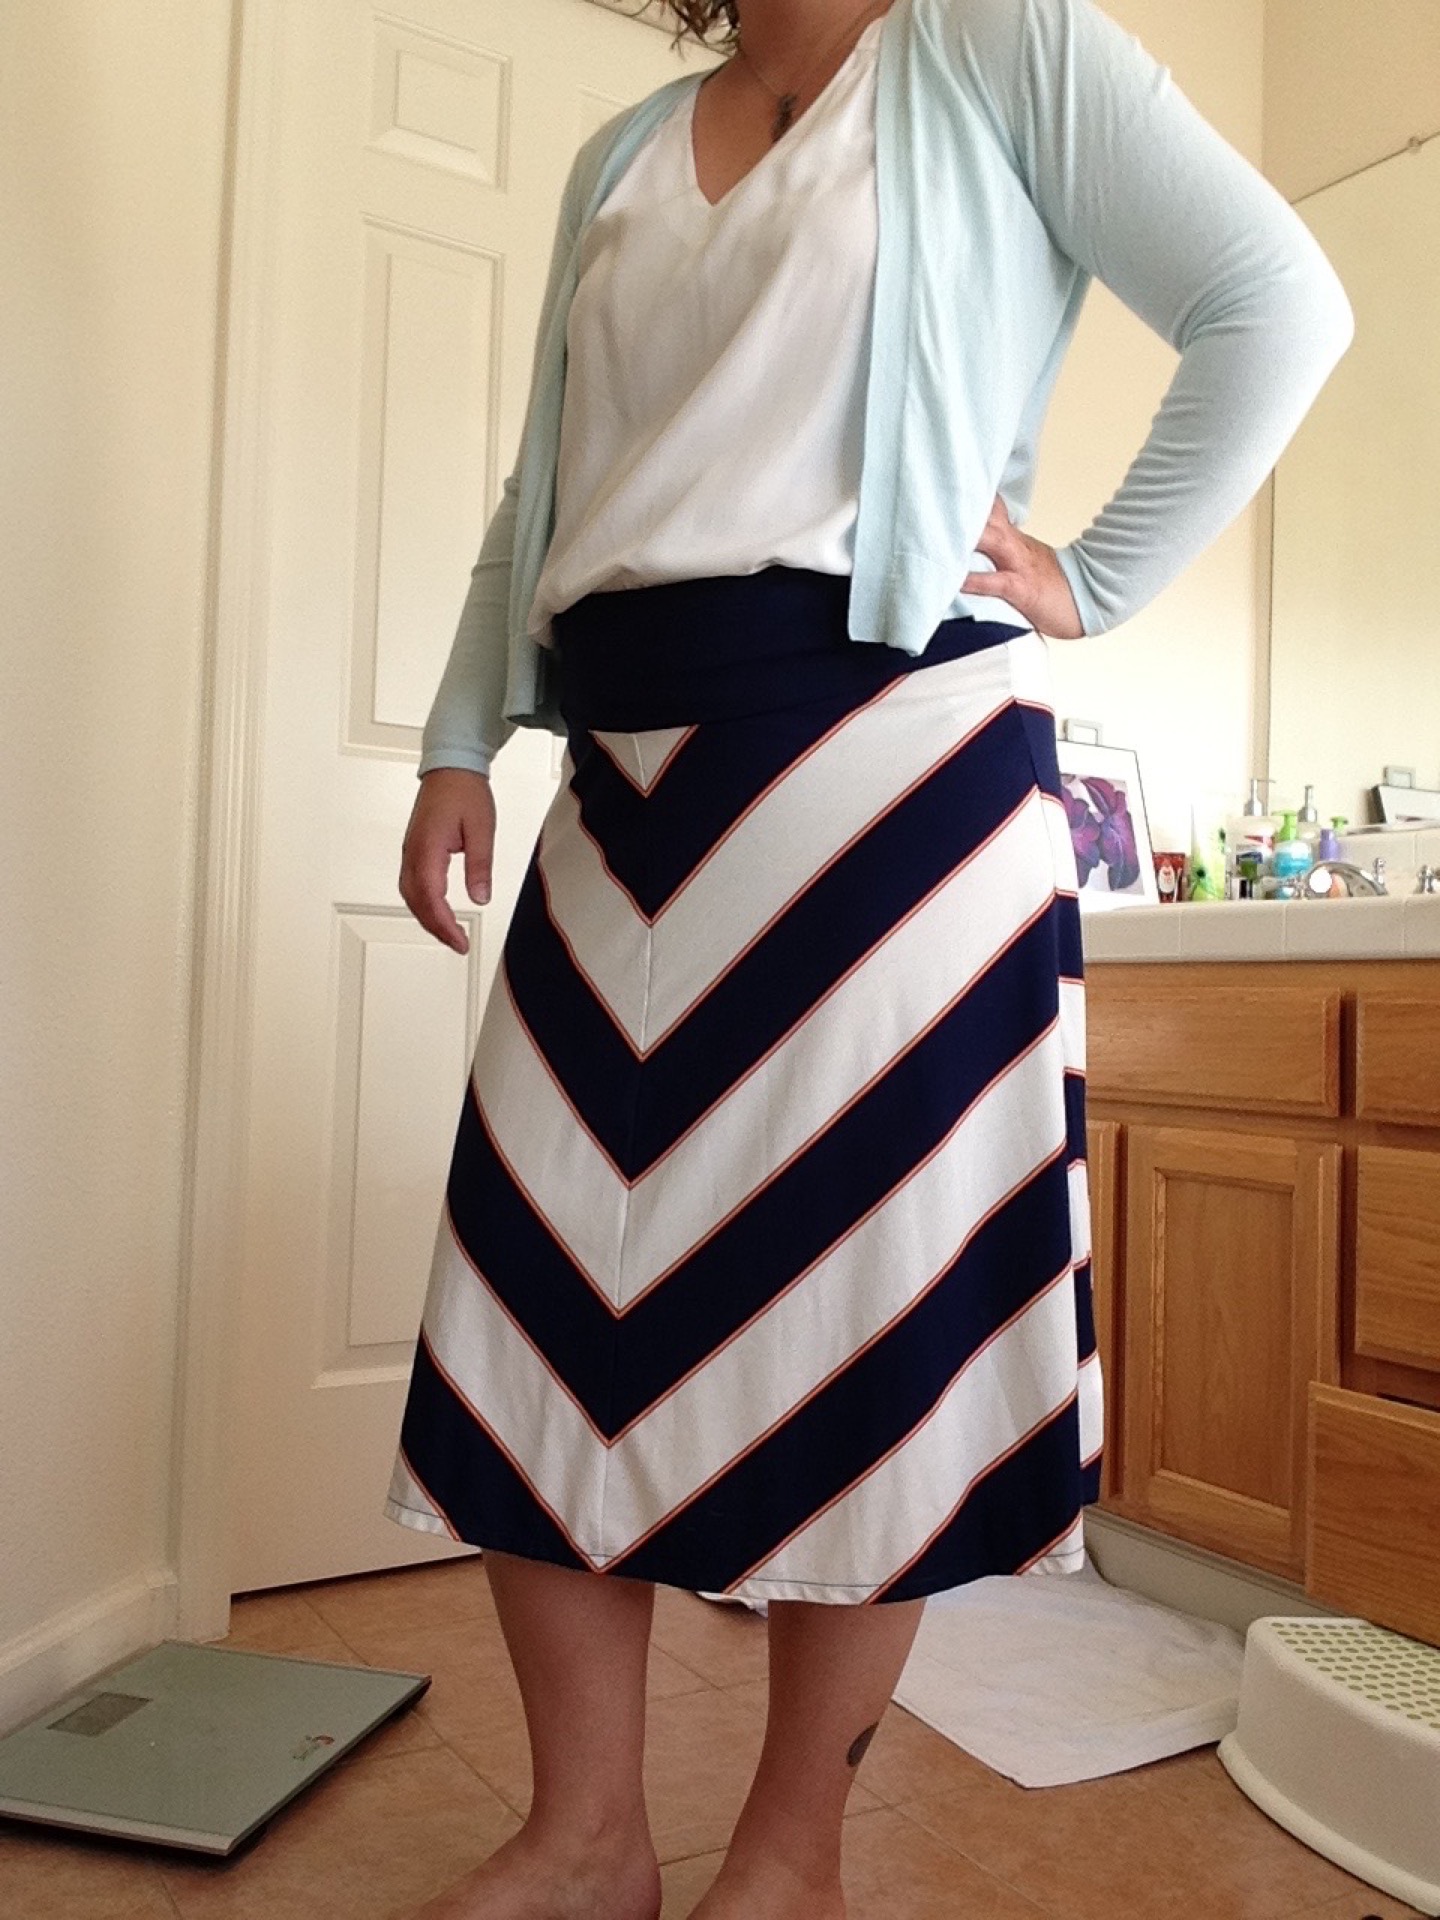
3. I started my summer capsule wardrobe this week. So far, so good. The above picture is a preview of my outfits. I'm taking daily pictures to compare when I do my first update.
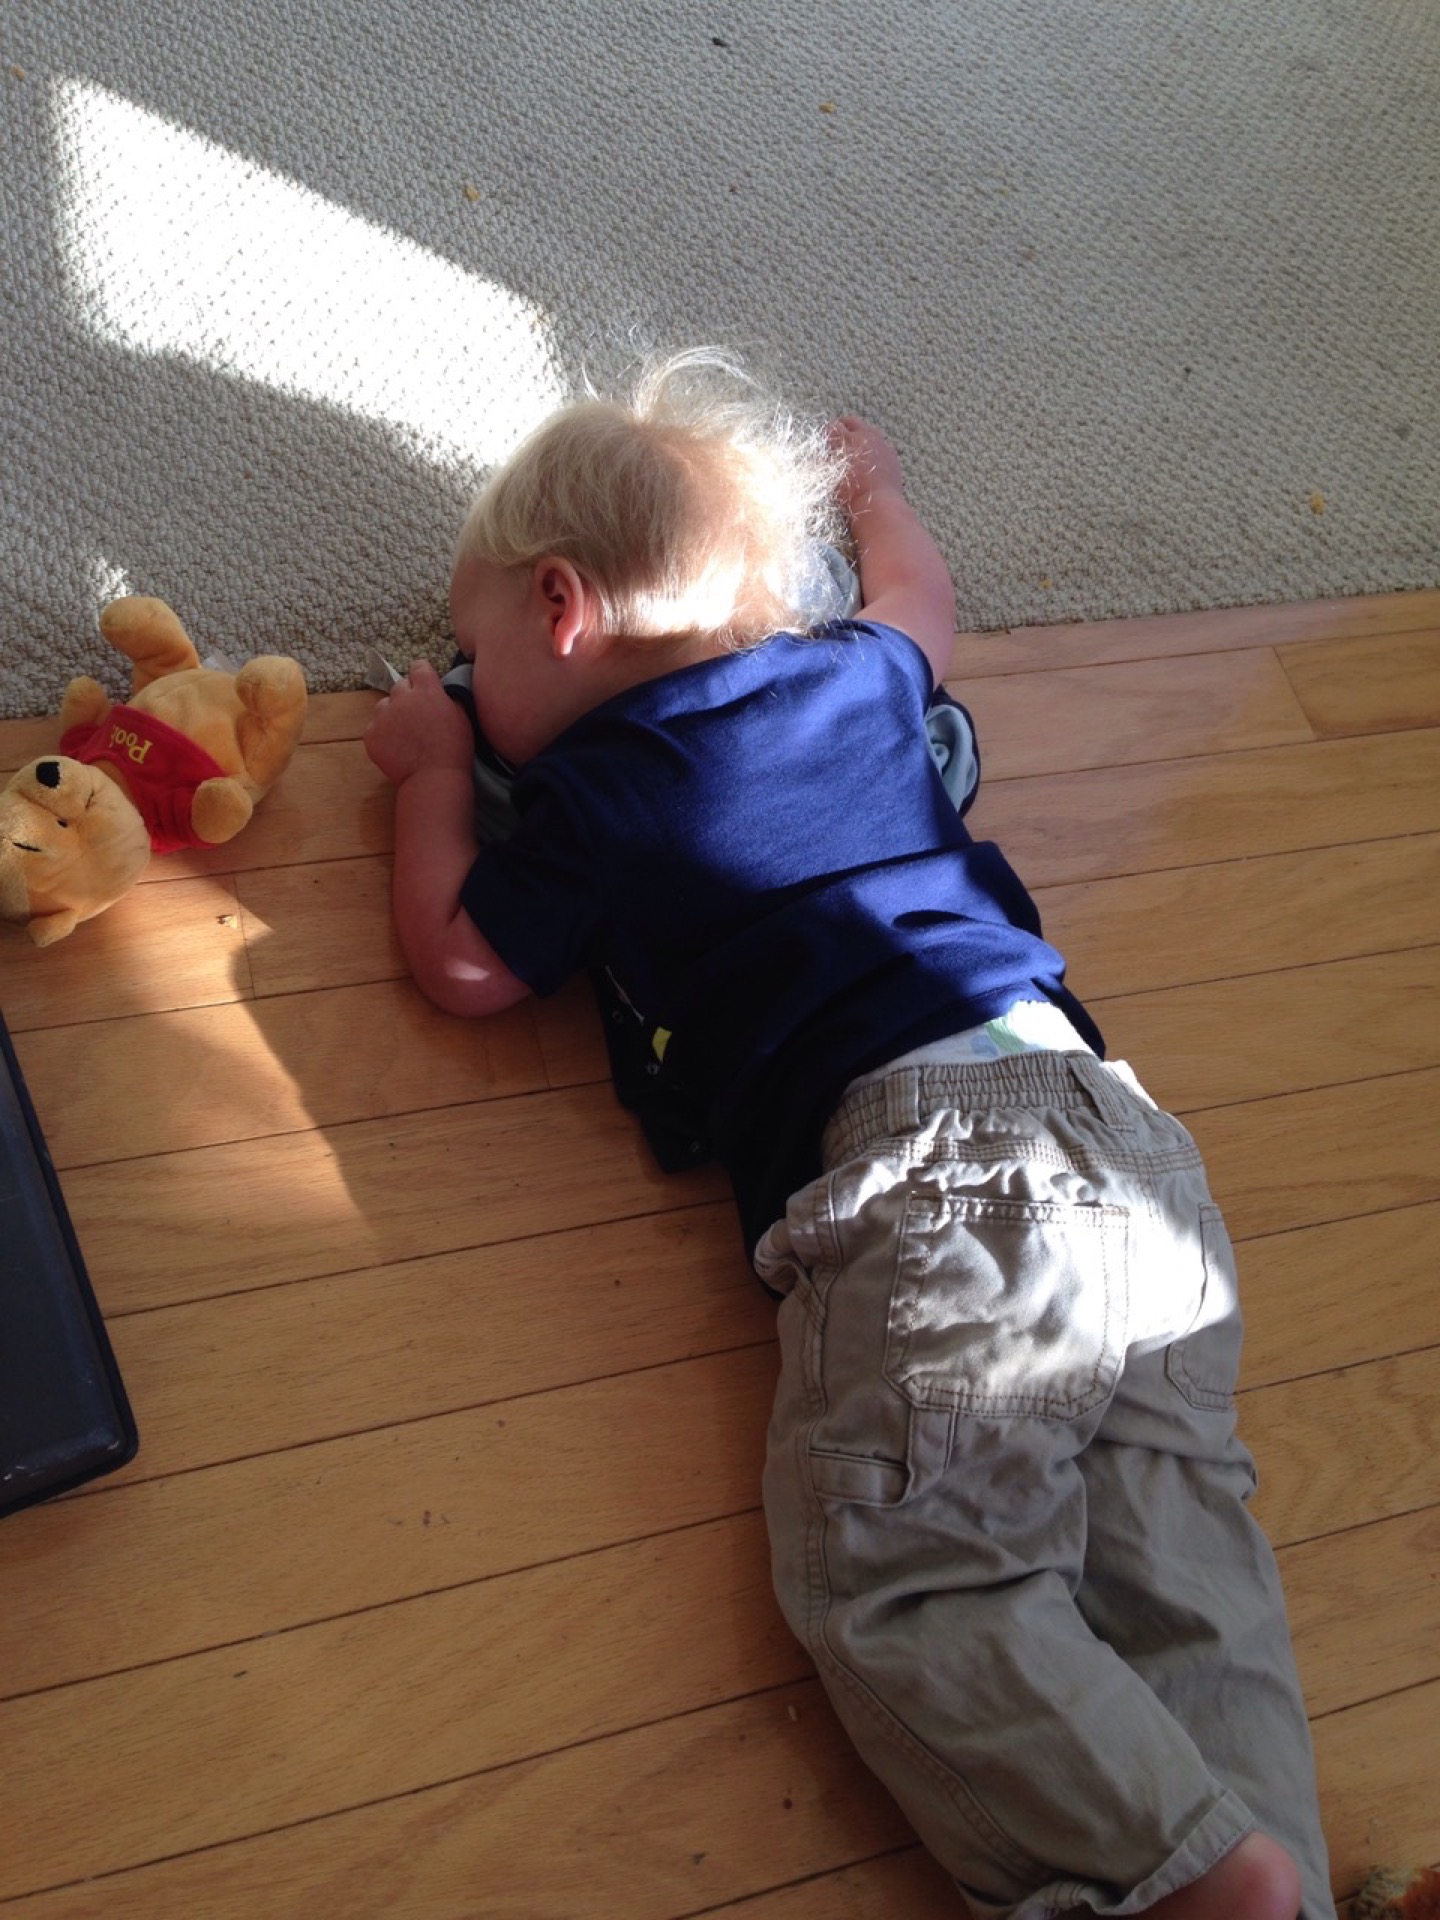
4. For some reason, Arthur thought laying on the kitchen floor was a very comfortable place. Silly little boy!
5. This morning's adventures included mini golf. Fun times fun times.

Easy Masculine Card
I seem to always to need masculine cards, but hardly ever make them. This is the perfect simple card to men or women. I used the ombre technique to ink up the feathers. Ink up the stamp in the lighter color. Then add on the darker color on only park of the stamp. Such a neat look once they're done.

- Stamps: Perfect Pennants; Four Feathers
- Inks: Mossy Meadow; Wild Wasabi; Hello Honey; Lost Lagoon; Night of Navy
- Cardstock: Night of Navy; Crumb Cake; Typeset DSP
- Accessories: Gold buttons; Brown twine
- Tools: Feathers Framelits
Fun n' Crafty Blog Hop June 2015


Welcome to the Fun n’ Crafty Blog Hop for June. This month's theme is new products. Each stop on the hop is highlighting some of the great new products in the 2015-2016 catalog. I'm still warming up the new in colors, but I've found that making cards using various combos of the colors always helps. This card can be made with any combo, but I choose to use Tip Top Taupe, Mint Macaron, Delightful Dijon, and Watermelon Wonder. We are making this card for June stamp club. I'm hoping the ladies decide to use some different color combos on their cards. If you look closely, you'll notice that the sentiment stamp has a bit of texture to it. No, the stamp's not actually like that. I used the kissing technique to achieve the look. Ink up the sentiment stamp in Watermelon Wonder. "Kiss" the inked stamp to a pattern stamp (in this case the floral pattern) and stamp. You're left with a great bit of faux texture. I love the look!

- Stamps: I Think You're Great
- Inks: Delightful Dijon; Watermelon Wonder; Mint Macaron
- Cardstock: Mint Macaron; Cherry on Top DSP
- Accessories: Gold Sequin Trim
- Tools: Circles Framelits; Circles Mask
Fun & Crafty Blog Hop
- Jennifer B. of Northwest Stamper
- Tobe B. of The Craft Sea -- You are here!
- Susan S. of Stampin' By The SF Bay
- Pam W. of Stinky Tofu
- Sarah G. of 1200 Some Miles

June 2015 Crafting Goals

A recap of last month’s goals:
- Finish my April PL pages — Success! I even caught up Arthur's album!
- Put up my retired supplies for sale on FB — Fail. I didn't get the items listed online, but I did sort them from my main stash. This will be added to next month's goals.
- Clean out my card kits box — Success! I've got a much better handle on this box as of this month. I cleaned out some of the old kits and updated how many kits I have of each set.
- Make one non-PL or card craft — Success! I got my new chalkboard calendar up onto the wall. Hopefully this helps me stay on top of my blog posts.
- Curate at least one craft related Pinterest boards — Success! I deleted a few old boards that I'm just not using anymore. I also did a bit of shuffle of my To Make/CASE board.

This month’s goals:
- Finish my May PL pages -- Always, always, always a goal.
- Evaluate the state of the twins' scrapbooks and make a plan to catch up -- I have a giant stack of crap for the twins' books but am at least a few summers behind. Really need to attempt to catch up or at least get a game plan set.
- Send out any remaining thank you cards for SU and Thirty-One orders -- Trying to be better at using my cards.
- Organize the kid crafts cabinet -- It's a bottomless pit right now. Need to get that thing organized.
- Put up my retired supplies for sale on FB -- Carry over from last month. I need to get this done and this stuff out of here.
Fancy Folds Class - Part 2
In May I held a class featuring four cards with fancy folds. I tend to keep the same style of cards, but decided this was a great chance to learn some new techniques.
Card #1
I found a great little tutorial for a steps card. I love the finished look of these and knew I wanted to do my own. Take a piece of cardstock measuring 4 1/4" x 11" and score as 1 1/4", 2 1/2", 4 1/4", 6", 8 1/4". From there cut a separate piece of same colored cardstock to 4 1/4" by 5 1/8". Fold the card into steps and attach the other piece of cardstock to stand up the card. From there, I cut the DSP to 1" by 4", 1 1/2" by 4", and 4 3/4" by 4". I layered a smaller piece of white paper to put add a fun sentiment. To finish the card, I added some die cut flowers in coordinating inks.

- Stamps: Wacky Wishes (retired); Secret Garden (retired)
- Inks: Melon Mambo; Tangerine Tango; Pacific Point; Wild Wasabi
- Cardstock: Melon Mambo; Beyond the Garden DSP (retired)
- Accessories: Garden Party Washi Tape (retired)
- Tools: Secret Garden Framelits (retired)
Card #2
Love this tri-fold class! Start with a 8" by 12" piece of cardstock. Line up the piece at a diagonal and cut. It doesn't need to be precise. You can make the angle as steep as you want. Score at 4", flip around, and score at 4". Fold the card and you're ready to decorate.
To decorate, I created my own piece of DSP with the circle stamp from Work of Art. Once that was done, I cut the pieces to add to the cardstock. Finally I decorated and cut out some balloons. Perfect!
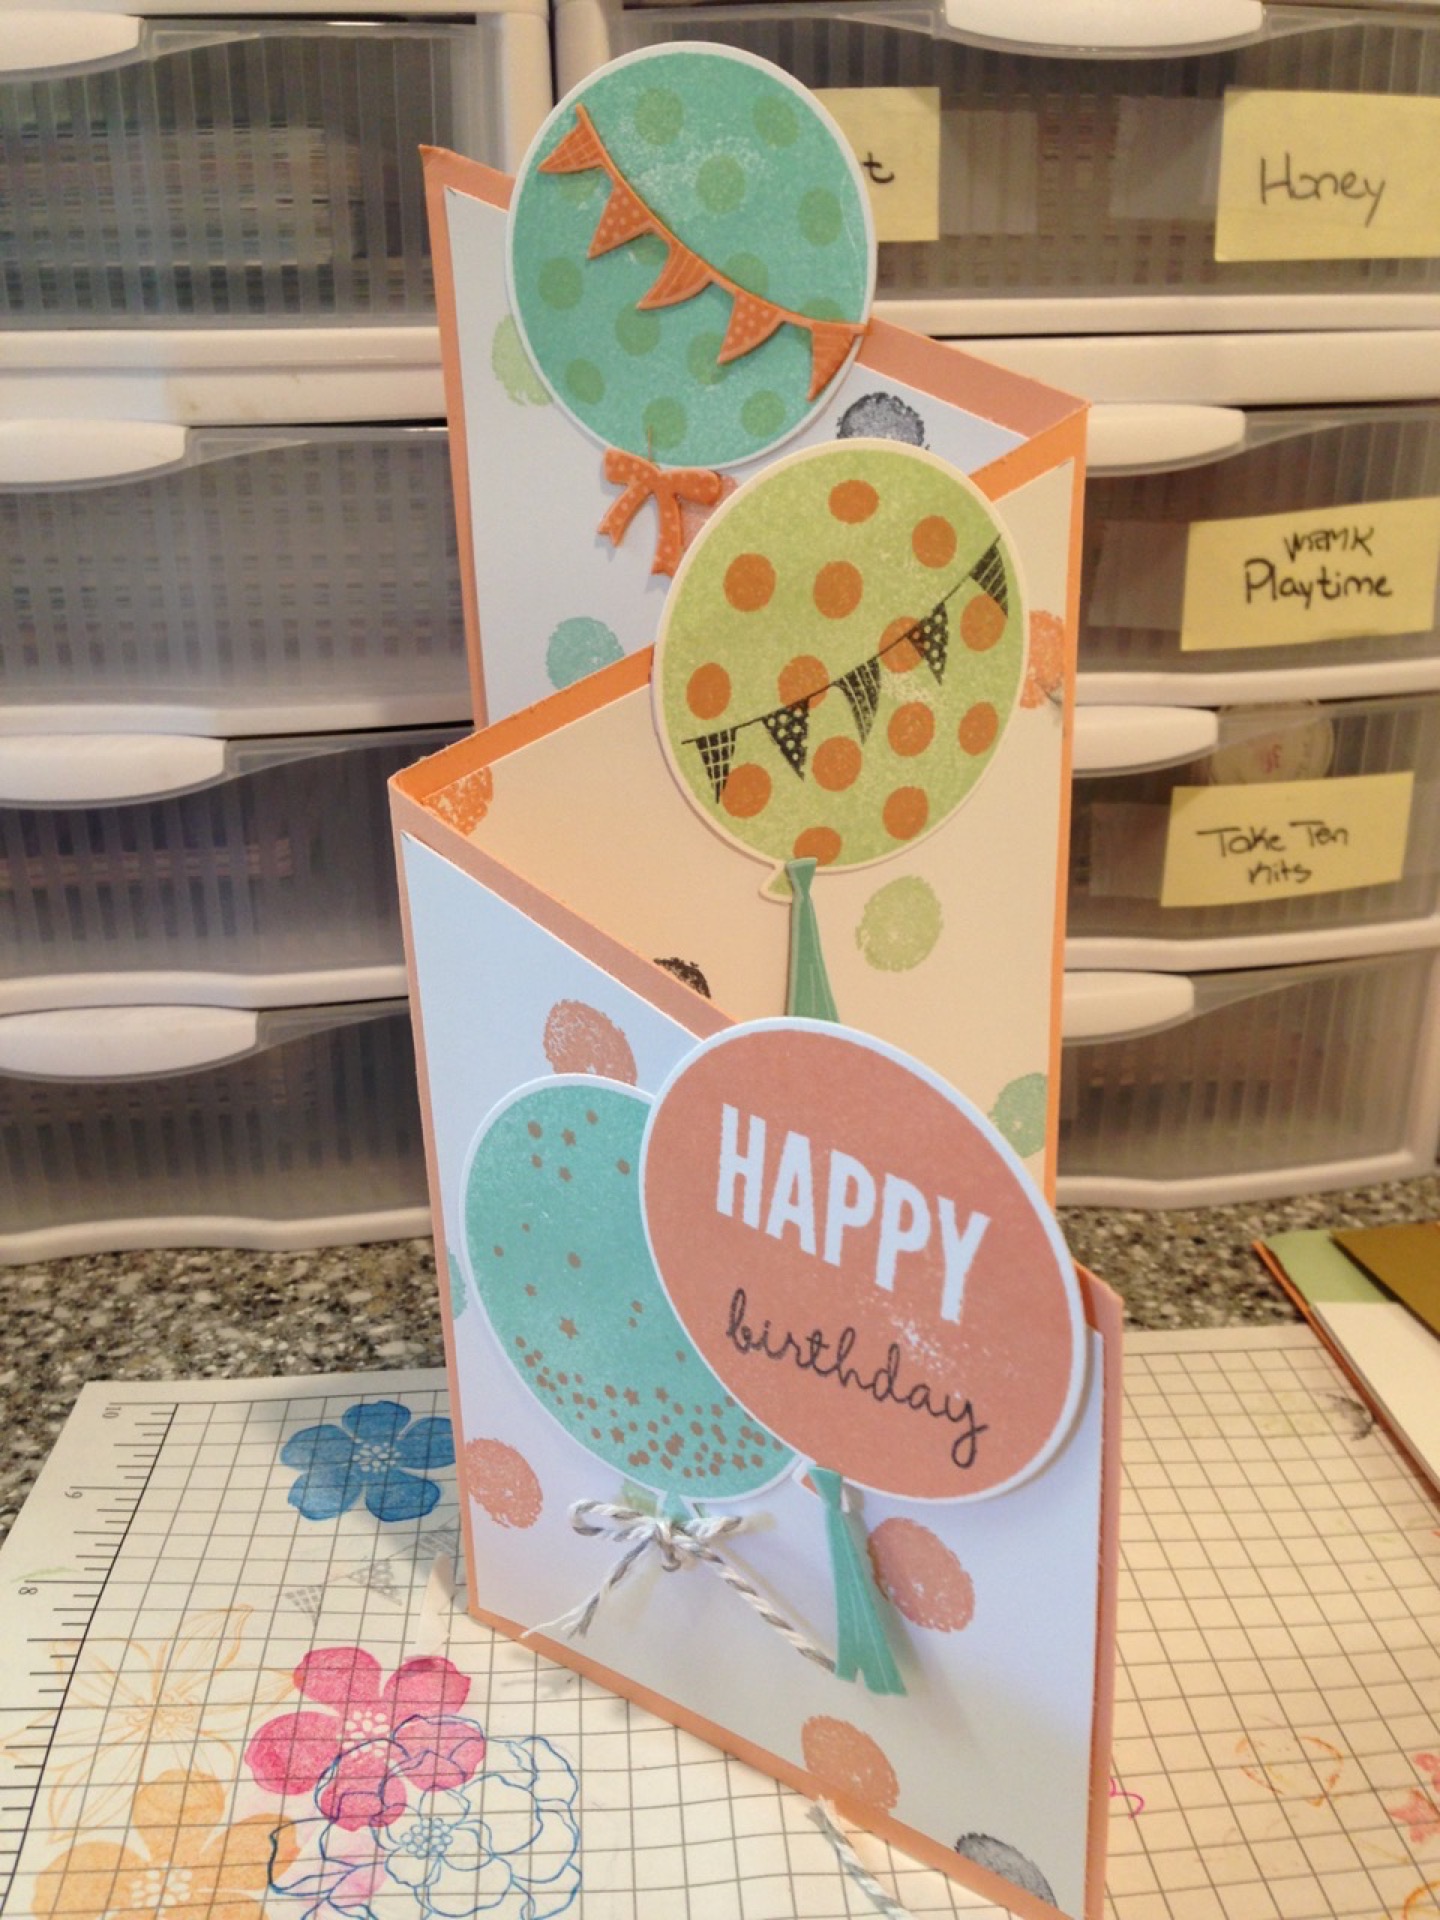
- Stamps: Celebrate Today (retired); Work of Art
- Inks: Pistachio Pudding (retired); Crisp Cantaloupe (retired); Pool Party; Basic Gray
- Cardstock: Crisp Cantaloupe (retired)
- Accessories: Gray twin
- Tools: Balloon Framelits