• Home
  • About
  • Archives - Wading Through
  • Archives - The Craft Sea

Wading Through...

  • Home
  • About
  • Archives - Wading Through
  • Archives - The Craft Sea

Little Christmas Box

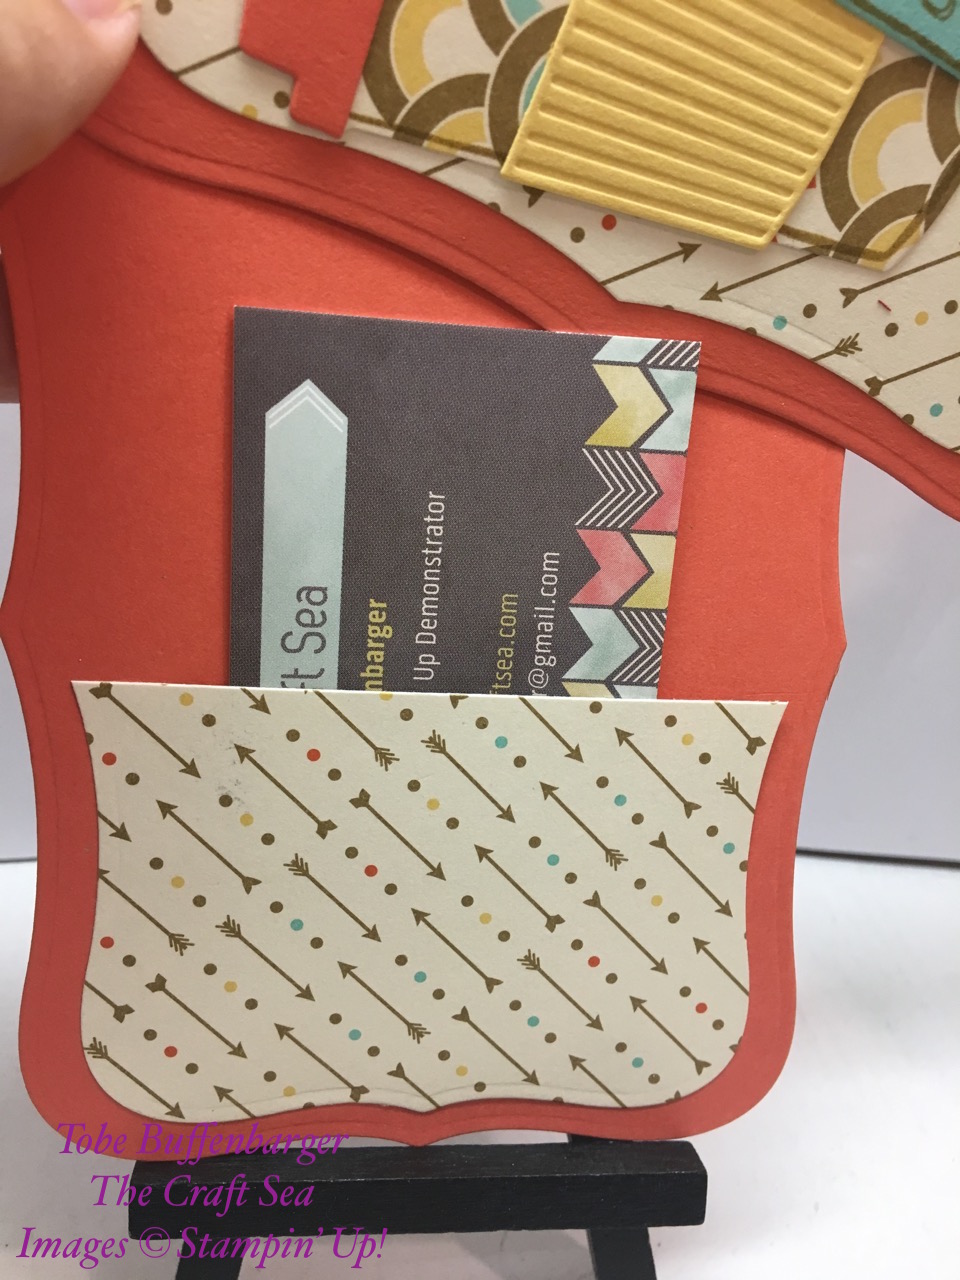
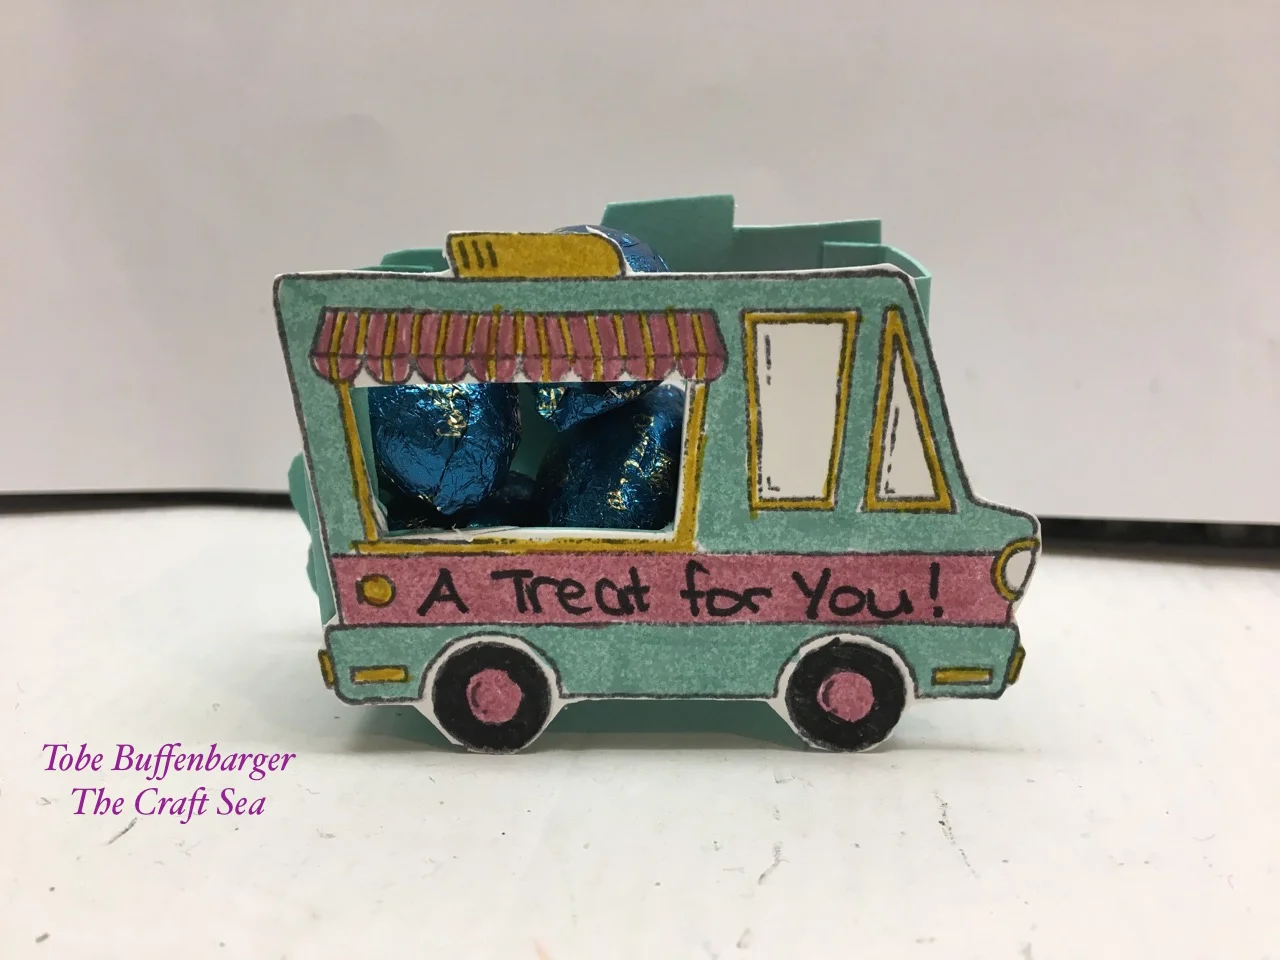
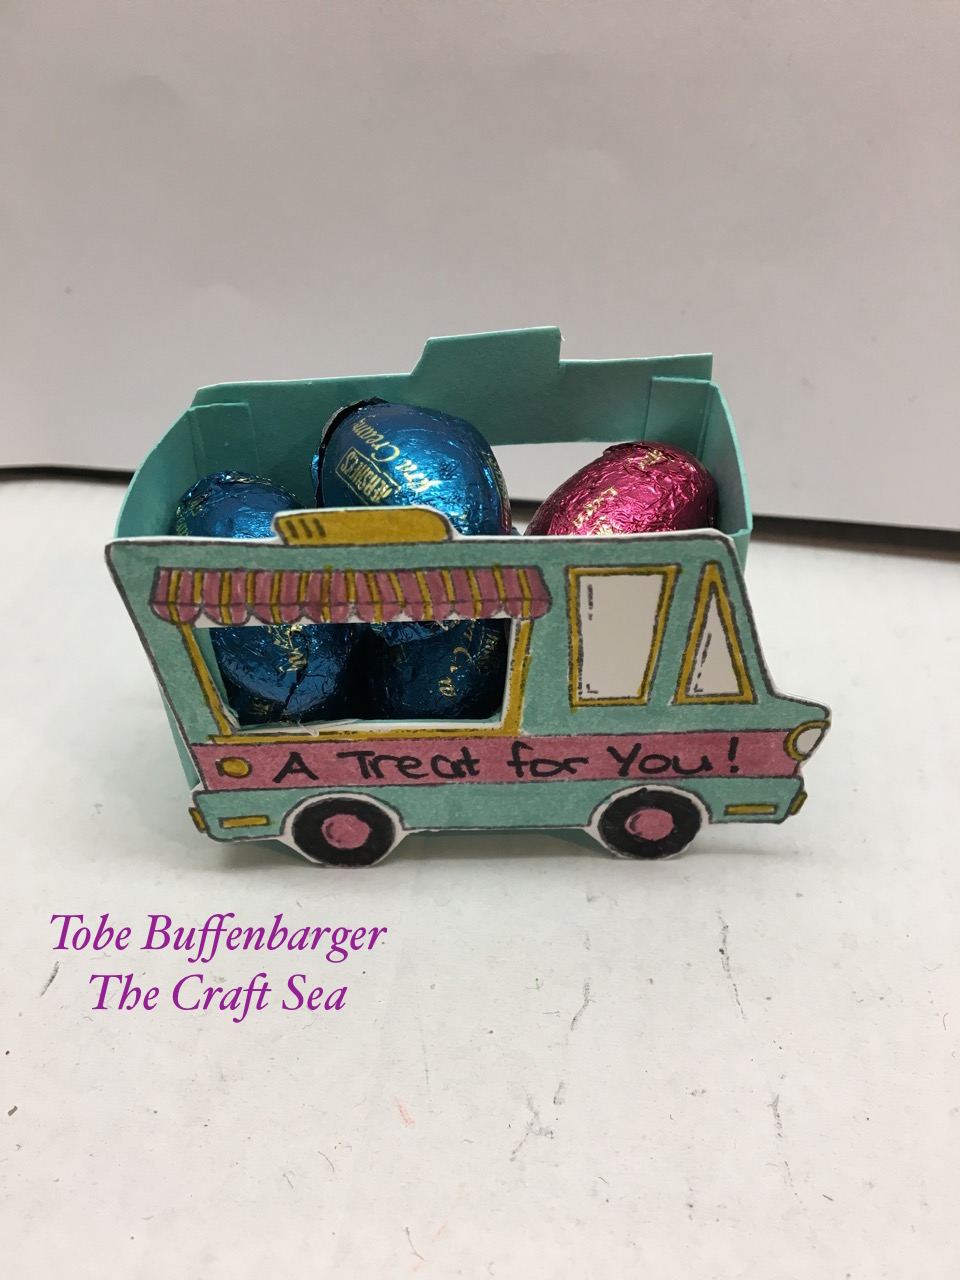
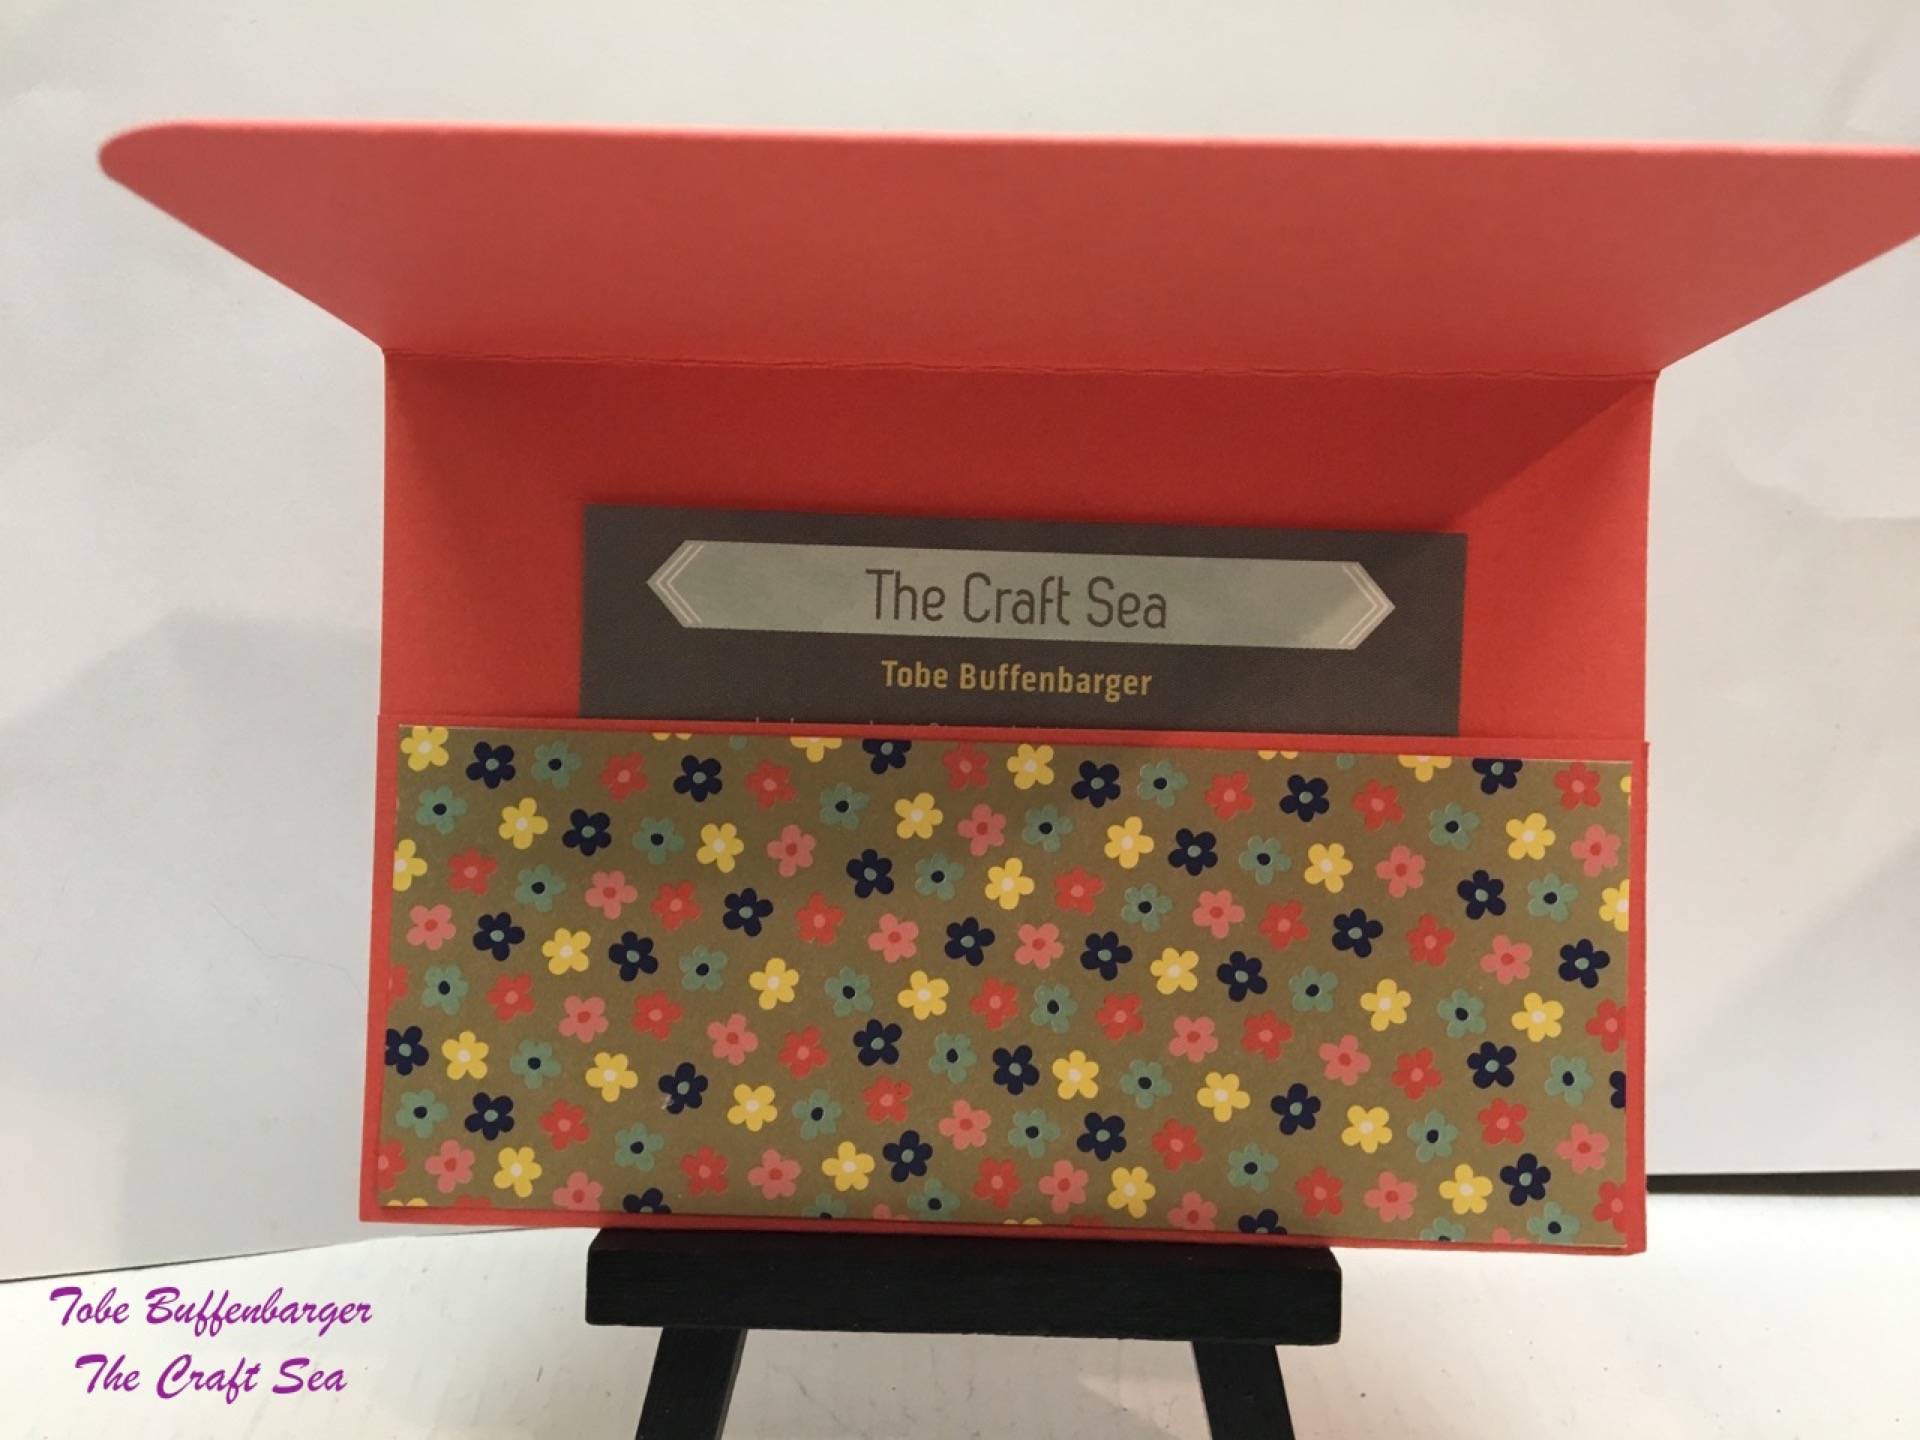
Today's project is a 3D project being featured at my Christmas gift boxes classes. Putting small gifts in homemade containers is just the thing! For this project, I created a small box that would be perfect some chocolates or jewelry! 

Create your own by watching this video from The Paper Pixie.

9:26-1.jpg
9:26-2.jpg
9:26-3.jpg
 
  • Stamps: 
  • Inks: 
  • Cardstock: This Christmas DSP (retired); Mossy Meadow (retired)
  • Accessories: Button brad; Gold sequin trim; Cherry Cobbler Ribbon (retired)
  • Tools: Envelope Punch Board; Pansy Punch
tags: This Christmas DSP, Christmas
categories: 3D Projects
Tuesday 09.26.17
Posted by Tobe Buffenbarger
 

How About a Coffee?

Today's post features the 3D project from September's stamp club. I wanted to make something simple but useful. This little gift card holder is perfect! Simply cut out two same size pieces of cardstock to create the bases. From there, I added some great retired paper as a background and went to town creating my coffee cups. For club, the ladies made their own with a variety of paper scraps and colors. Love it!

9:24-1.jpg
 

Detail of the inside:

9:24-2.jpg
 
  • Stamps: Coffee Cafe
  • Inks: Baked Brown Sugar (retired)
  • Cardstock: Retired SU DSP; Calypso Coral; So Saffron; Coastal Cabana
  • Accessories: Brad
  • Tools: Layering Dies 
tags: Coffee Cafe
categories: 3D Projects
Tuesday 09.12.17
Posted by Tobe Buffenbarger
 

Fall Bingo - Decor and Goody Bags

Last Saturday, I held my second Stampin' Up! Bingo Party. It was so much fun! For this time, I went with a fall theme even though it was over 100 degrees this past weekend. This week, I'll be sharing the projects I prepped and the make n takes from the party. 

Today's post is all about the decor and goody bags. I didn't go overboard, but I just had to make something cute to be put on the table. I found a tutorial online for this adorable little treat boxes. Once I stamped and die cut the jars, I added some cute punched scarecrows from last year's stamp set. Inside, there are bags of M&Ms tied with with some great retired Delightful Dijon ribbon.

9:4-3.jpg
9:4-5.jpg
 
9:4-6.jpg
 

For the goody bags, I bought some plain kraft gift bags in bulk. Seriously I got 50 bags for super cheap. Thanks Amazon! For there, I found some leftover die cut flowers from about three years ago. I used the patterns and colors as my palette. I punched some tags and stamped them all over with the retired Four Feathers stamp set. I finished off the tags with copper thread and the rest of the feathers. The tags were attached to the bags with some great retired Blackberry Bliss Ribbon.

9:4-1.jpg
 
9:4-2.jpg
 
  • Stamps: Jar of Love; Cookie Cutter Halloween (retired); Four Feathers (retired)
  • Inks: Blackberry Bliss; Early Espresso; Cajun Craze; Old Olive; Crushed Curry
  • Cardstock: Very Vanilla; Kraft
  • Accessories: Delightful Dijon Ribbon (retired); Blackberry Bliss Ribbon (retired)
  • Tools: Everyday Jars Framelits; Feather Framelits (retired); Cookie Cutter Punch; Scallop Tag Topper Punch
tags: Jar of Love, Everyday Jars Framelits, Four Feathers, Cookie Cutter Halloween, Bingo
categories: 3D Projects
Monday 09.04.17
Posted by Tobe Buffenbarger
 

Candy Truck

Today’s project was a cute little candy holder we made for April's stamp club. We stamped, colored, and cut two trucks and then used those as the walls for box. A simple strip of cardstock to create a bottom was added. After making our truck, we filled it with chocolate of course! 

  • Stamps: Tasty Truck (retired SAB item)
  • Inks: Basic Gray; Sweet Sugarplum; Coastal Cabana (retired); Crushed Curry
  • Cardstock: Coastal Cabana (retired); Whisper White
  • Accessories: 
  • Tools: 
tags: Tasty Trucks
categories: 3D Projects
Saturday 05.20.17
Posted by Tobe Buffenbarger
 

Simple Gift Card Holder

Today’s card is being featured on Stylin’ Stampin’ Inkspiration. The challenge was to create a 3D Valentine's Day project. I'm not big on Valentine's Day projects, so I made my own little project that could be perfect for Valentine's Day or lots of other occasions. This project was so incredibly easy to make! Main cardstock:

  • cut 5" x 8"
  • score long side at 2" and 5 1/2"
  • use adhesive along sides and the bottom edge (to create a "shelf" for your insert)

DSP:

  • cut 2 3/8″ x 4 7/8″ and 1 7/8″ x 4 7/8″

Cardstock band:

  • cut 1 1/4" x 8"

Make the label. I used two layering circle framelits.

Inside: perfect for a gift card or a little love note.

  • Stamps: Love and Affection; Happy Happenings
  • Inks: Watermelon Wonder; Daffodil Delight; Blushing Bride
  • Cardstock: Affectionately Yours DSP; Watermelon Wonder; Whisper White
  • Accessories:
  • Tools: Layering Circles Framelits
tags: Affectionately Yours DSP, Happy Happenings, Love and Affection
categories: 3D Projects
Wednesday 02.01.17
Posted by Tobe Buffenbarger
 

Trio of Christmas Creatures

Today’s card is being featured on Stylin’ Stampin’ Inkspiration. The challenge was to create gift packaging. I took one of the old extra large gift boxes and decided to have some fun dressing it up. Two bands of DSP, one envelope punch board created ribbon, and a trio of Christmas creatures make a festive box for gift giving. I went simple, but I think it really turned out quite cute.

 
  • Stamps: Cookie Cutter Christmas
  • Inks:Early Espresso; Real Red; Hello Honey (retired); Basic Black
  • Cardstock: Presents and Pinecones DSP
  • Accessories:
  • Tools: Cookie Cutter Punch
tags: Christmas, Cookie Cutter Christmas, Presents and Pinecones DSP
categories: 3D Projects
Wednesday 12.21.16
Posted by Tobe Buffenbarger
 

Candy Cane Lane Box

Today’s card is being featured on Stylin’ Stampin’ Inkspiration. The challenge was to create a 3D Project. I choose a cute little box featuring the beautiful Candy Cane Lane DSP. This box looks complicated, but I assure you, it's super easy to put together. I followed the directions from Angie Kennedy Juda's great little video. As an added bonus, it took me less than 10 minutes to finish. Perfect for little gifts.


A side view of the box. This would be perfect to put a few chocolates into.

 
  • Stamps: Wrapped in Warmth
  • Inks: Real Red
  • Cardstock: Candy Cane Lane DSP; Early Espresso; Whisper White
  • Accessories: Real Red Ribbon (retired)
  • Tools:
tags: Candy Cane Lane DSP, Christmas, Wrapped in Warmth
categories: 3D Projects
Friday 10.28.16
Posted by Tobe Buffenbarger
 

Star Ornament

Today’s card is being featured on Stylin’ Stampin’ Inkspiration. The challenge was to create a 3D Project. At every stamp club, I make sure to highlight a 3D project that can be made with SU supplies. As September's club is our last in this round, I wanted to feature something fun and Christmas. This star ornament is a perfect addition to any Christmas tree. And they are super simple to make! I can't wait to see all the variations that the stamp club ladies come up with!

 
  • Stamps:
  • Inks:
  • Cardstock: This Christmas DSP; Soft Suede; Cherry Cobbler; Garden Green
  • Accessories: Acetate
  • Tools: Confetti Stars Punch; Stars Framelits
tags: Christmas, This Christmas DSP
categories: 3D Projects
Friday 09.16.16
Posted by Tobe Buffenbarger
 

Slim Gift Box

Day 4 of my countdown to the Holiday Catalog! Check out this great new product: 

Today’s project is a simple slim gift box. This is a super easy box perfect for including some chocolates or a chapstick. Start with a piece of 6"x6" paper. Score at 1 3/8", 2 3/4". 4 1/8", and 5 1/2". Rotate your paper 90 degrees and score at 1 3/8" and 3 1/2". Fold all score lines. Cut out the small rectangle piece and cut end flaps. Glue together to form a box. Glue the bottom flaps. Fold top like a milk carton and punch a hole. Add some ribbon, a sentiment, and inside goodies!

 
  • Stamps: Suite Sayings
  • Inks: Rich Razzleberry
  • Cardstock: Botanical Gardens DSP (retired)
  • Accessories: Crumb Cake Ribbon (retired)
  • Tools: Ovals Framelits
tags: Botanical Gardens DSP, Suite Sayings
categories: 3D Projects
Thursday 08.25.16
Posted by Tobe Buffenbarger
 

Notecard Folder

For today's random craft, I found this perfect little notecard folder online last week. We will be making this for stamp club in August using a variety of colors and stamps. This is the perfect little gift! For my folder, I decided to pull two retired, but still loved colors, Strawberry Slush and Pistachio Pudding!  


Dimensions for folder and box are as follows:

Folder

-- 9-1/4 by 5-3/4 inches

-- Score on the long side at 4-1/4 inches and 5 inches

-- Round the corners if desired (I just did the top corner)

Box for cards

-- 8-7/8 by 3 inches

-- Score on the long side at 3-5/8, 4-1/8, 7-3/4, 8-1/4 inches.

-- Score on the short side at 1/2 inch

-- Assemble with a strong adhesive

Before attaching the box for cards, add a piece of ribbon on the outside of the folder. I used some retired Crumb Cake ribbon. (See pic above) Once the ribbon is in place, attach box to inside of the folder. You can also make a sleeve to hold your envelopes using a simple piece of cardstock. I cut mine to 1 1/2" x 11". I wrapped the cardstock around my notecard envelopes, score, and attach to the folder. I don't have precise measurements for this one.

For my notecards, I cut some Whisper White to the notecard size (3 1/2" x 5"). From there I added some simple stamped images from Timeless Textures, a sentiment from Suite Sayings, and a butterfly from Papillon Potpurri. I went simple. Two cards are done in Strawberry Slush and two cards are done in Pistachio Pudding. This gift is so perfect to make in bulk for friends and family. I'm certain I'll make a few different variations. 

 
  • Stamps: Timeless Textures; Papillon Potpurri; Suite Sayings
  • Inks: Strawberry Slush (retired); Pistachio Pudding (retired)
  • Cardstock: Strawberry Slush (retired); Pistachio Pudding (retired); Whisper White
  • Accessories: Crumb Cake Ribbon (retired); Rhinestones
  • Tools: Itty Bitty Butterfly Punch; 1" Circle Punch
tags: Papillon Potpurri, Suite Sayings, Timeless Textures
categories: 3D Projects
Friday 08.12.16
Posted by Tobe Buffenbarger
 
Newer / Older

Powered by Squarespace.