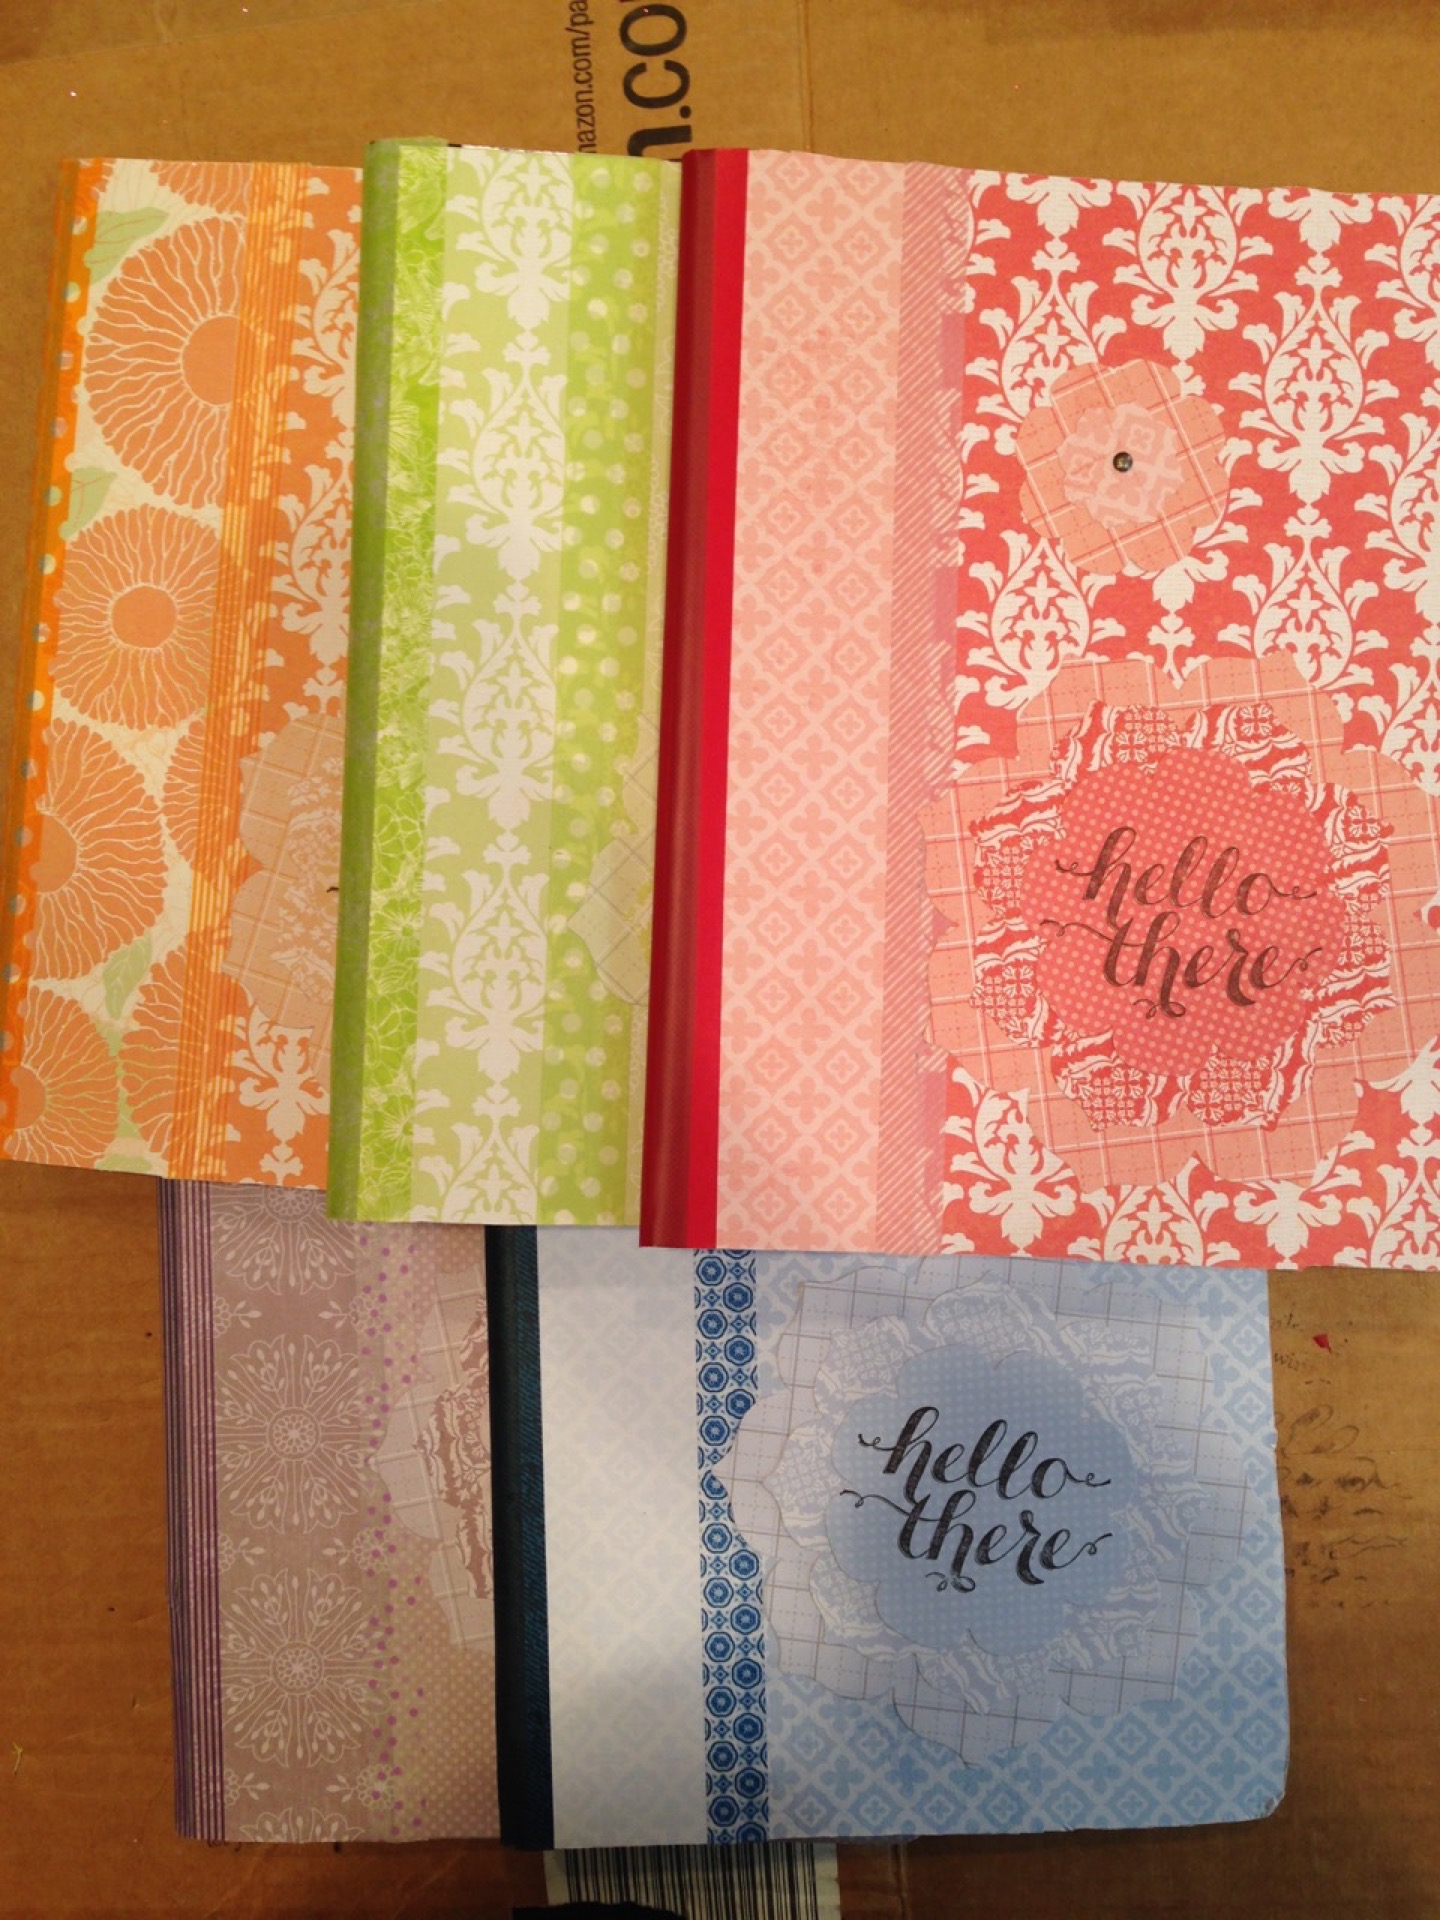
Today’s card is being featured on Stylin’ Stampin’ Inkspiration. The challenge was to create a project featuring a Sale-A-Bration item. I decided to focus on my favorite SAB item: Wildflower Fields DSP. I love the patterns and color combinations in this stack. To help highlight the paper, I decorated a gift box. This was the January Stamp Club 3D project in fact! I modified some instructions i had and created an extra large bow to go on top of the box. I also added a belly band for more visual interest, a flower in the center of the bow and a gift tag. Overall a super cute box! My stamp club ladies made variations using different paper and pattern combos.
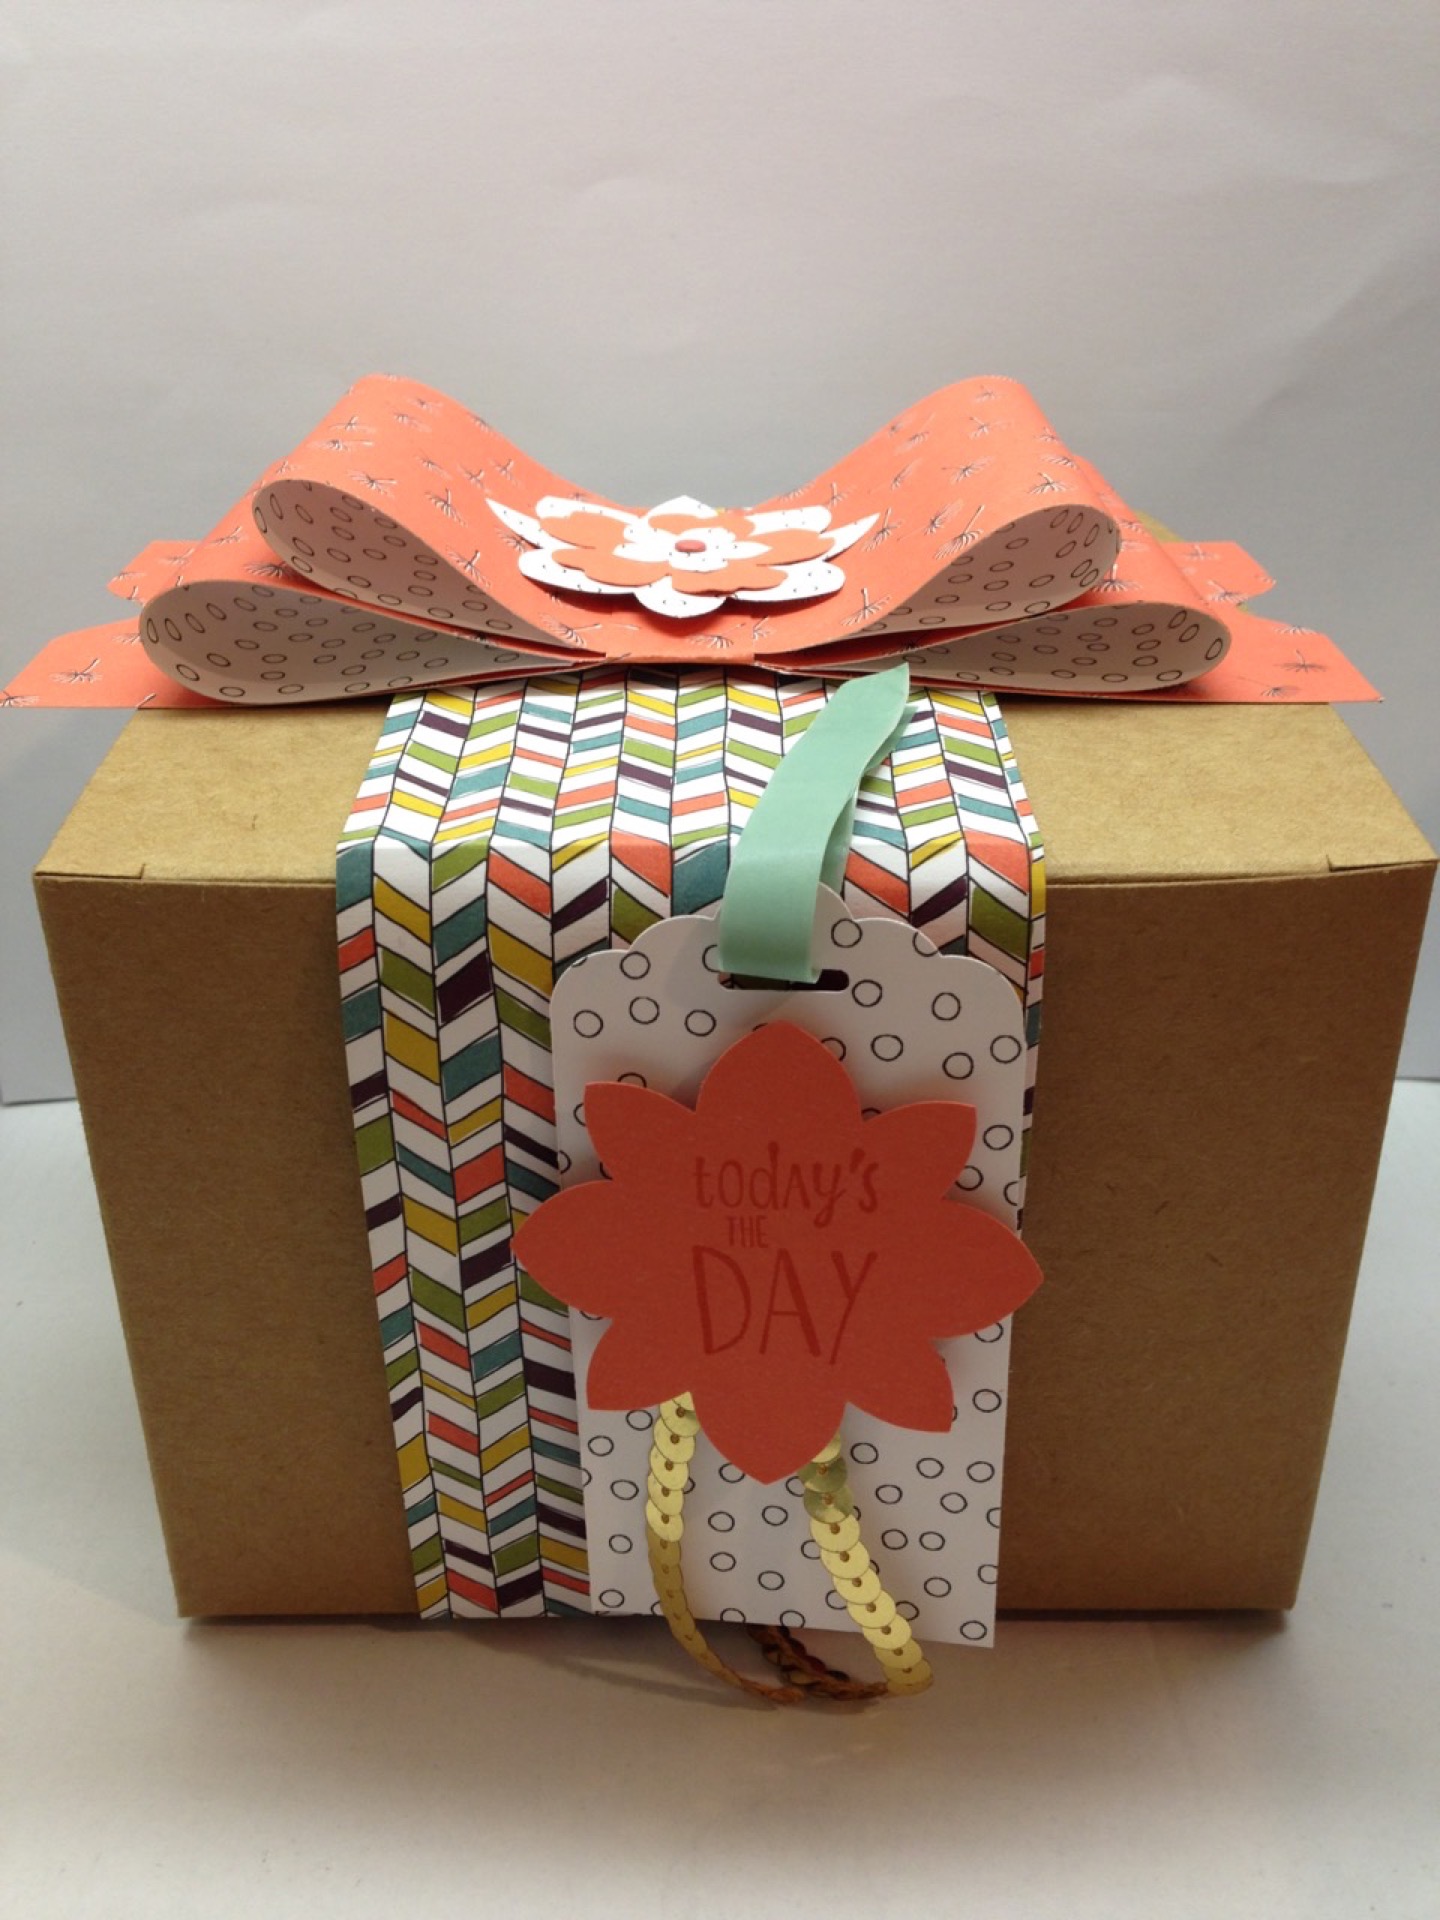
To make the bow, you need four pieces of DSP:
- 3" x 11" -- top loop
- 3" x 9" -- middle loop
- 3" x 7" -- base
Punch the three large strips in the middle. Fold over the ends of the top and middle piece and secure with glue dots to create the loops. Layer and glue together. Finish the card off with a strip around the middle section and punch the tails.
To make the belly band, you need two pieces of DSP each 3" x 12". Glue together and lay flat. At one end, score at 4 1/2" and 6 1/4". Start at the 6 1/4" score mark and score from there at 6 1/4". Finally score at 4 1/2" from the last score mark. This should wrap around the box and be able to be attached at the top under the bow.
Detail of the bow:

Detail of the gift tag:
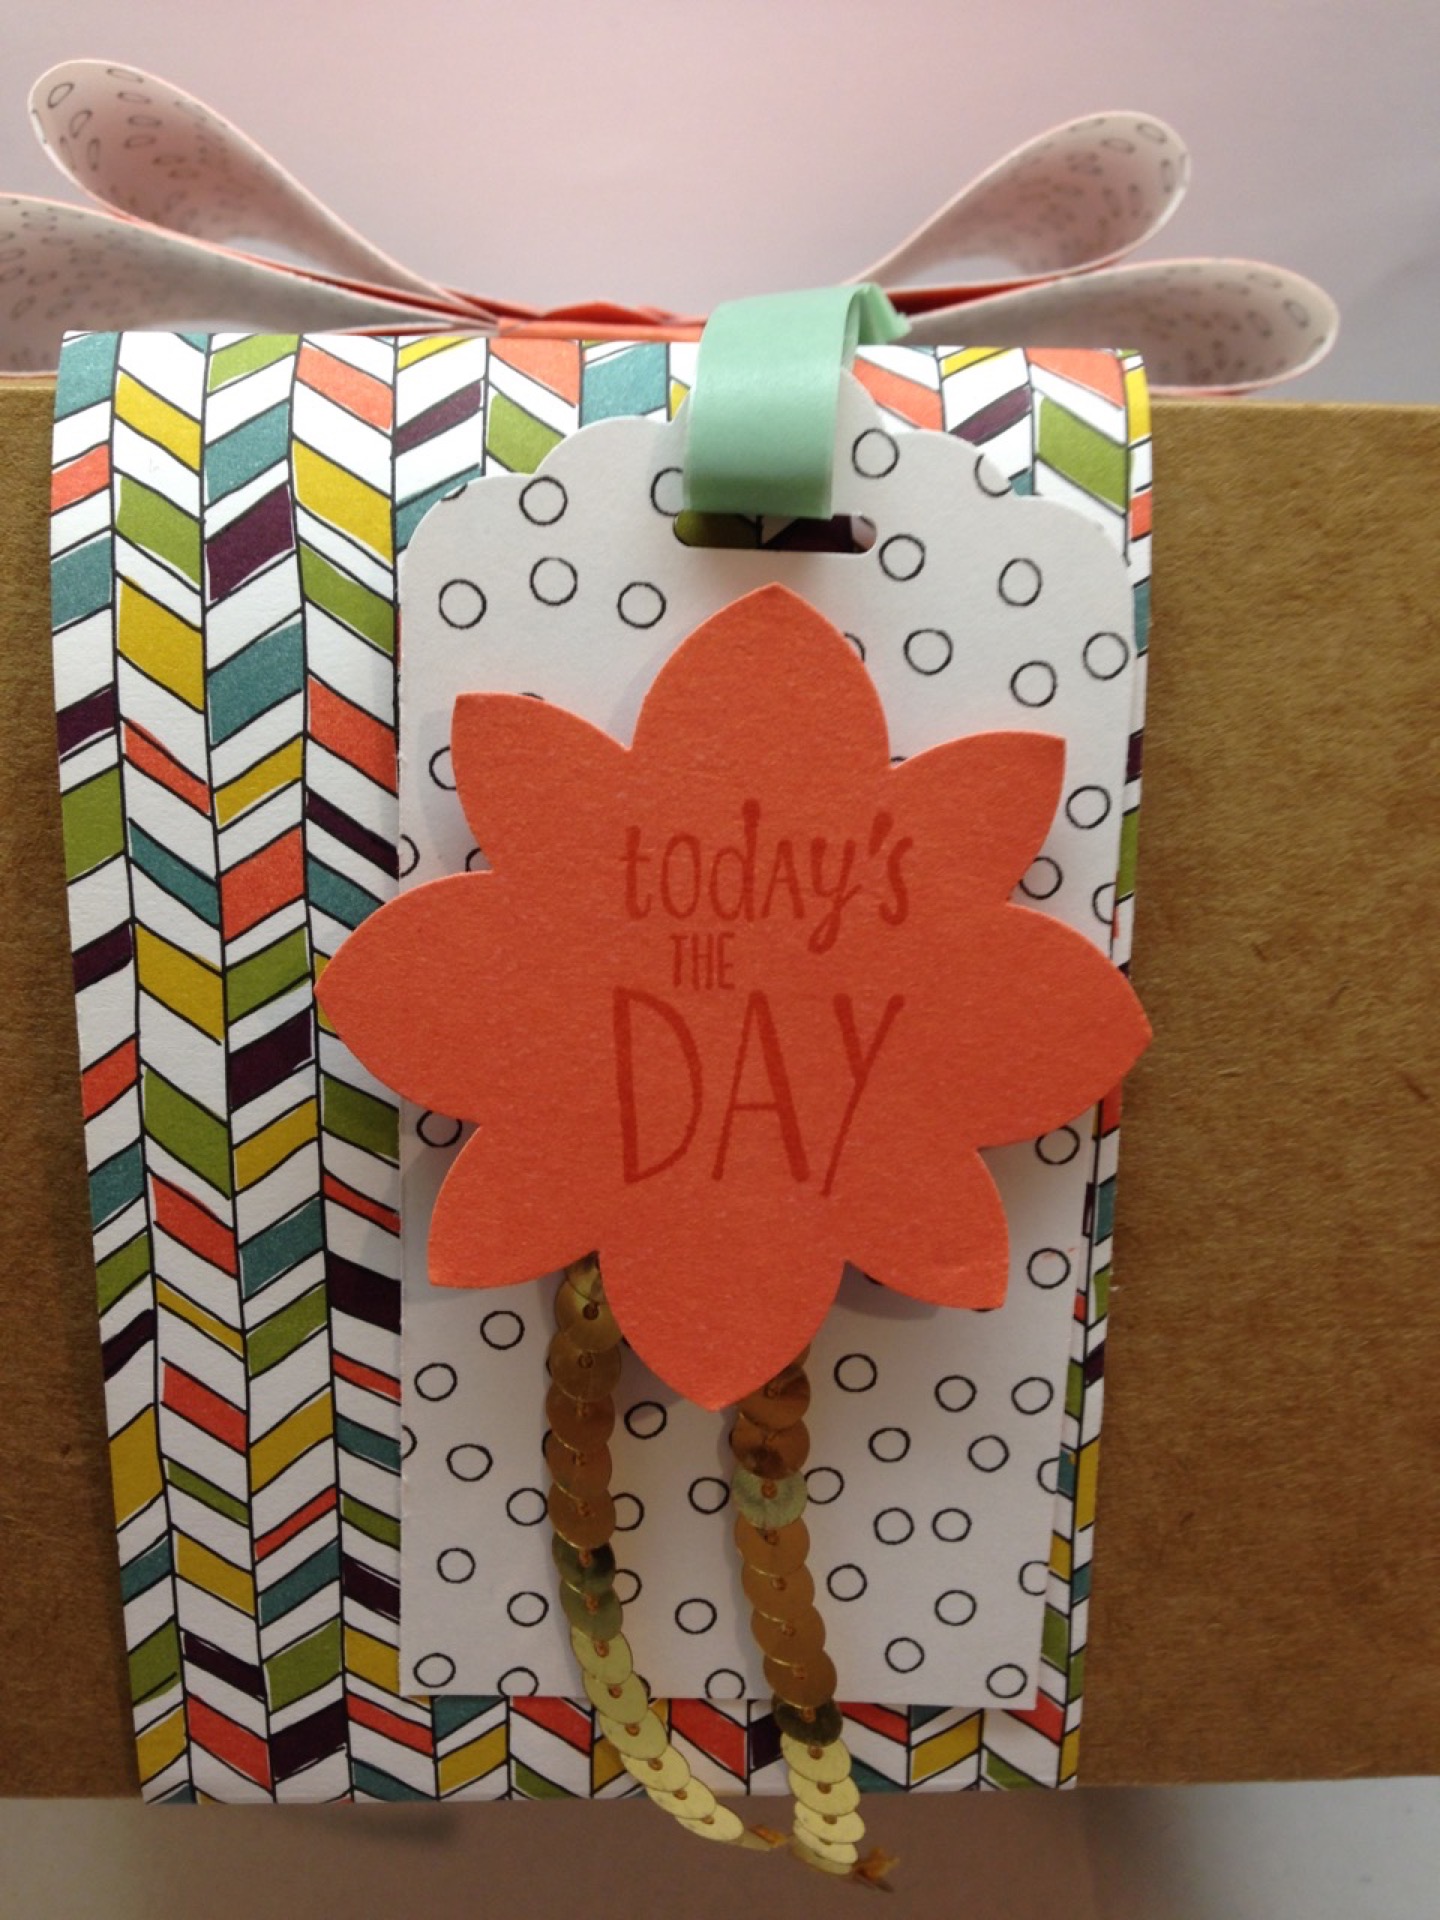
- Stamps: Happy Happenings
- Inks: Calypso Coral
- Cardstock: Wildflower Fields DSP; Calypso Coral
- Accessories: Botanical Gardens Washi Tape; Gold Sequins; Candy Dots
- Tools: Envelope Punch Board; Scallop Tag Topper Punch; Flower Medallion Punch; Pansy Punch; Petite Petals Punch