Along with a large pile of Christmas cards, I always like to have a few non-greeting card products available for sale at the craft fairs. This year, I went with a few cards sets made from old cards laying around the cart area. Those were already made and just needed to be packaged. But my big project was a large set of Modified Notebooks and some Baker's Boxes filled with candy. I managed to create all of these in about three days!


Arthur's 2nd Birthday
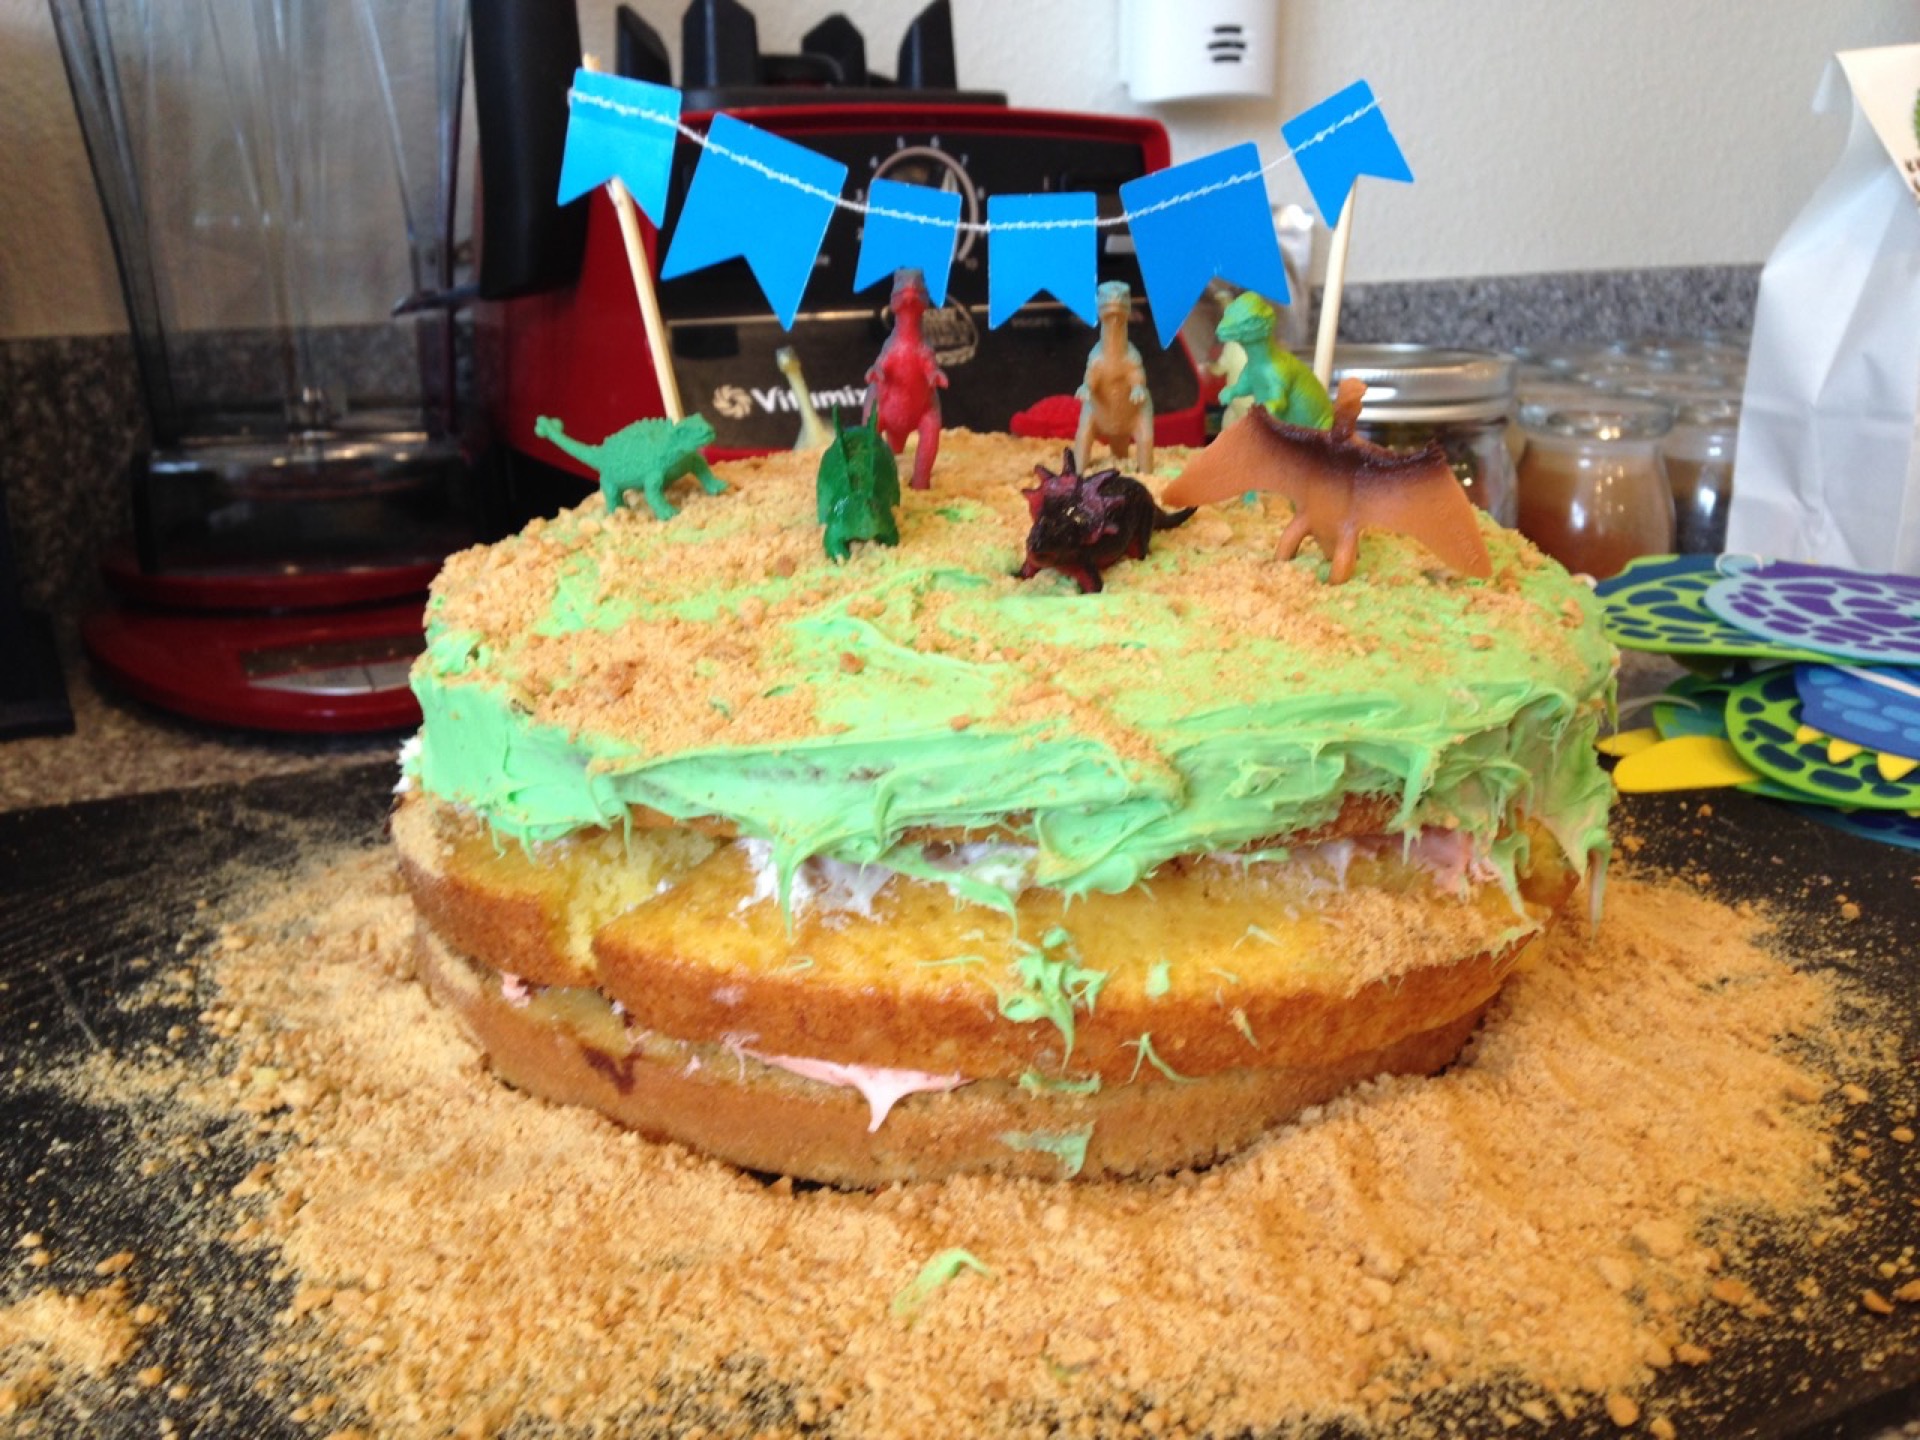
This post is going to be a long one! Last week was Arthur's 2nd birthday party! Being the crafty person that I am, I couldn't buy store decor and cards. So I buckled down about a month ago, and started creating...
Favor Bags: I chose to go simple with white paper bags as a base. I stamped some dino footprints in random directions. From there I added a starburst tag in a variety of patterns. For the actual party, I put the kids' names on the bags and clothes pinned the tag to the bag.

Matching Games: I made 2x2 squares featuring stamped dinosaurs on one side and some patterned paper on the other. Each set includes 18 different pairs to match. I thought about adding leaves and such, but decided that the simple dinosaur silhouette in different colors looked just right. These are matching games for toddlers.

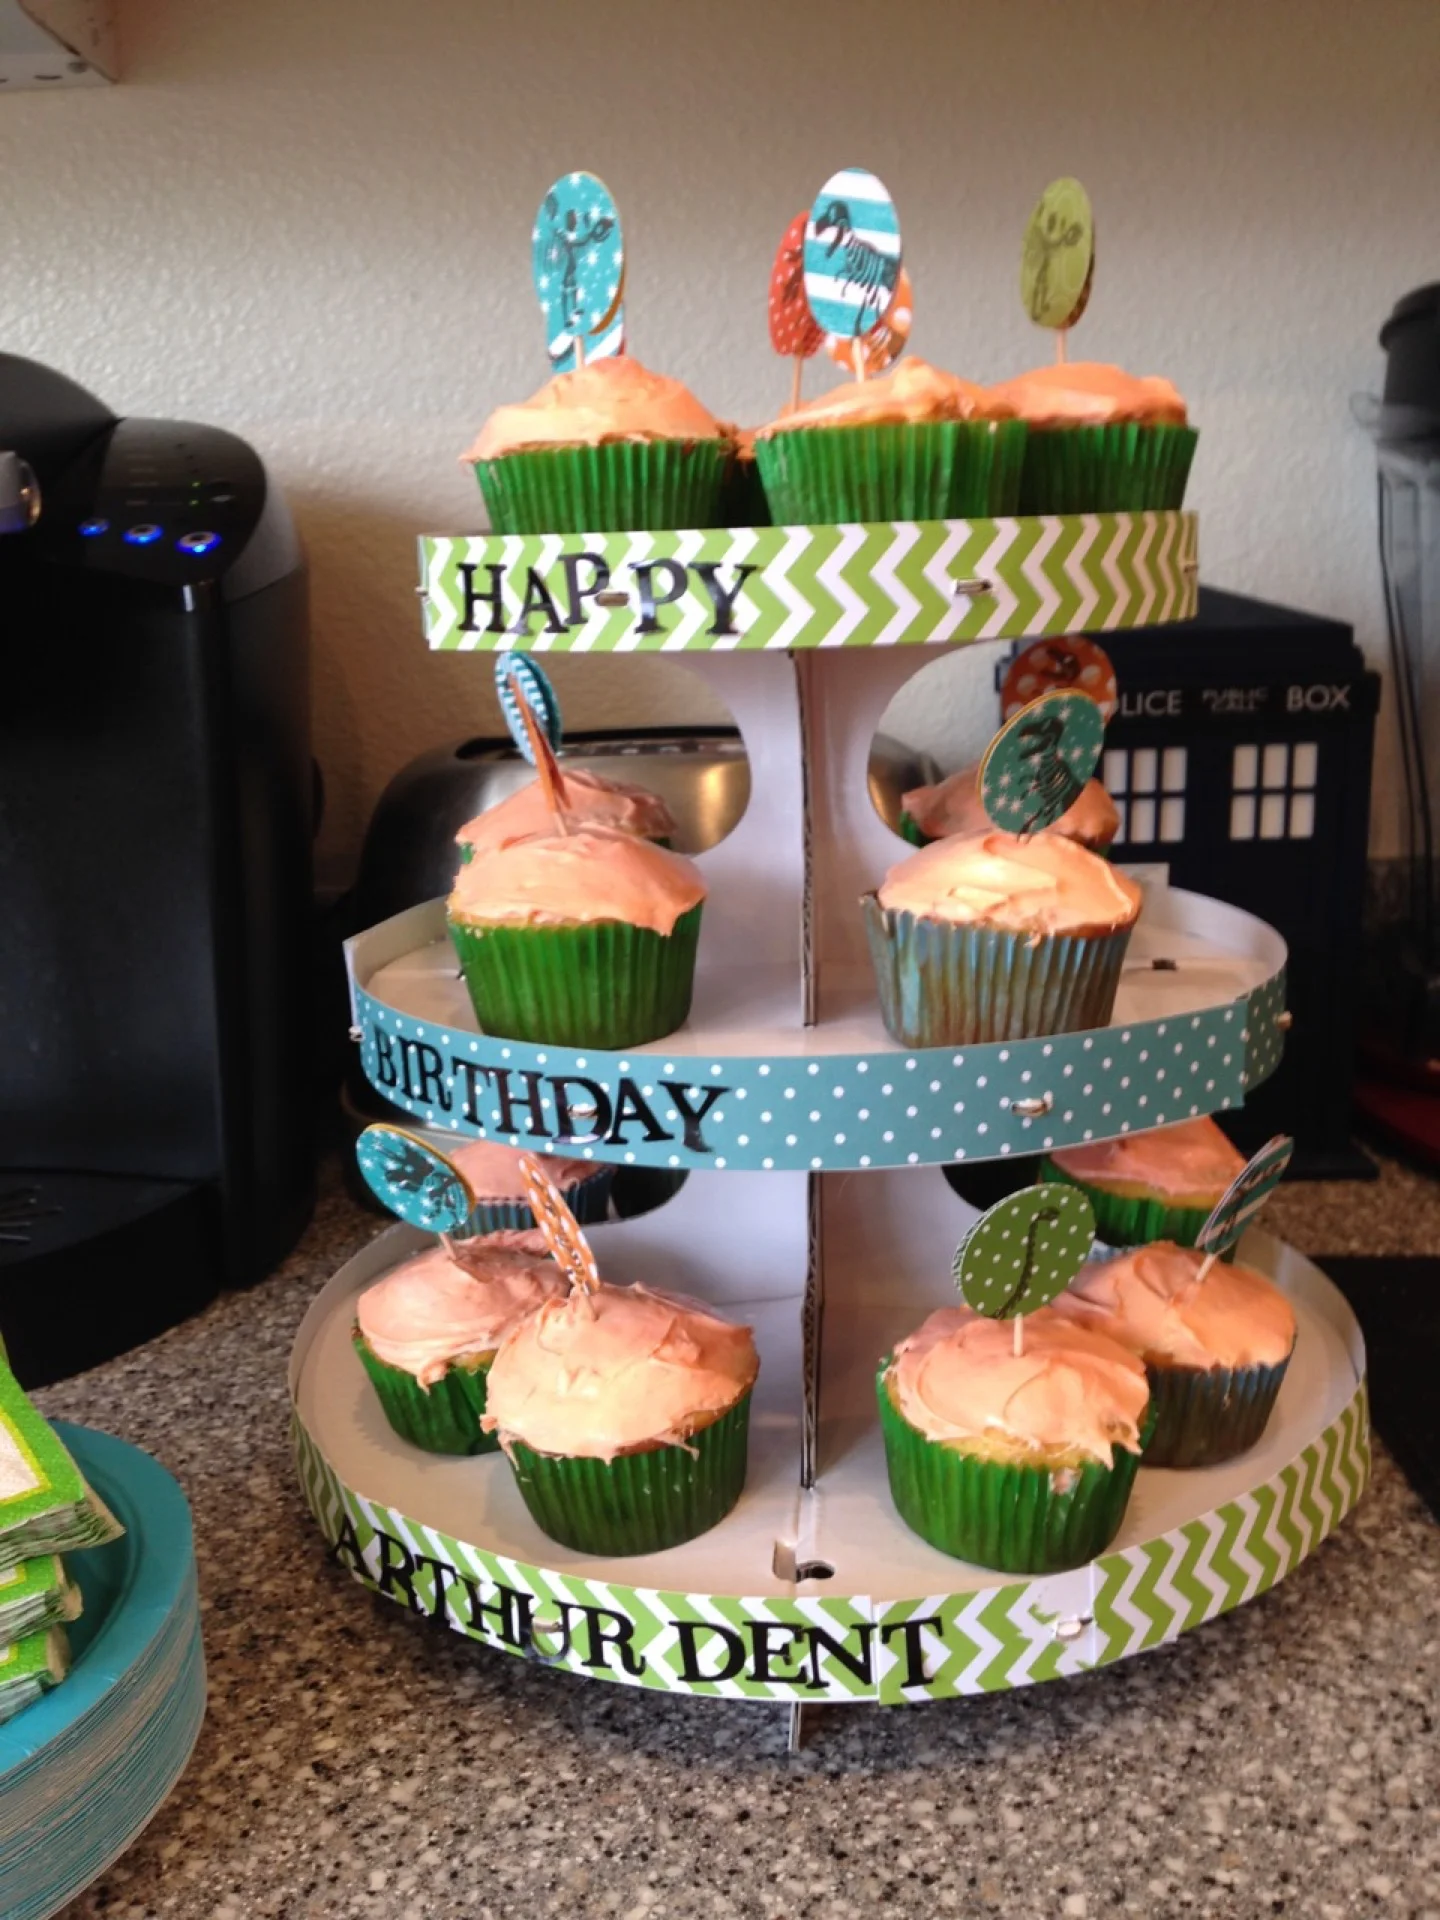
Cupcake Toppers: I used up my scrap paper from the favor tags to create these simple circle cupcake toppers. I stamped skeleton on each side completed the tag. These looked perfect in the cupcakes!

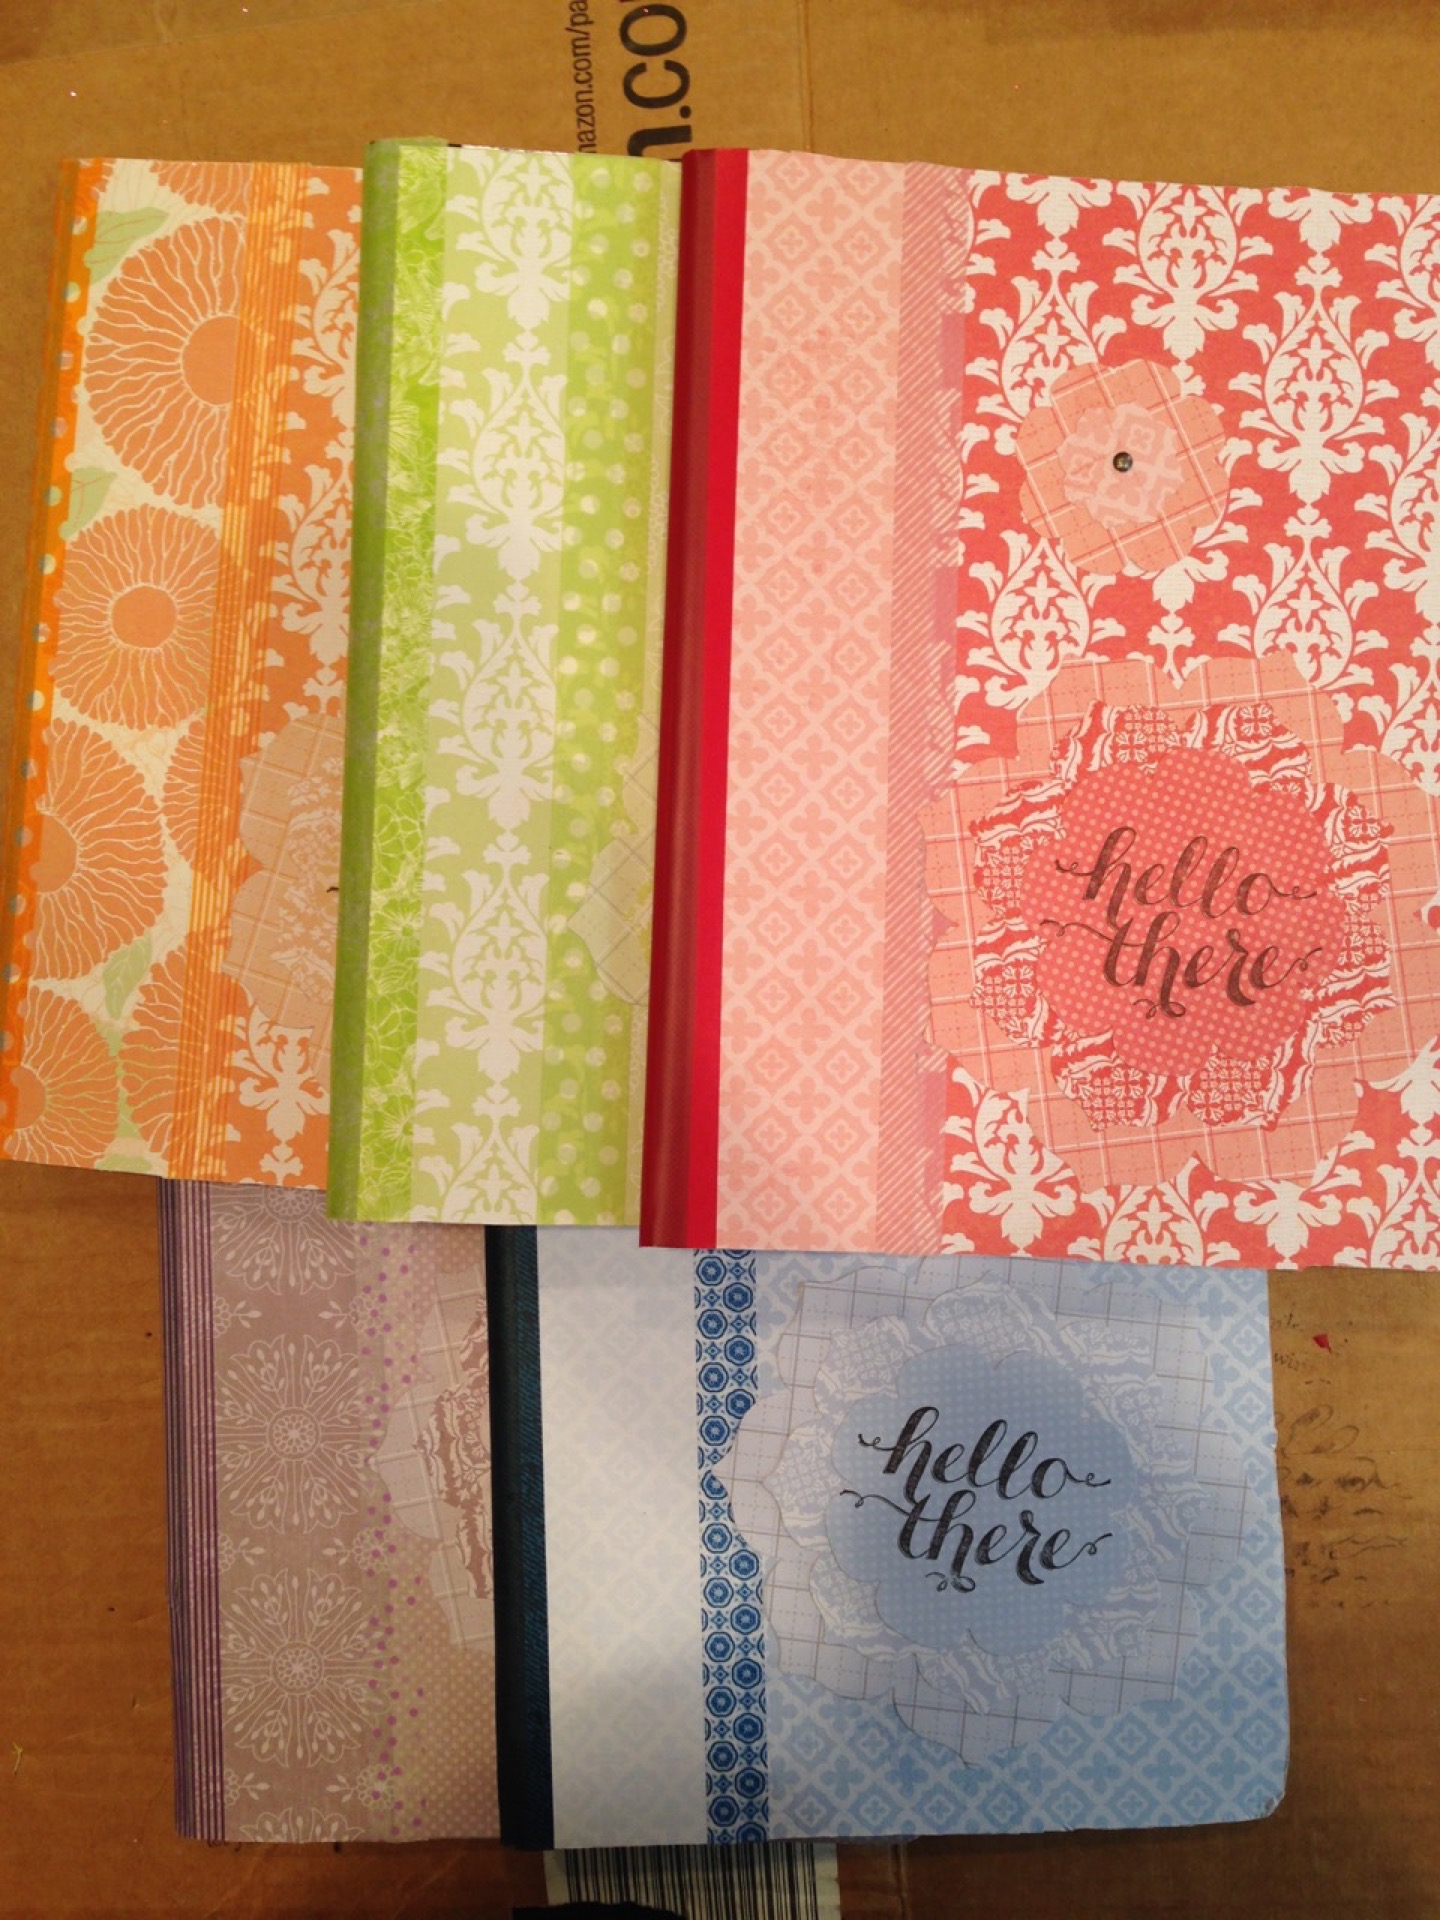
Thank You Cards: Simple, but cute! I made a variation of colors and patterns using some old patterned paper.


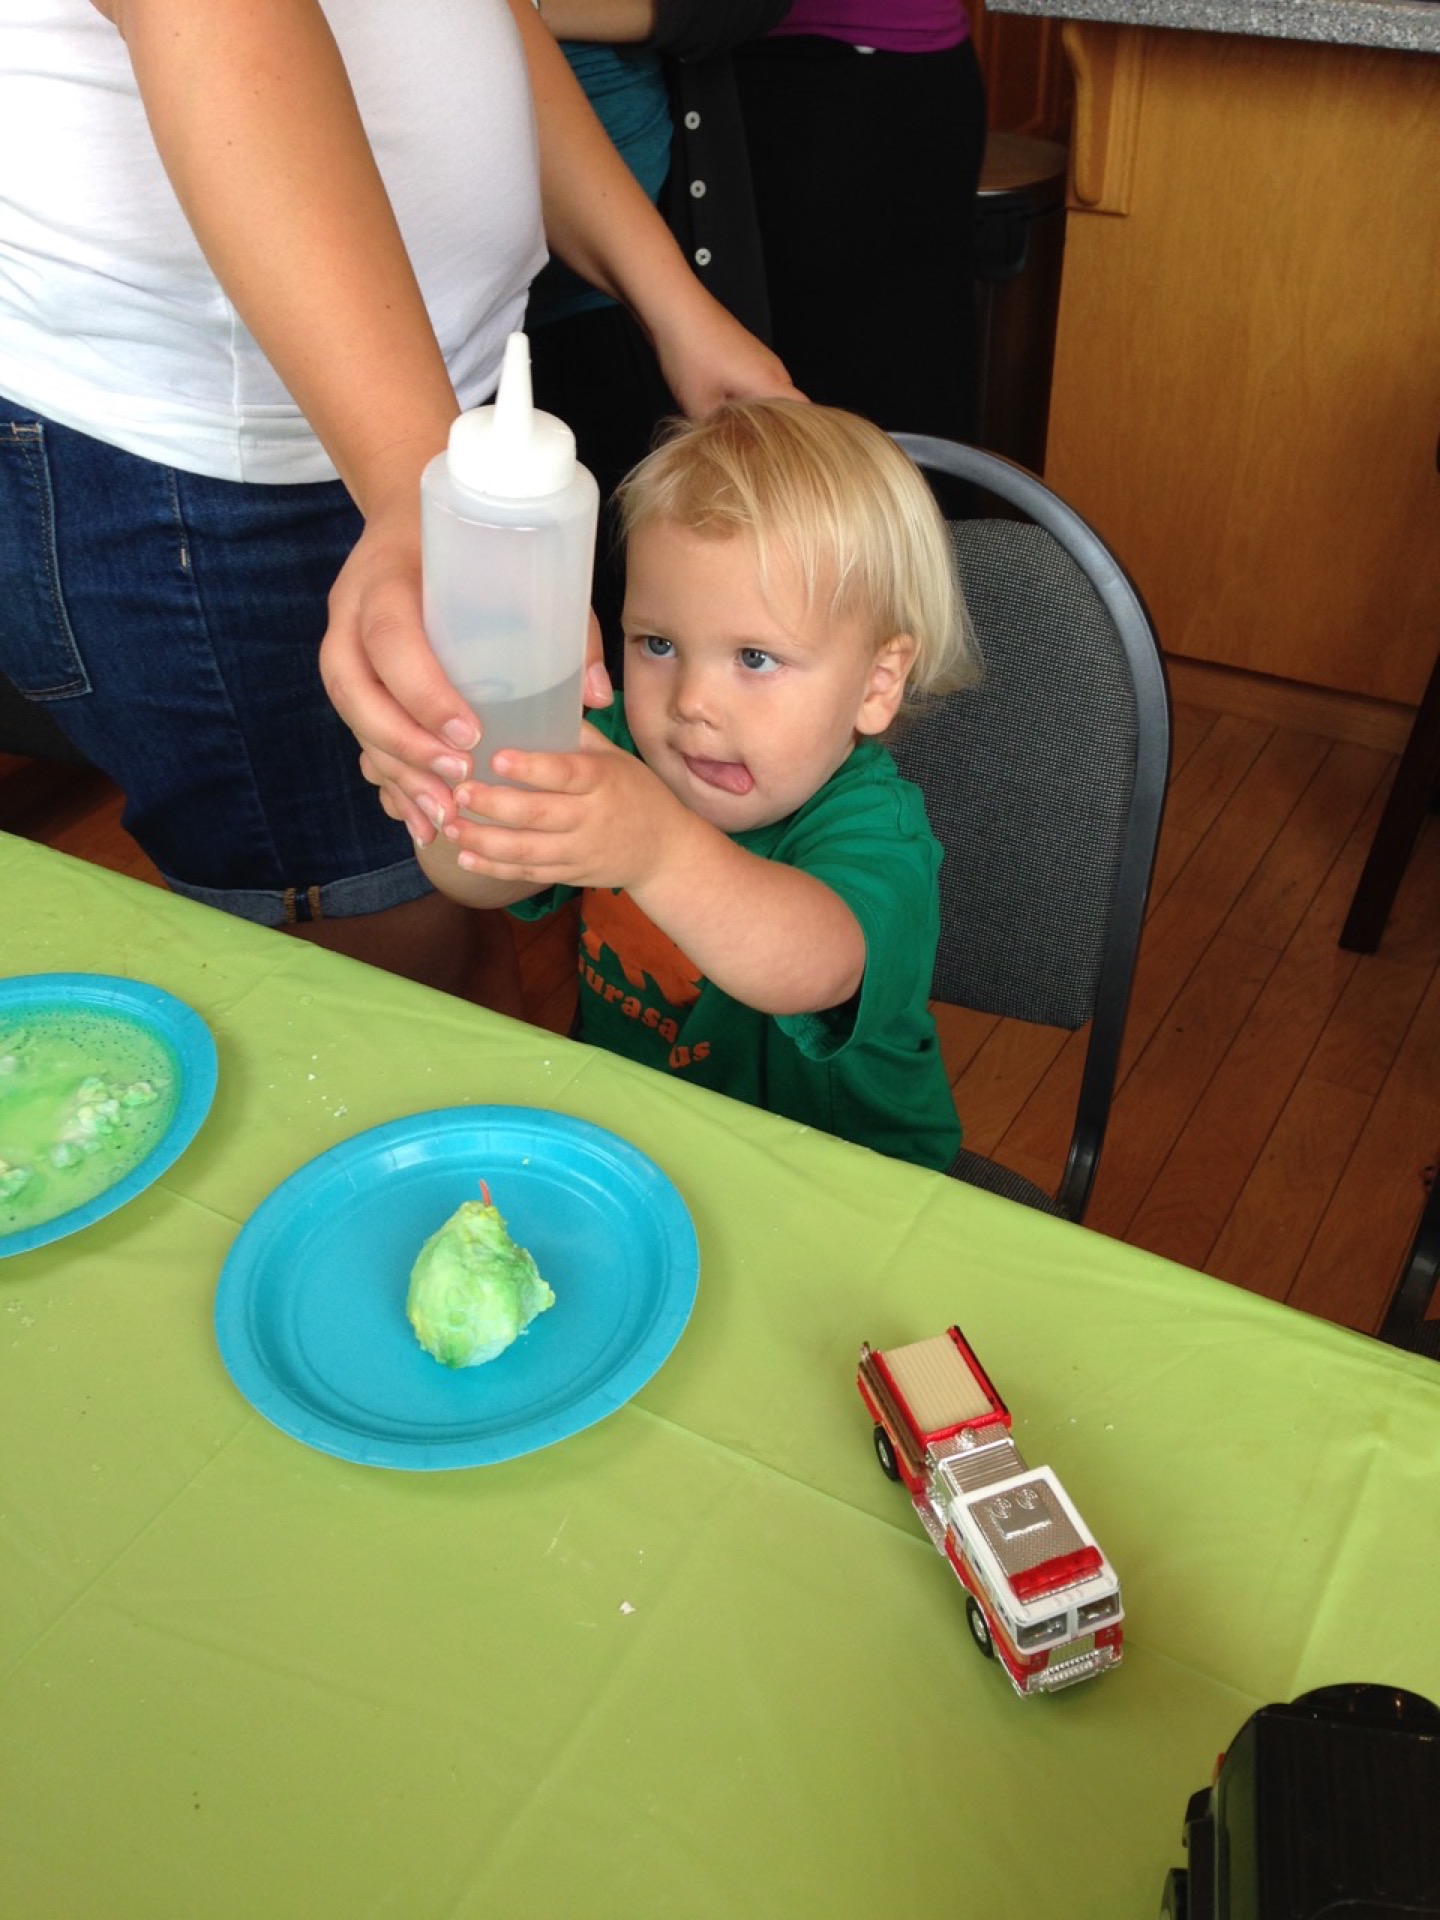
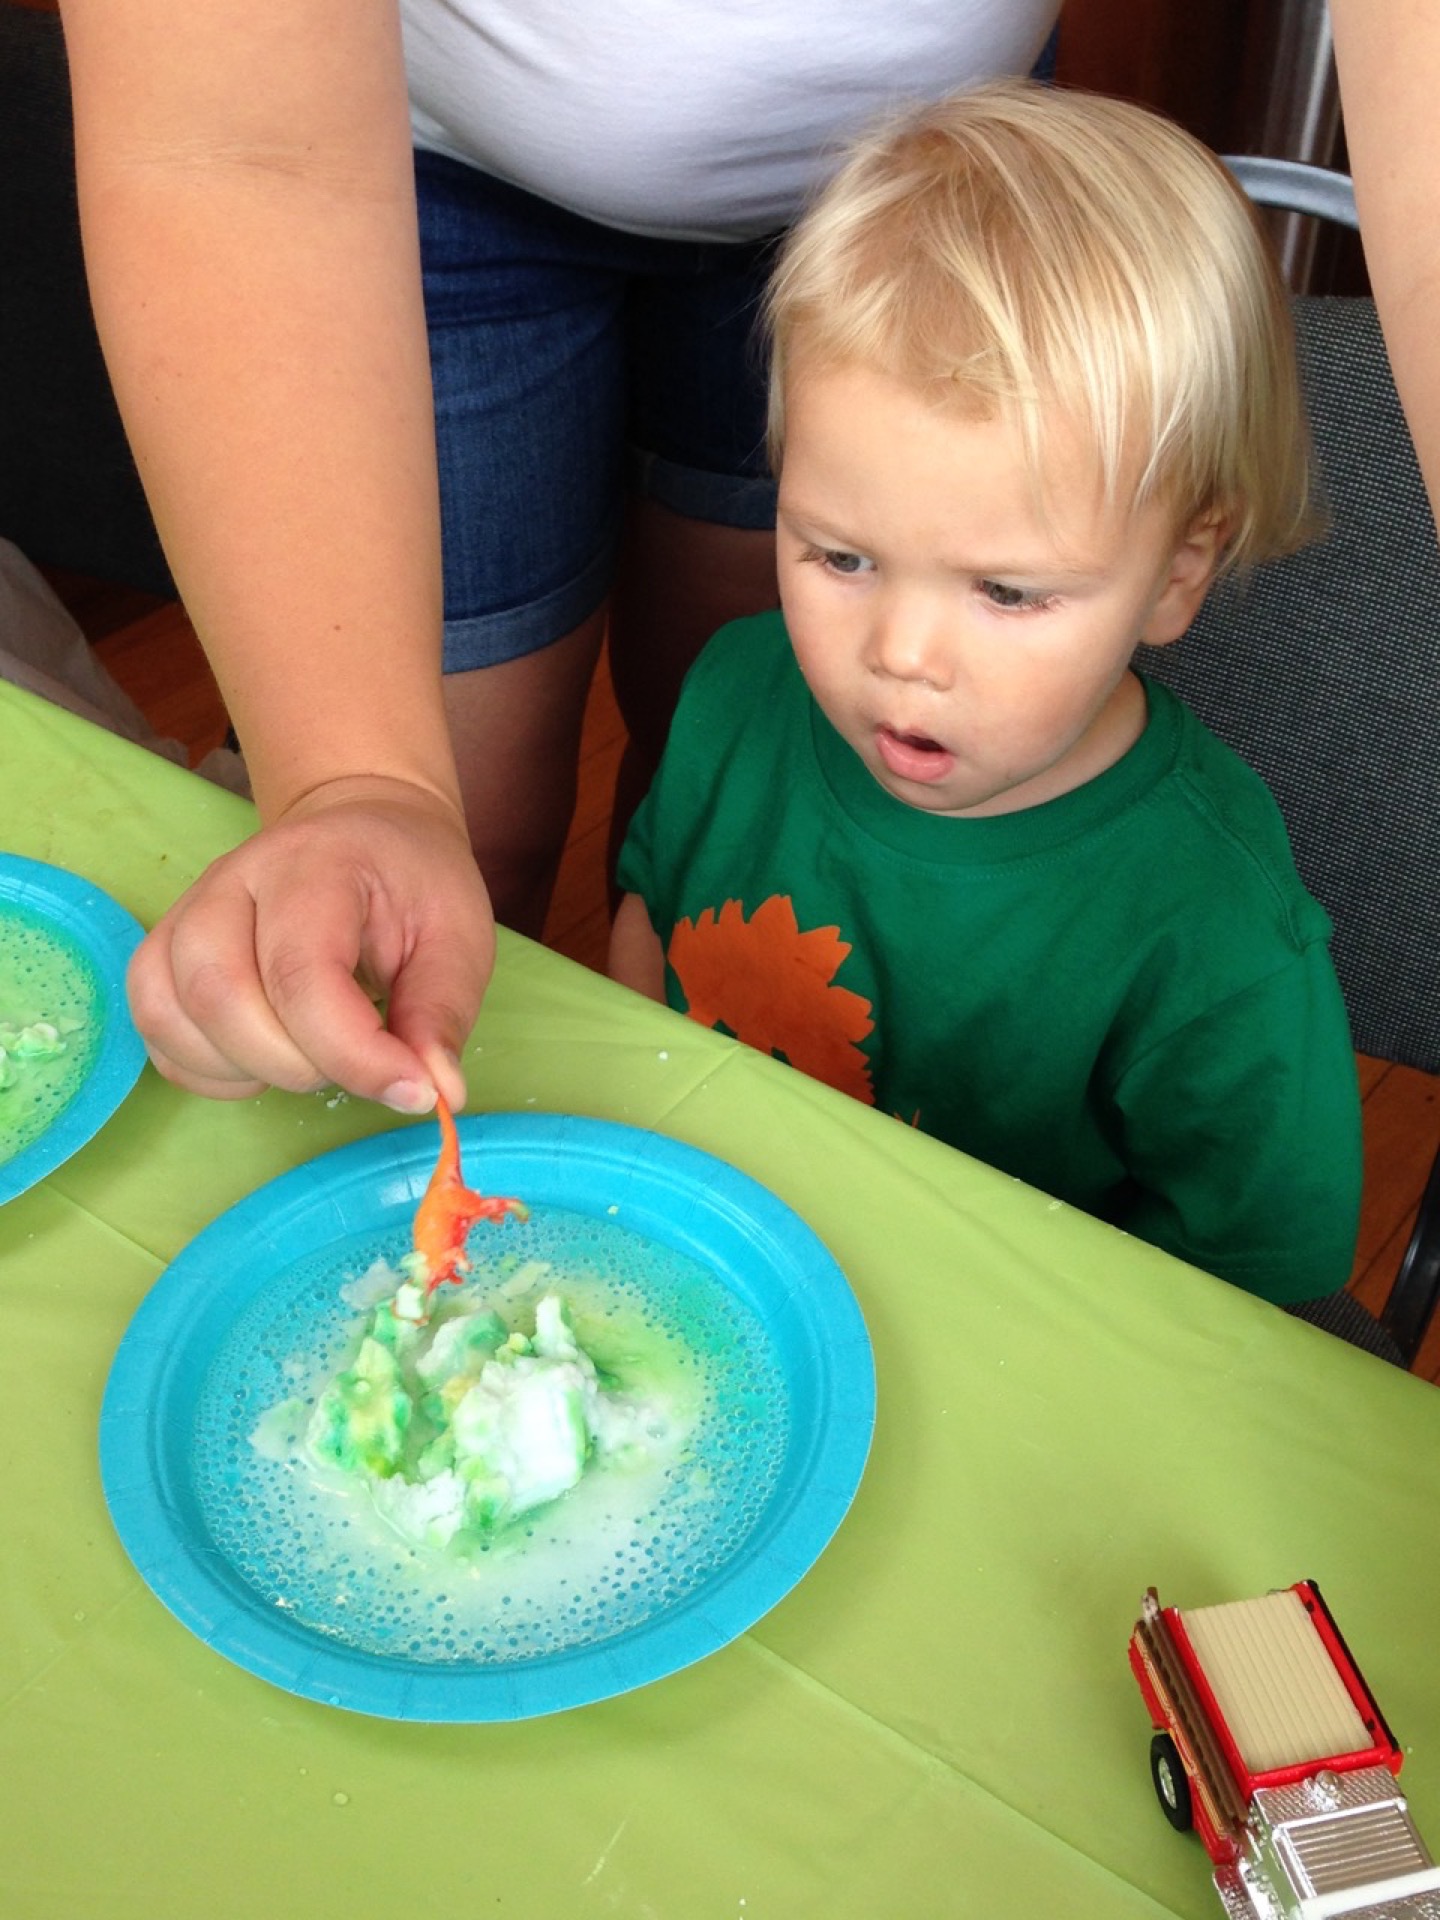
Party Pics:


Supplies:
- SU No Bones About It stamp set
- SU old DSP
- SU Pool Party, Gumball Green (retired), Pumpkin Pie, Chocolate Chip, and Tempting Turquoise ink
- SU Starburst framelits (retired)
- White paper
- White Paper bags
- Toothpicks
- Labels framelits
SSINK September 2015 Blog Hop

Welcome to the Stylin' Stampin' INKspiration blog hop! This month we are welcoming fall! As you hop along, please be sure to comment and show some love on every blog! We are always excited to hear from our followers! You should have just left stop number 7 on the Stylin' Stampin' INKspiration Blog Hop - Bree @ Craft-somnia Momma. If so, you are in the right spot. If a link doesn't work or you get off track, you will find the full blog hop lineup below.
This month's theme was welcoming fall and what better way to welcome fall than with a bit of inspired card candy. Never made card candy? It's easy. Create a few embellishments to add to a card. The best card candy pieces are 3D with multiple layers and embellishments. I well simple this time by adhering some stamped images to a layer of Typeset DSP and heavier vanilla cardstock underneath. For packing purposes, I attached the card candy to a piece of window sheet with a glue dot. Stays put, but easy to remove and adhere to an actual card.

- Stamps: For All Things
- Inks: Wild Wasabi; Mossy Meadow; Pumpkin Pie; Tip Top Taupe; Blackberry Bliss; Delightful Dijon
- Cardstock: Typset DSP; Very Vanilla
- Accessories:
- Tools: Ovals Framelits; Circles Framelits

Blog Hop Participant List:
- Tobe at The Craft Sea
- Diana at Stampin Fun with Diana
- Leanne at Literally My Joy
- Jennifer at Jenny G Paper Crafts
- Jenn at Happy 2 Scrap 4 Life
- Kim at Stamping with Kim
- Bree at Craft-somnia Momma
Mini Modified Notebooks
Today's project is one of my favorite non-card crafts. I love making modified notebooks! So for August stamp club, I decided to have my ladies make their own mini modified notebooks. For my own, I went with an antique look. A bit of map paper is perfect for that antique look. But the paper by itself looked a bit too plain. I took a brayer and added some blue and yellow ink. Much better! A little washi tape and a nice little sentiment finished off the card.


- Stamps: Happy Happenings
- Inks: Lost Lagoon; Hello Honey
- Cardstock: Typeset DSP; Very Vanilla
- Accessories: Washi Tape (not SU)
- Tools: Label Punch (retired)
Find Your Voice - Part 2
I ran across rukristin’s free 6-week workshop Find You Voice. I love her blog and her products, especially the Currently line. I have a ton of things going on this summer, but I had to stick this project in somewhere. If you want to join us, head on over and sign up. For the project, I choose to add these pages into my household binder along with my OLW pages. Once I decided the where, I had to decide how. Looking at all my crazy supplies, I had to narrow it down. I often get overwhelmed in choices. I started with myMessy Boxes from A Beautiful Mess that have been piling up on the counter. I kept saving them for no good reason, but yeah for this project apparently. I added a few stamps, some embellishments, and alphas to complete my stash.
Here are the last three week's creative challenge pages.
Week 4: What Do You Have to Say focused on the stories you want to tell. The challenge was to document a story. I decided to use Arthur's birth story. Very structured page, but it helped to think about what I wanted to say succinctly, but covering everything. These special moments are definitely the type of stories I want to tell!

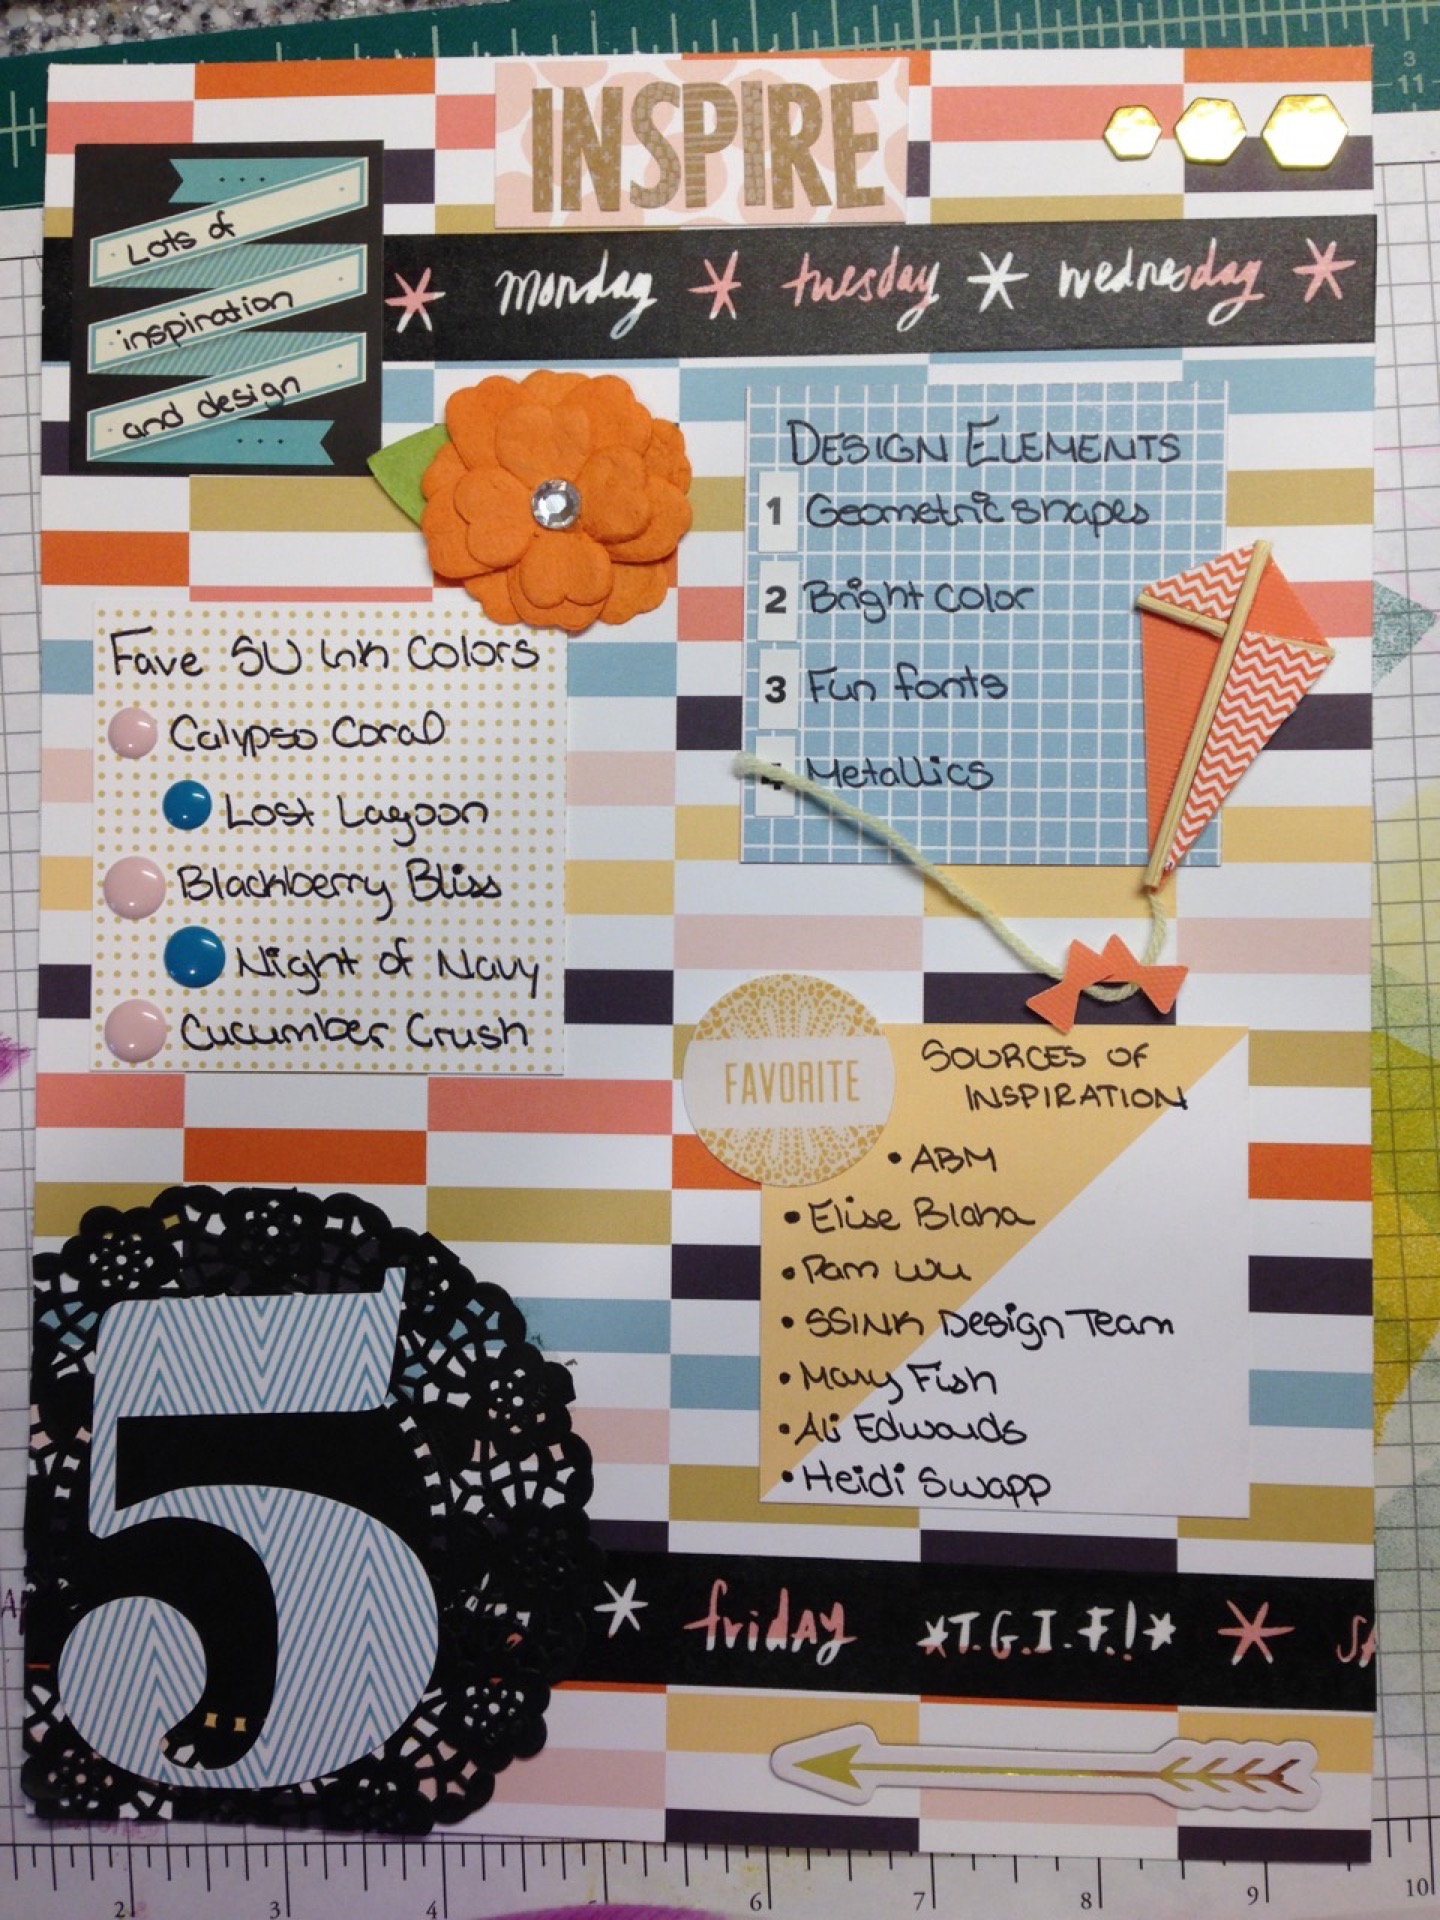
Week 5: Expressing Your Voice focused on your personal style. I decided to document my favorite design elements for my creative challenge. The color palette is more muted than my usual, but it's nice to branch out every once in awhile.
Finally Week 6: Building On Your Story focused on wrapping up and setting some goals. In fact the creative challenge was to document my storytelling goals. I decided on five major goals with some ways to achieve those goals. Simple page, but I like it!

Overall this workshop has been great at helping me to branch out. I used a ton of supplies that aren't my normal go-tos. I ventured back into traditional scrapbooking to stretch my limit. And I really thought about some my storytelling approach. Thank you Kristin for creating such a great workshop!
The Happy Planner
A few weeks ago Blitsy had a sale on mambi's Happy Planner and accessories. I had seen these in stores, but didn't necessarily want to buy one... However, my current planner-less life was not going well. J always insists on using digital calendars and planners, but I need paper. I like see to the month laid out before me. I had weighed the pros and cons of many different planners, but most were filled with boxes I wouldn't use or were just too expensive. I took a chance and ordered The Happy Planner.

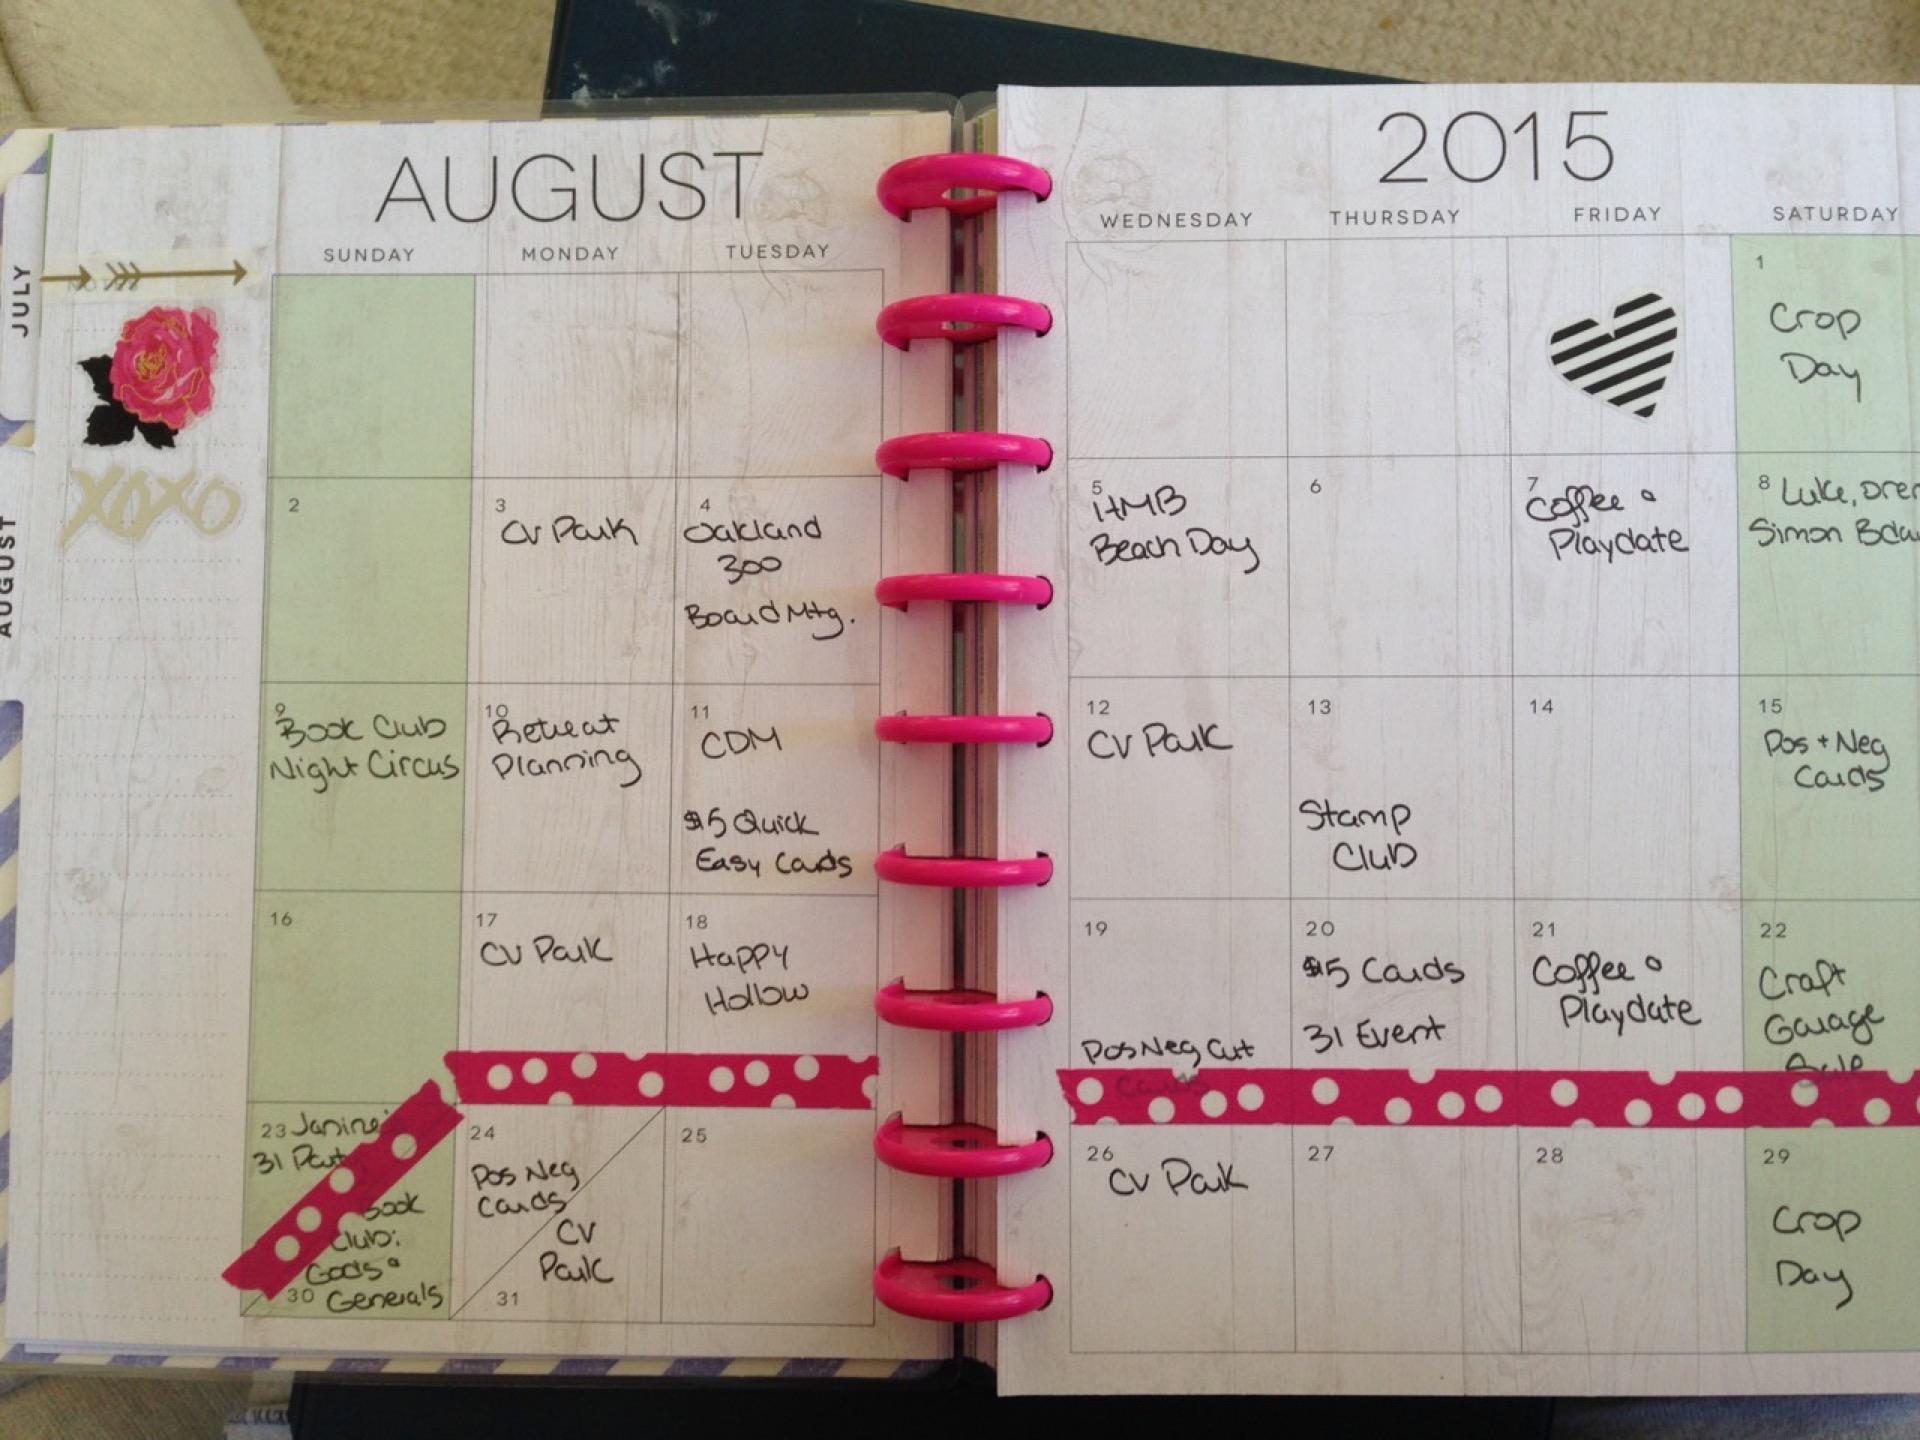
Turns out, I love the set up! First of all, it has a spiral type binding. I love being able to lay it flat on it's own or pull back the pages. Definitely helps! Secondly, I love how the planner includes a monthly goal setting page. I love pulling together my important events, dates, and goals onto one page. I decided to keep these pages unadorned to focus on the events. This is my August page. For the goals section, I didn't include all my monthly goals, but focused on the bigger or month-long ones (i.e. new movie month).

Third, I like the size and layout of the monthly spreads. There is enough space to jot down bigger events or plans. Plus, there is a column on the left for notes. I'm still deciding what to do with those left hand columns. I saw someone use them as a space for inspirational sayings and other person use it as a "currently" list. Maybe I'll settle on one of those two ideas.
Fourth, check out these weekly spreads! I love how the days are divided into Morning, Afternoon, and Evening chunks. With an afternoon napping toddler, this divide fits my day perfectly! I've taken to adding our dinner plans right under the Evening bar. I also appreciate that Saturday and Sunday are kept together at the end of the week. I can't wrap my brain around the idea of Sunday as the first day of the week. On the left hand side, there is a column title "notes." I've chosen to use the column as my weekly to-dos. No appointments or activities, but documenting the few things I really want to focus on or complete.

So that's my new planner. I've already bought some sticker accesories (as seen in the above pages), but I'm sure I'll think of other little extras to add as the weeks go by. And best of all, this planner is an 18-month planner. I am set until December 2016!!!!
Find Your Voice - Part 1
I ran across rukristin's free 6-week workshop Find You Voice. I love her blog and her products, especially the Currently line. I have a ton of things going on this summer, but I had to stick this project in somewhere. If you want to join us, head on over and sign up. For the project, I choose to add these pages into my household binder along with my OLW pages. Once I decided the where, I had to decide how. Looking at all my crazy supplies, I had to narrow it down. I often get overwhelmed in choices. I started with my Messy Boxes from A Beautiful Mess that have been piling up on the counter. I kept saving them for no good reason, but yeah for this project apparently. I added a few stamps, some embellishments, and alphas to complete my stash. Time to dive in.
I started with my title page using a pattern paper page and an overlay. The entire class is based on finding my inner storyteller and I feel like "Life is Beautiful" was the perfect mantra. From there I focused on the pre-workshop questions and built a page around those. It's nice to get back into traditional scrapbooking for a project. I've been focusing so much on Project Life that I had to rethink my approach to these pages.


After the pre-workshop page, I dove straight into Weeks 1-3. Sometimes I based my page off of the questions and sometimes off of the creative challenge. I love that this class is very free in its structure. My basic strategy was to grab a focus piece and just see where the page took me. Overall I am loving where the class is going. Below are my pages for the first half of class.


Baker's Box Thinlits
For stamp club, I always try to have three cards and one non-card project for the ladies. July's project revolves around my newly bought Homemade for You bundle. The bundle comes with the Homemade for You stamp set and Baker's Box Thinlits. Now I don't usually make 3D projects, but I was intrigued by the size and shape of the Baker's Box. It's perfect for filling with Kisses or M&Ms or even a few small cookies. I pulled out a ton of old DSP, picked a fun subtle pattern from Park Lane and started cutting. The thinlit requires two passes through the Big Shot. If you place it carefully, you can get two pieces out of a 6" x 12" piece of DSP. From there, it's just a matter of folding along the score lines and gluing the two pieces together. Easy peasy! I added a few tags (dies included in the Baker's Box Thinlits), some ribbon, and a cute clothespin. Overall a very cute little project. I'm thinking about making 13 of them for our October retreat. Maybe fill with some candy...

- Stamps: Homemade for You
- Inks: Lost Lagoon
- Cardstock: Park Lane DSP (retired); Whisper White
- Accessories: Lost Lagoon Ribbon; White clothespin (not SU)
- Tools: Baker's Box Thinlits
New Chalkboard Calendar
Remember my Blog Calendar that I posted a few weeks back:

Well it turns out our walls are crap and nothing sticks to them. My calendar ended up in a ball on the floor about a week after I put it up. On to plan B: spend a little more money and buy a chalkboard with a frame.

Here is my new blogging calendar. I bought a plain framed chalkboard and had a little fun. I looked into buying a pre-printed calendar, but most of them ran Sun-Sat. I prefer to think Mon-Sun. The ones that ran M-S were very expensive or the peel and stick kind that didn't work last time. So I grabbed a plan one that was only $5 at Michaels. I estimated my spacing and marked it off with washi tape. I realize that the spacing isn't exact, but that's the beauty of washi tape. If it bugs me, I just peel it off and redo.
Once I had my boxes, I went in and added dates to the boxes. It's hard to see in my picture as the dates are in white and very faint. I just wanted to have my markers. Then I went in and filled the dates with my proposed drafts. Each category gets a different color. Orange is SU News and Sunday Hauls. Green in Project Life. Pink is cards. Blue is miscellaneous.
So far, I am loving my system. As a draft is completed, I cross it out. At the end of the month, I take a wet cloth and wipe everything away. Simple, cheap, but effective. Just how I like my crafts!
Father's Day Craft
I hosted preschool a few weeks ago and our theme was Father's Day. Actually our theme was something different, but I had to switch weeks and had already prepped Father's Day themed activities and crafts. While searching Pinterest, I found the perfect relatively no-mess craft for toddlers: Golf Ball Painting! I started by stamping "I Love You Dad" onto a piece of cardstock. I've seen others just use paint, but I liked have a message behind the paint. Once stamped, I placed the cardstock into a disposable cake tin.

Then, I added a few drops of paint onto the paper. I found that less paint makes for a better card. Using more paint tends to clump together and obscure the stamped message.

Add some golf balls. I used some plastic toy golf balls instead of the real thing, but either would work.

Before handing to a toddler, make sure to add the lid. Arthur doesn't always follow directions, so a lid was essential to make this craft no-mess. Once the lid is on (and possibly secured with tape, let the toddler loose. The basic idea is that the golf balls will spread the paint around creating an abstract piece of art.

After a fun time shaking the container, a great piece of mailable artwork is left. I let my painted piece dry and then attached it to a folded card base. This made the perfect card to send to those special dads in our family.

Supplies:
- Cardstock
- Stamps and ink (or stickers)
- Disposable cake tin with lid
- Paint
- Golf balls