• Home
  • About
  • Archives - Wading Through
  • Archives - The Craft Sea

Wading Through...

  • Home
  • About
  • Archives - Wading Through
  • Archives - The Craft Sea

Archives: Crafting Time

Originally published on February 2nd, 2014

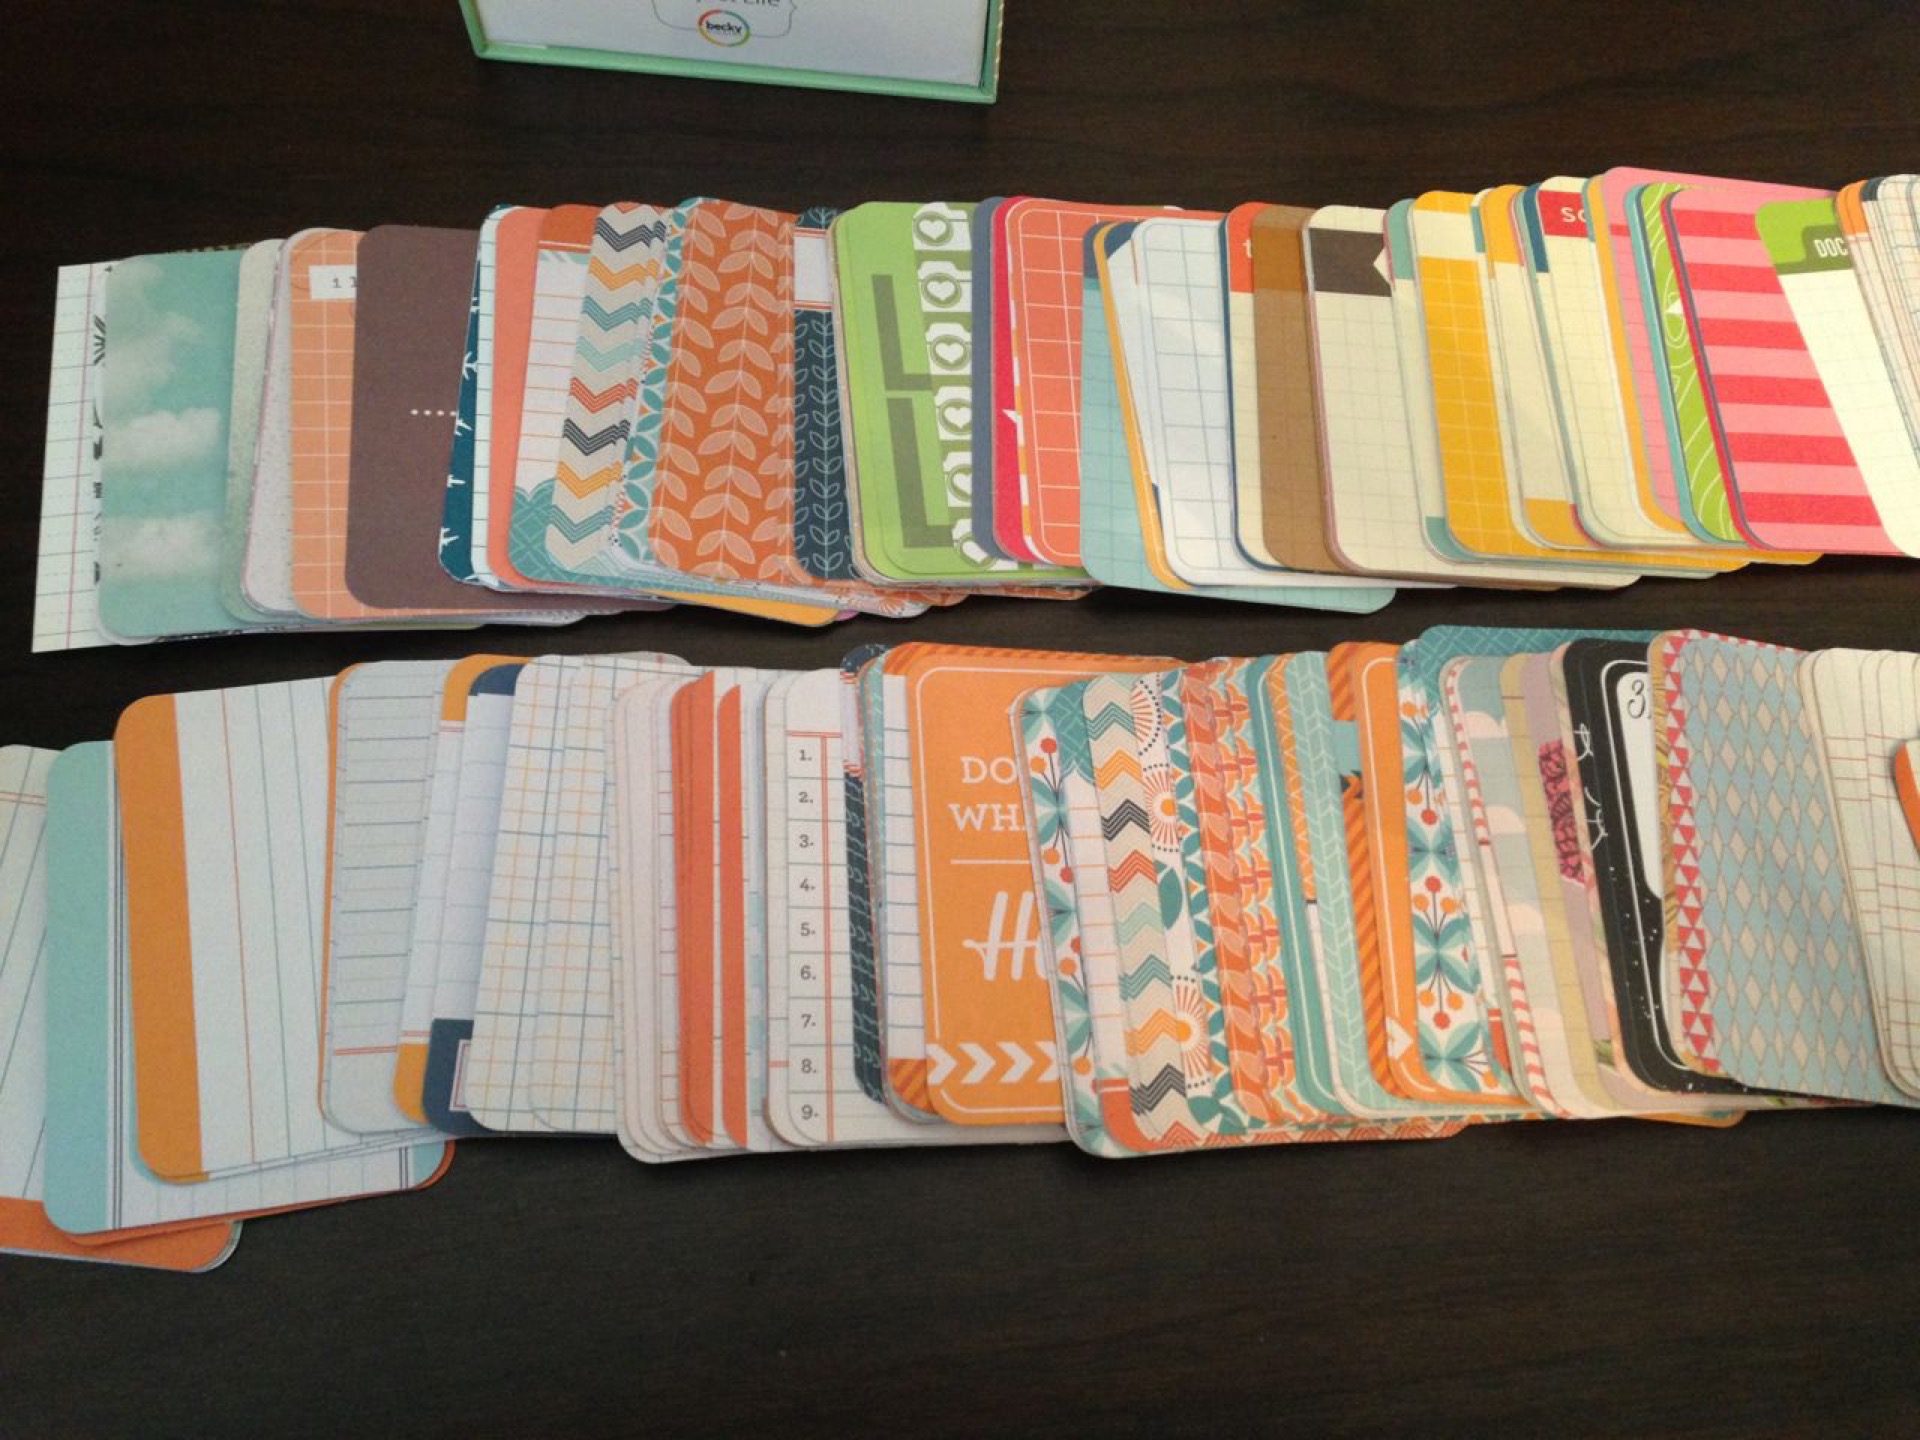
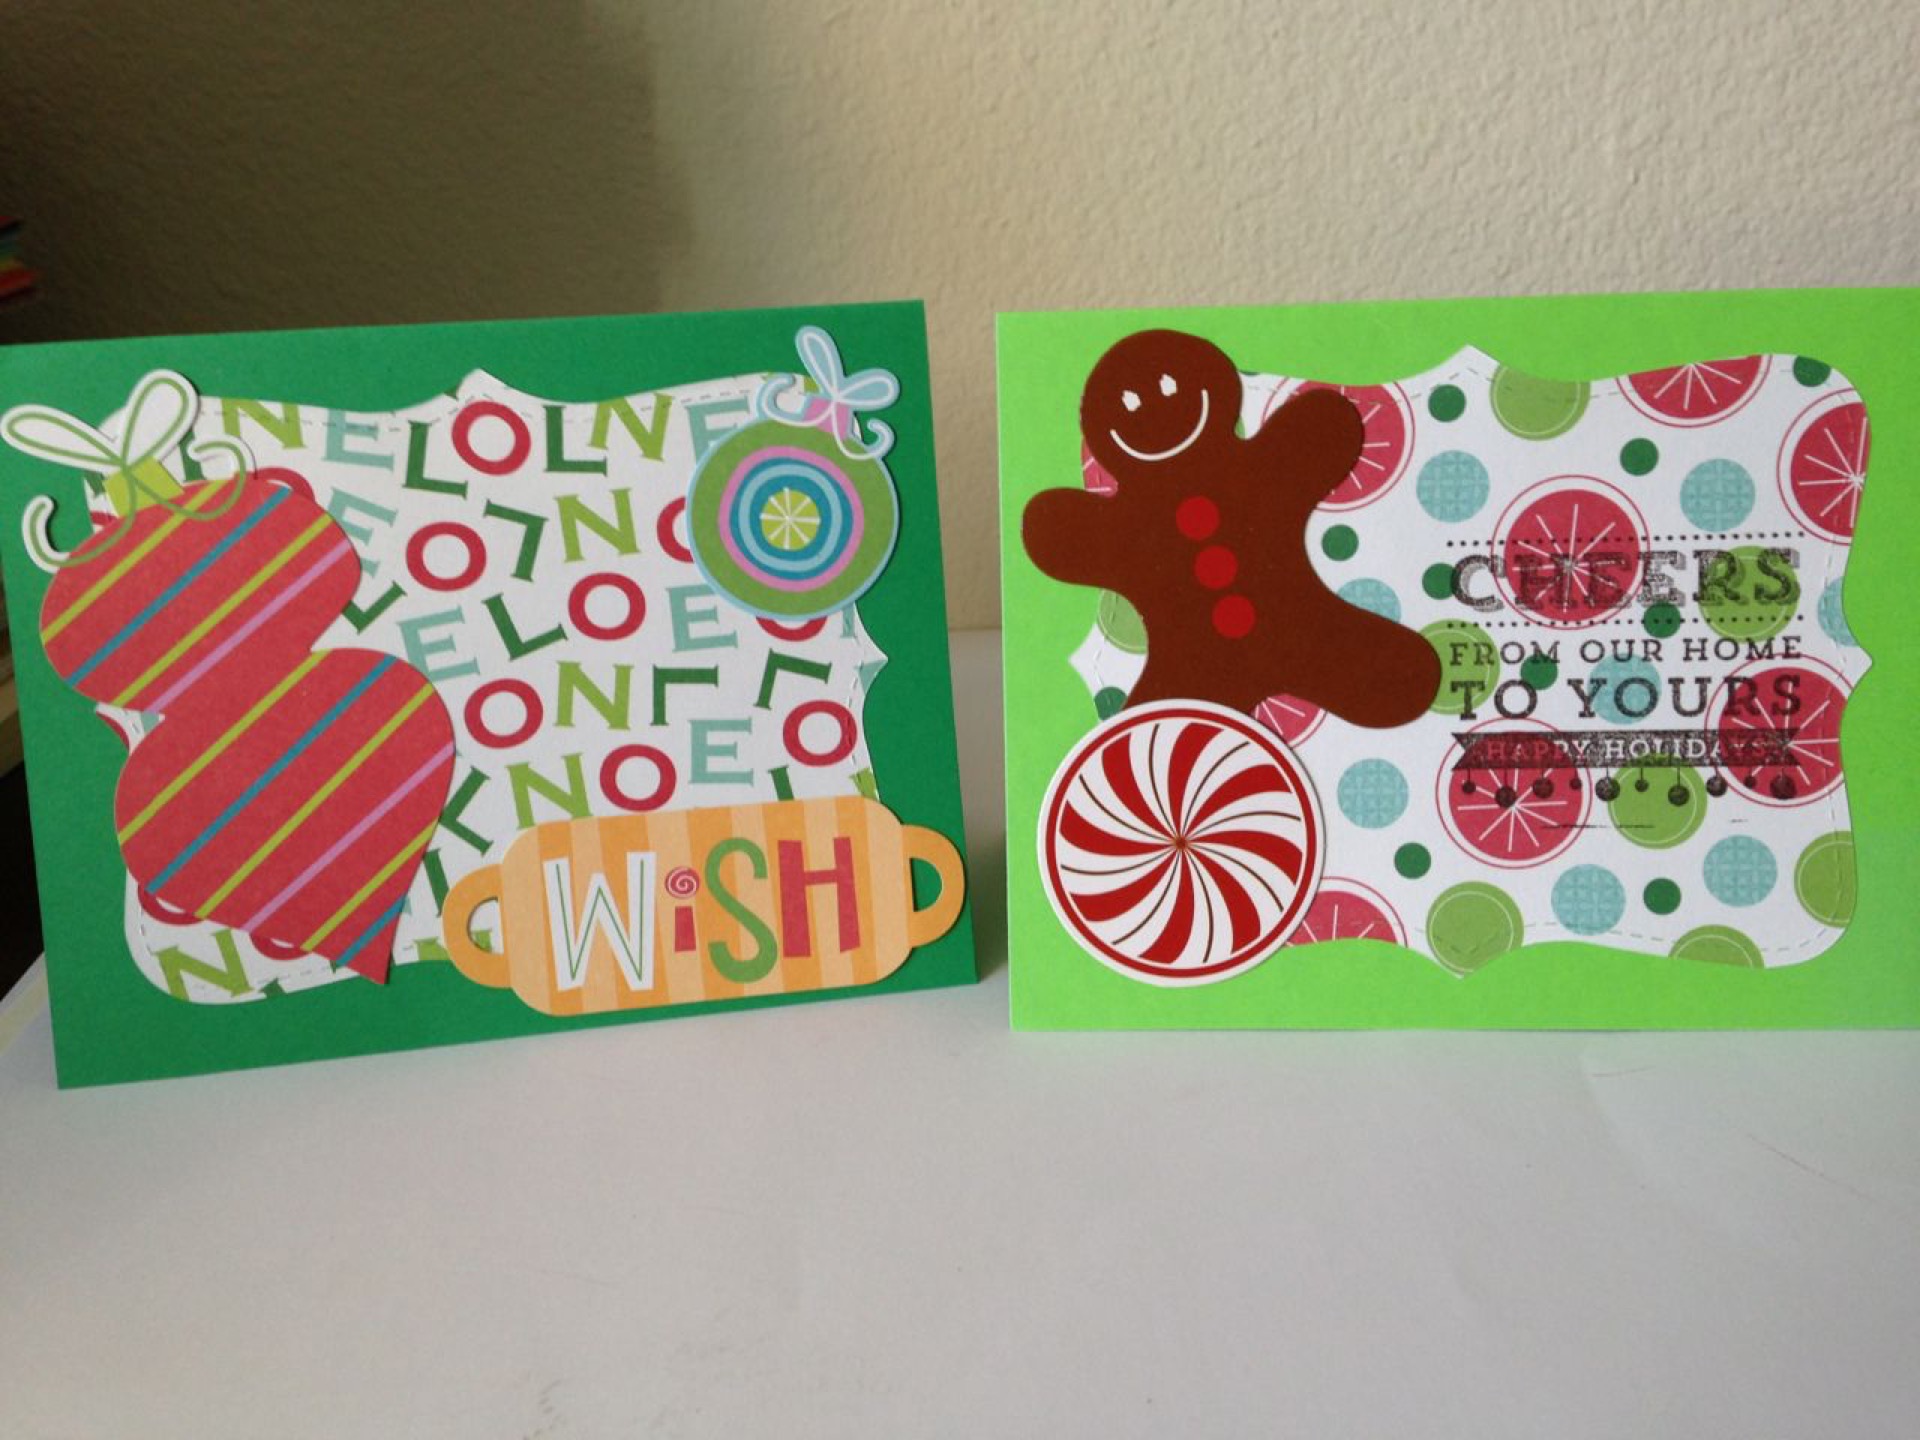
I spent some time Sunday afternoon making some cards.  I had a few leftover kits from crop night, so I thought I would focus on those.  I took a few ideas from Pinterest and put my own spin on them.


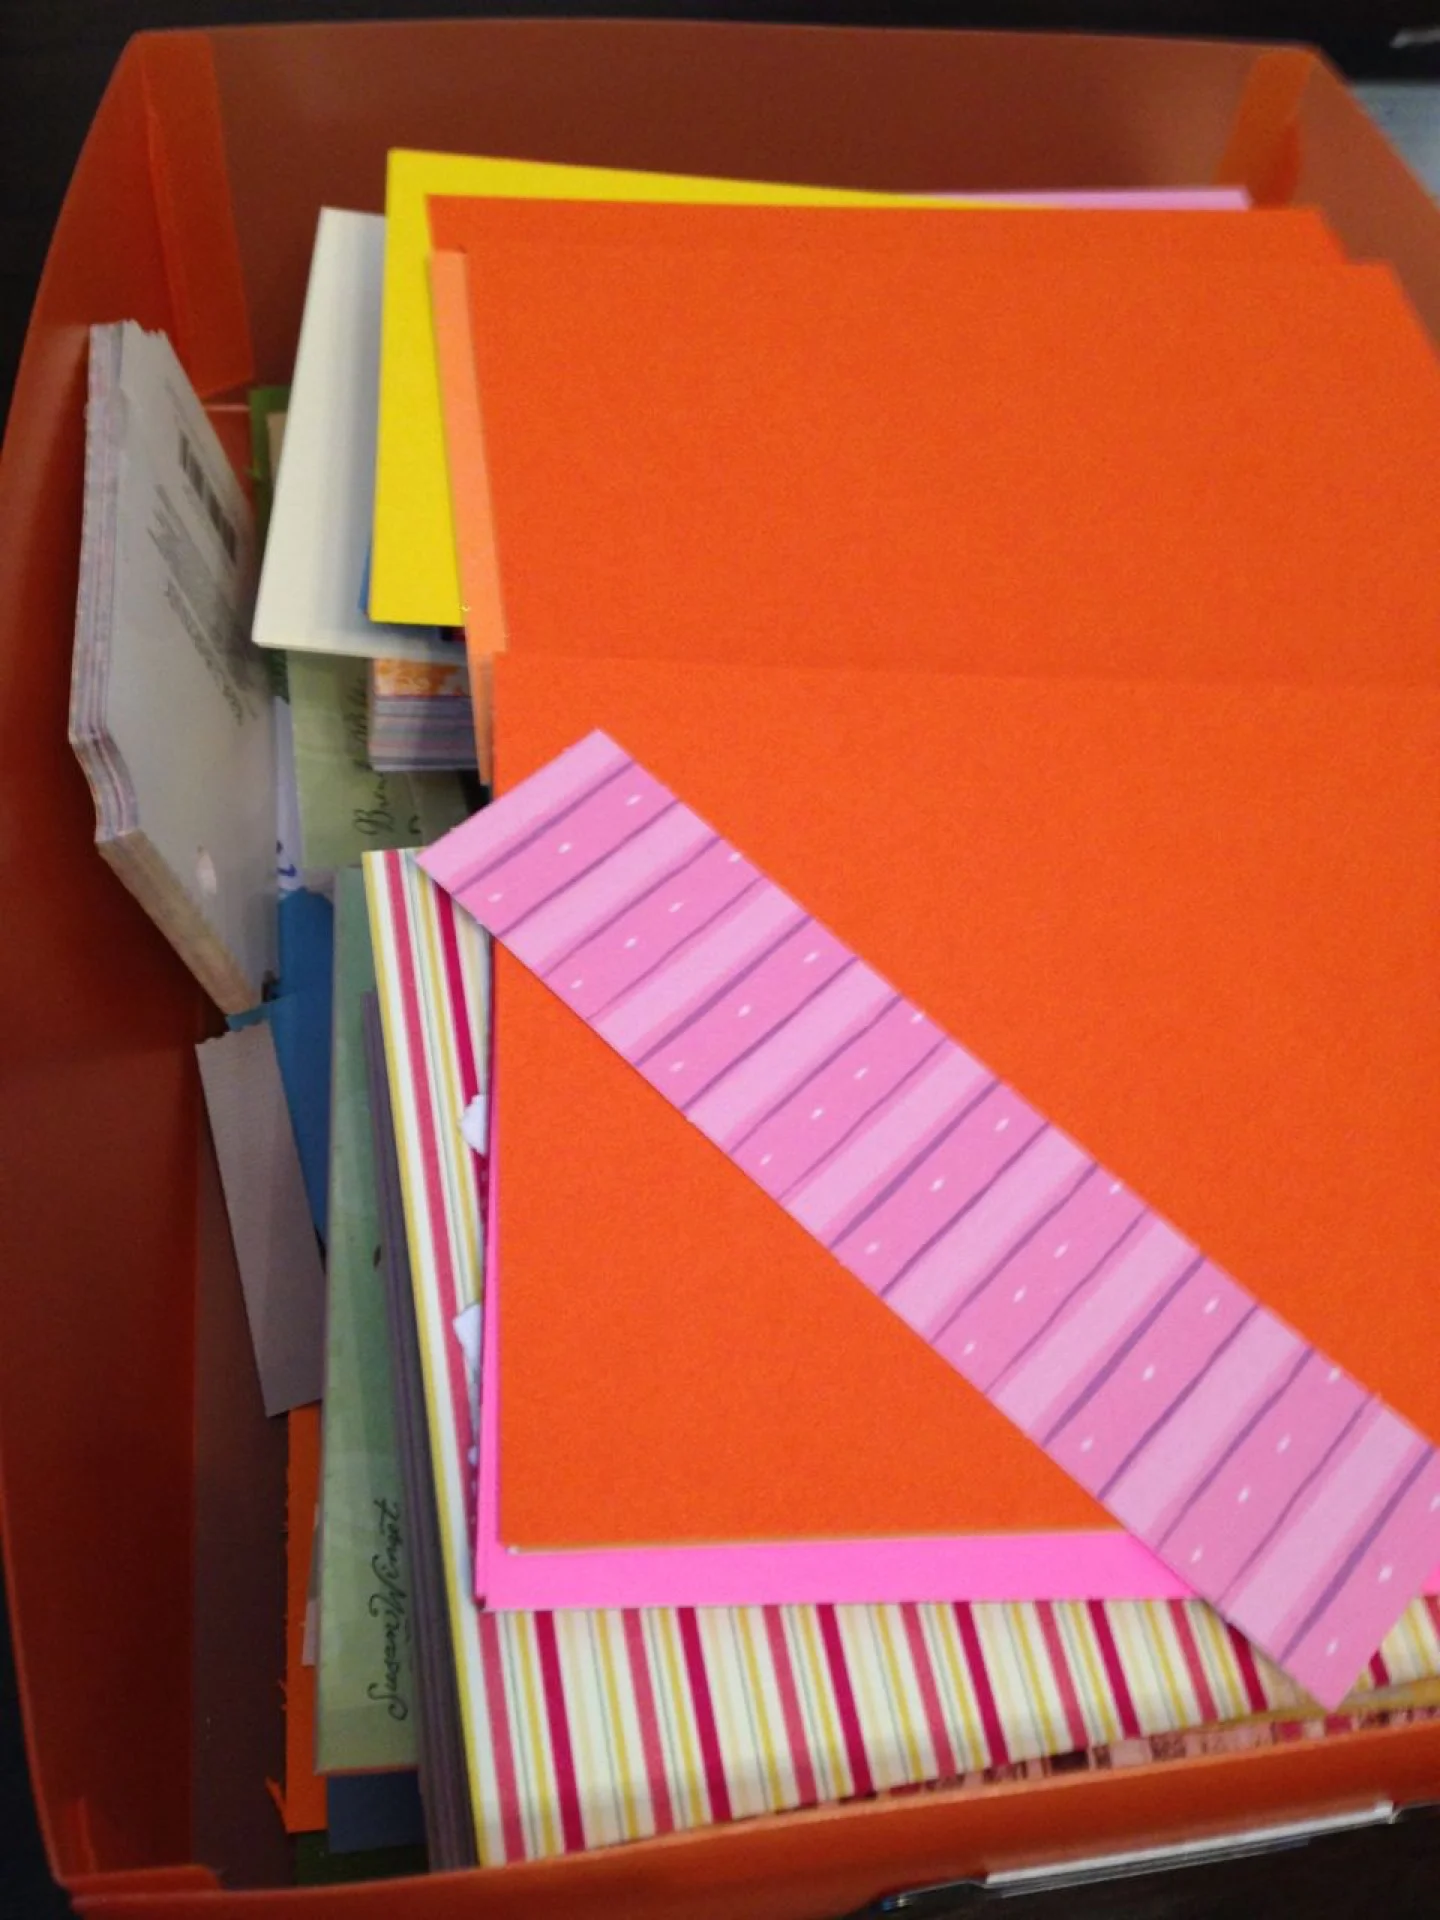
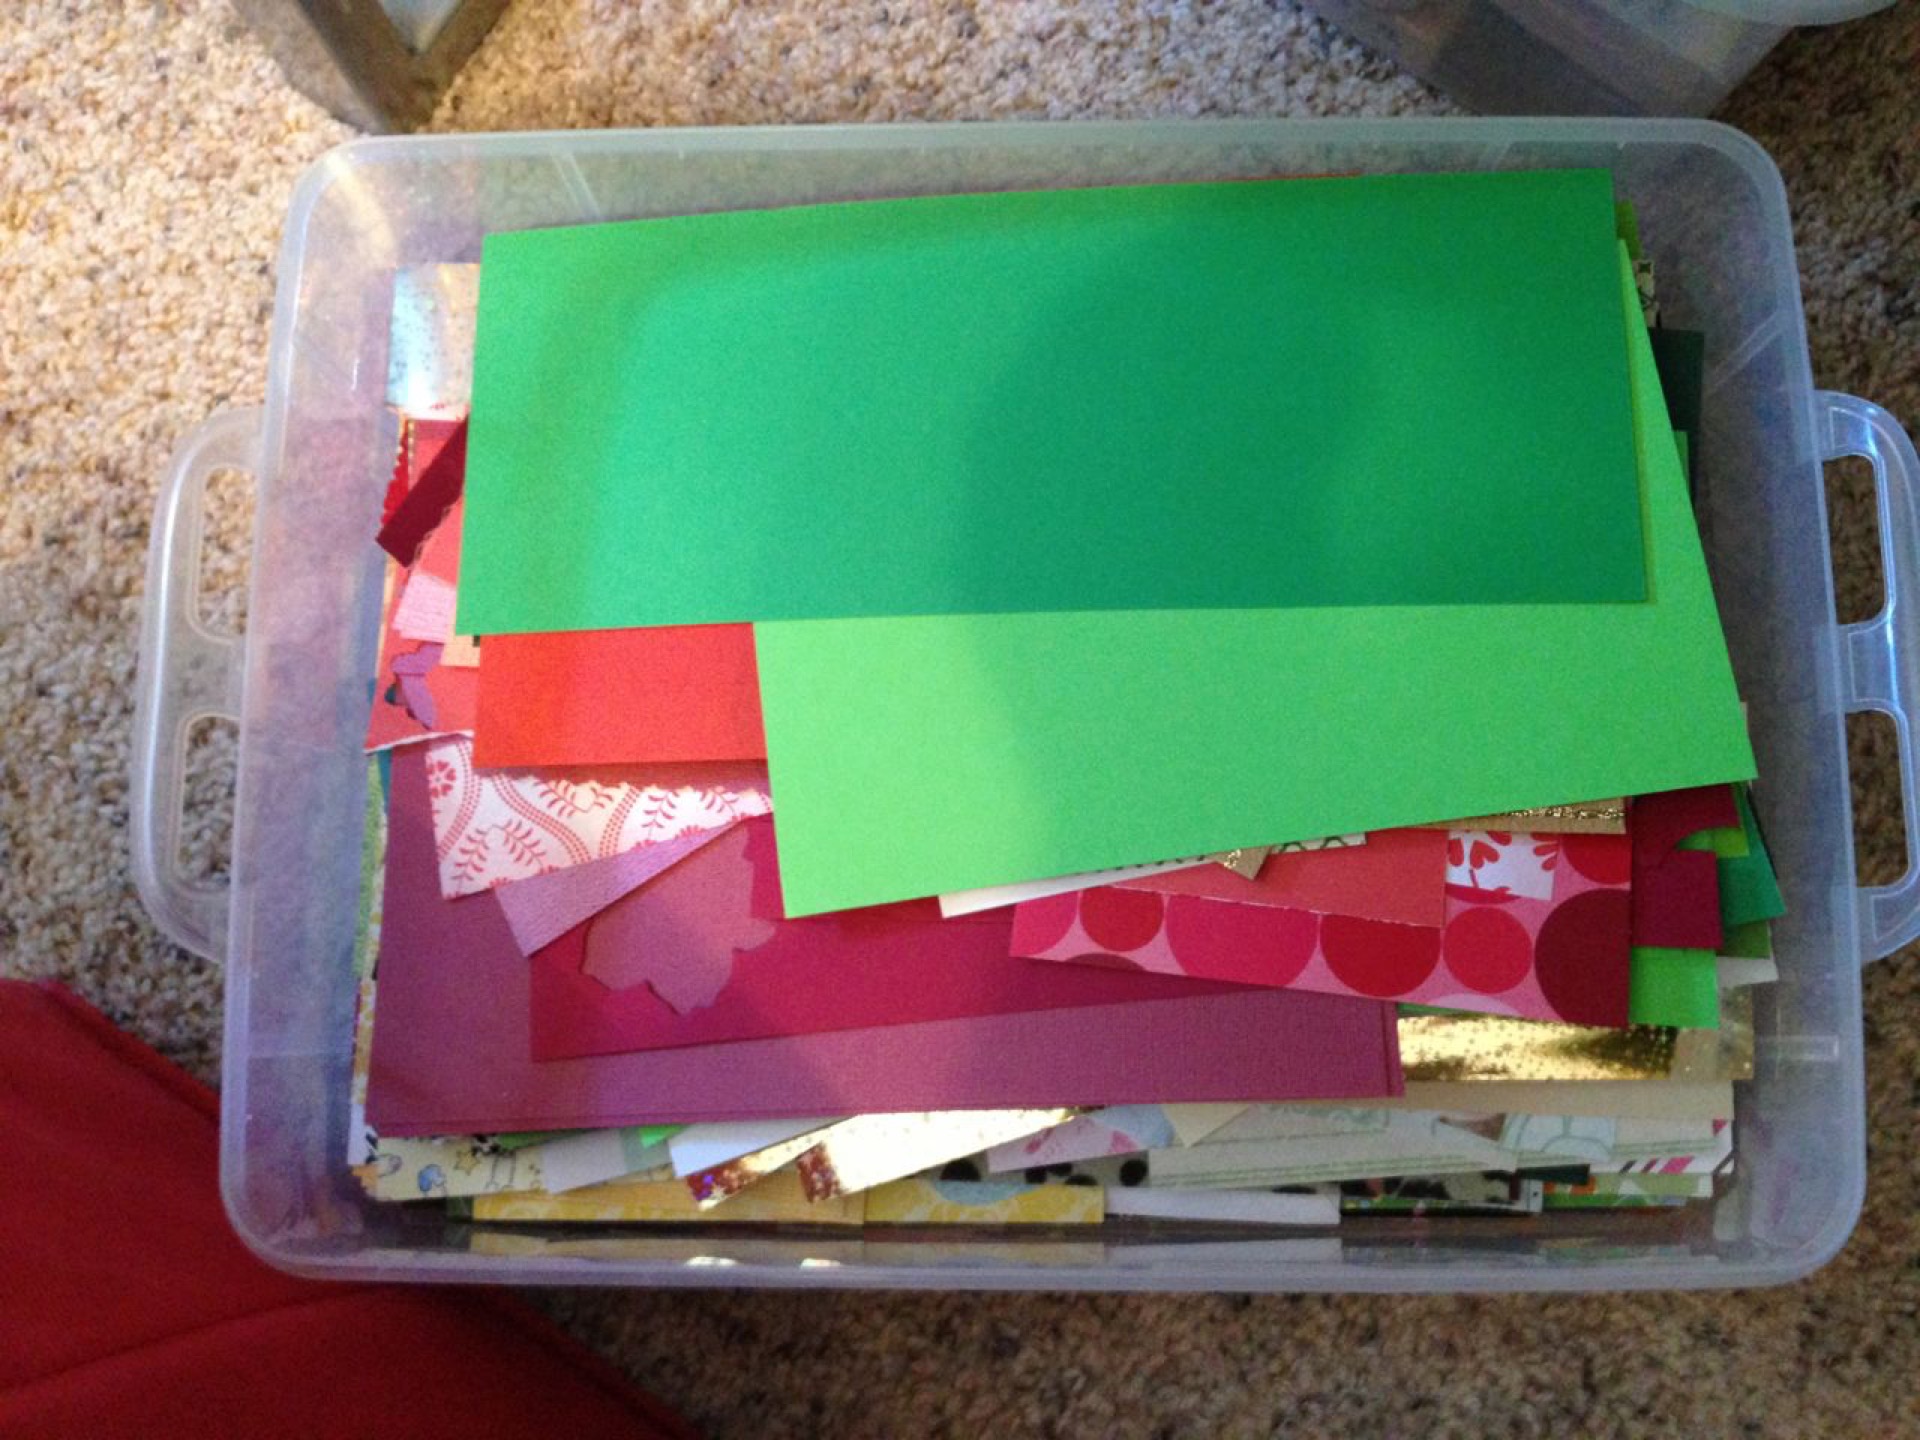
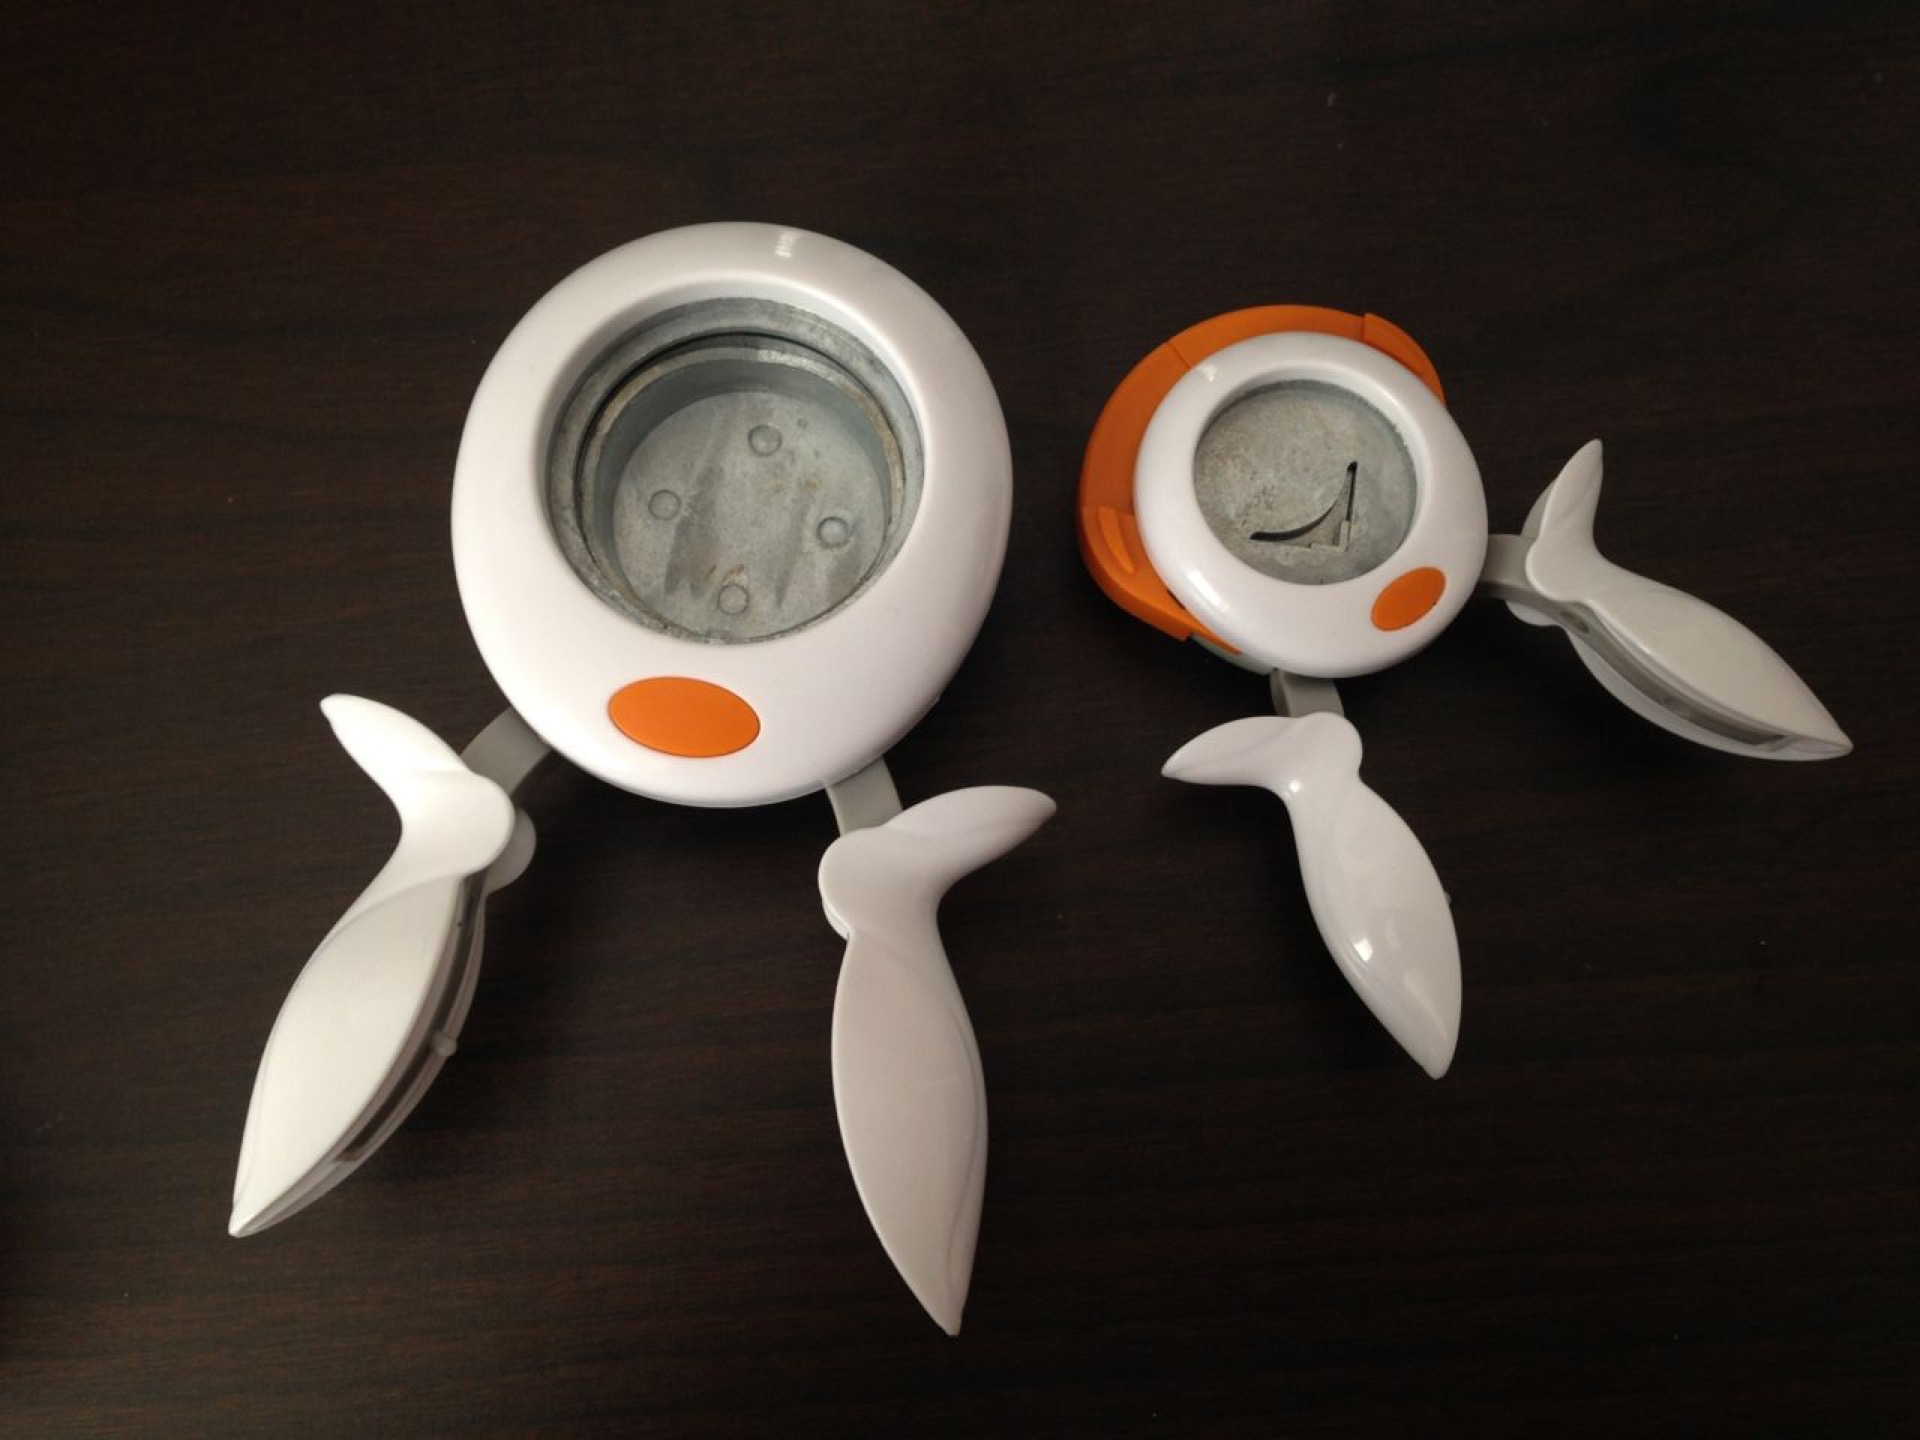
For my versions, i used a ton of random paper from my stacks and a few Stampin' Up products.  I left off the ribbon in favor of a more streamlined one-layer (but not really) look.  My only complaint is that I don't own a circle punch between 1 1/4" and 2".  I really need to add that to my Stamp Club order for February.

Supplies:

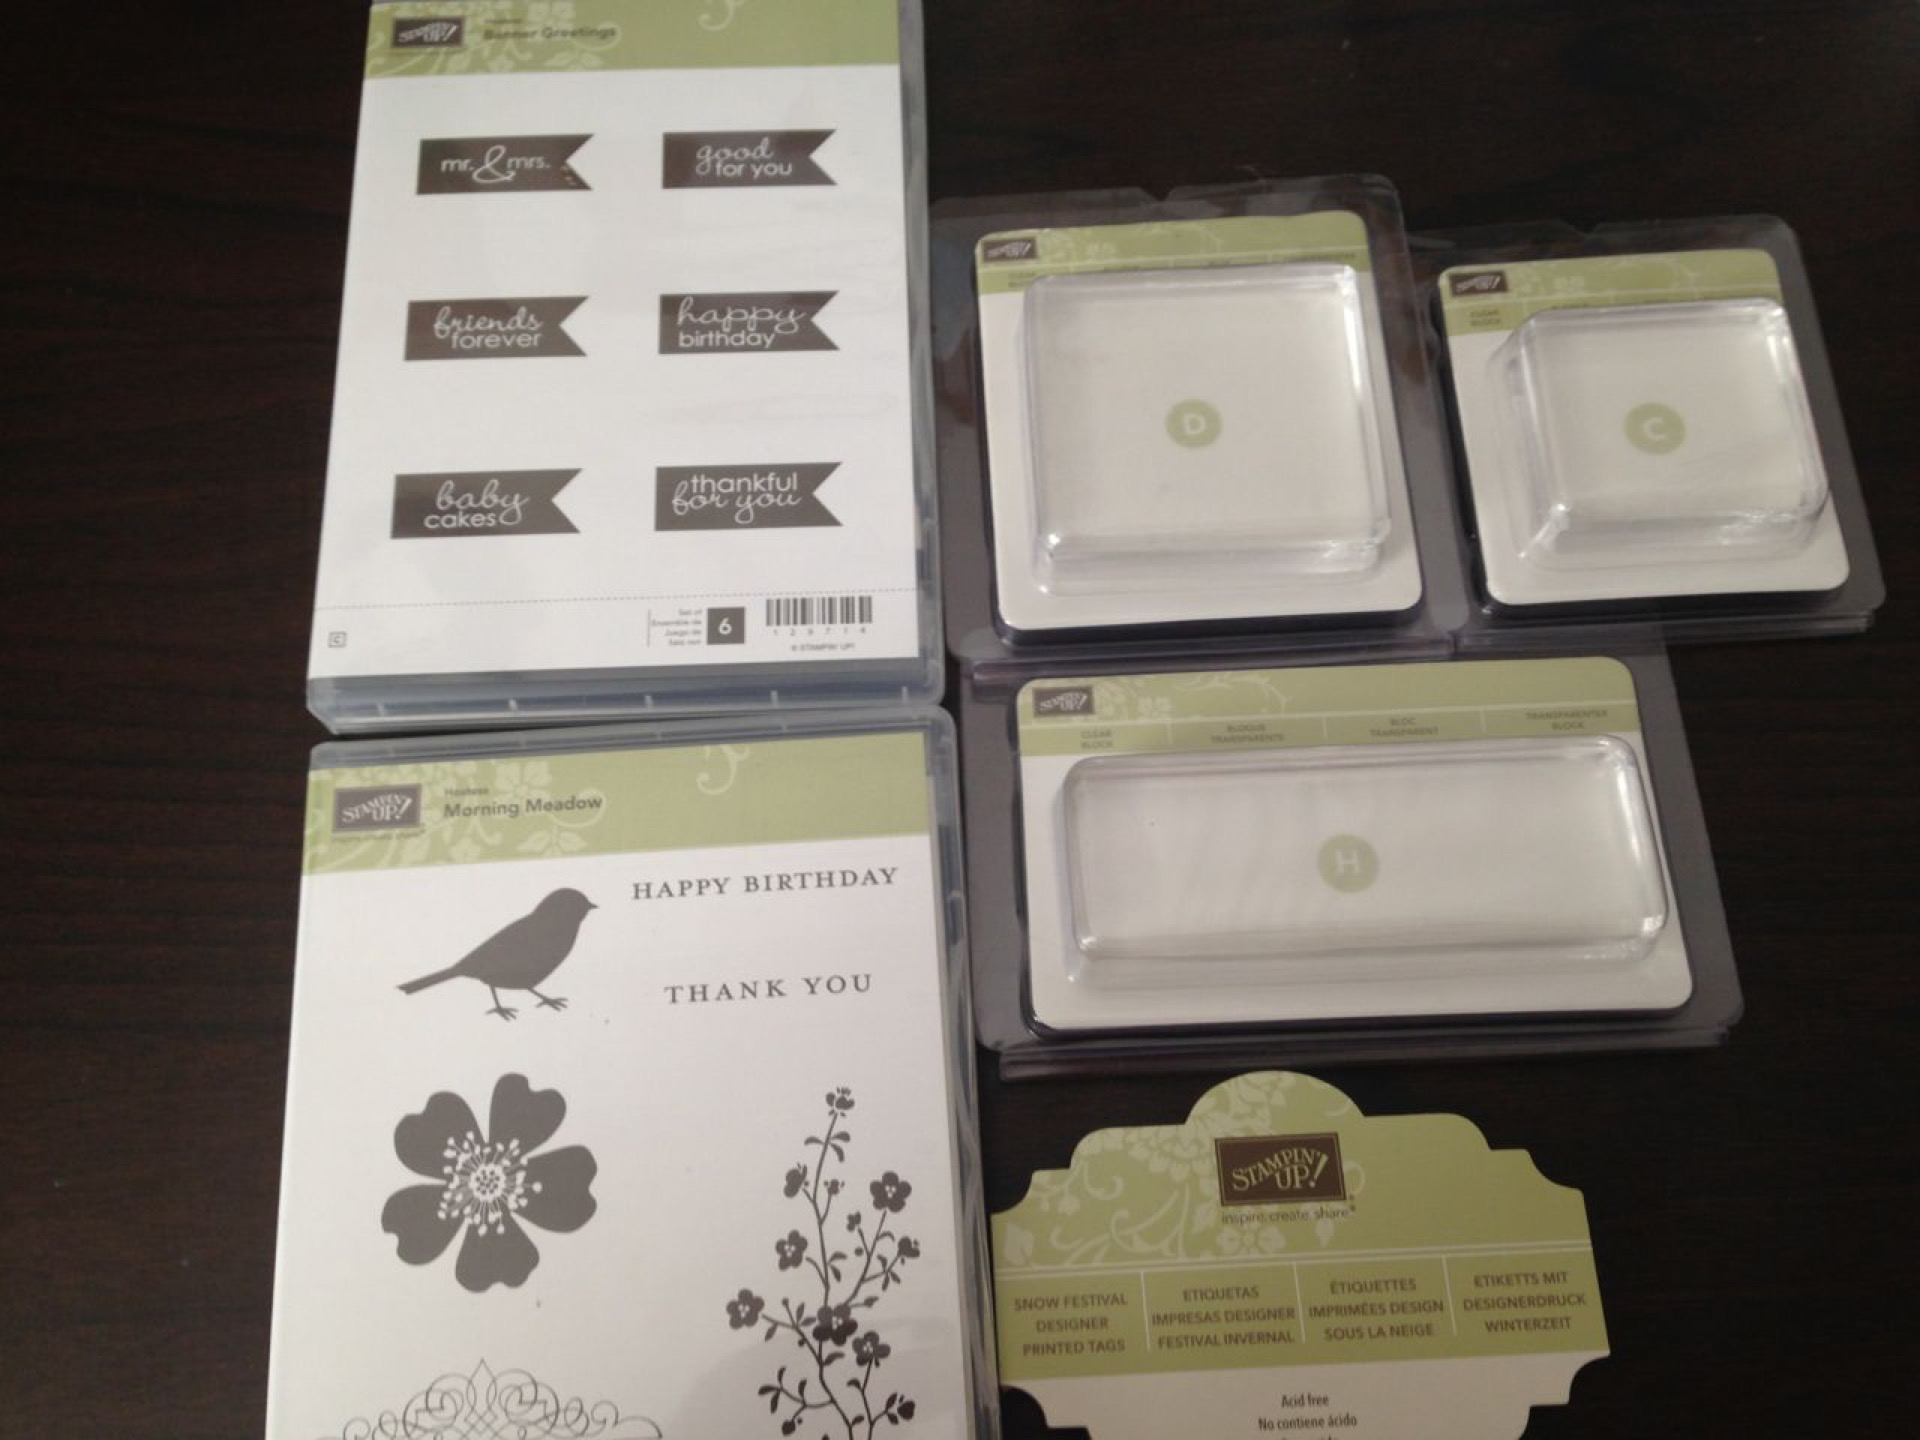
  • Stamps: Stampin' Up Wacky Wishes
  • Inks: SU Primrose Petals, SU Garden Green
  • Cardstock: SU Primrose Petals, various scraps
  • Tools: Cuttlebug Swiss Dot Embossing Folder; 2" Circle Punch; 1 1/4" Circle Punch; 1" Circle Punch; SNAIL; Big Shot

I found an interestingly designed card on Pinterest, but couldn't find the original source.  Of course, this was after I had already made my own version of the card.  Oh well!  At least I can showcase my cards.  I played around with layering and shades of pink.

Supplies:

  • Stamps: Stampin' Up Morning Meadow; SU Flower Shop
  • Inks: SU Primrose Petals; SU Regal Rose; SU Garden Green; SU Certainly Celery
  • Cardstock: SU Primrose Petals, various scraps
  • Accessories: Rhinestone jewels
  • Tools: SU Pansy Punch; SNAIL; Dimensionals
 

I love the graduated colors of the original design and wanted to make my own interpretation.  I made a near copy of the original and then decided to play up with the placement of the butterflies for the second card.  I also used a ton of scraps for these.  The dimensions of the strips are 3/4" by 3 3/4", 3 1/2", and 3 1/4".

Supplies:

  • Stamps: Stampin' Up Banner Greetings
  • Inks: SU Primrose Petals
  • Cardstock: Scraps
  • Accessories: SU 2012-2014 In Color Dahlias
  • Tools: SU Elegant Butterfly Punch; SNAIL; Glue dots

Hope you enjoyed the cards.  I definitely enjoyed making them.

tags: Banner Greetings, Butterflies, Embossing Folder, Flower Shop, Morning Meadow, Wacky Wishes
categories: Birthday Cards, Thank You
Friday 05.02.14
Posted by Tobe Buffenbarger
 

Archives: Project Life 2014 -- Week 4

Originally published on February 1st, 2014

Family Album: I played around with some embellishments this week.  As per usual, I have the weekly highlights inserts and the weekly date insert. I added some alphabet stickers to two of the pictures for added descriptions.  I really love the font of "Sophie."  To help doctor up the printed inserts, I added some candy dots and stamps.  A few weeks ago, I bought some partial kits (Honey and Kraft) from an Etsy seller.  I can't justify buying an entire kit as I already have three separate kits.  But, I can get a few partials to add some extra fun to the spreads.  I really really love the bright colors from the Honey kit.

As to this week's photos, it was another Arthur heavy week.  I managed to catch a few adorable smiles and some action shots.  My favorite picture is my artsy shadow picture.  Randomly the light from the windows created some beautiful shadows.


As it is the end of January, I filled out my monthly wrap-up insert.  I loved embellishing the monthly title card with fun stickers (glittery stars).  I picked my favorite 8 photo a day pictures to include.  I added the each day's theme written on washi tape.  Love the look!


Supplies:

  • PL Sunshine kit
  • PL Honey kit (partial)
  • PL Day stickers
  • Embellishments from Studio Calico kits
  • Random stamps
  • Random stickers
  • Washi tape

Arthur's Album: This week's spread is very simple and photo heavy.  I made sure to include our weekly highlight inserts and a little journaling about some photos.  I really loved the photos from this week.


Supplies:

  • PL Baby kit
tags: Baby Neutral, Honey, Sunshine
categories: Project Life
Friday 05.02.14
Posted by Tobe Buffenbarger
 

Archives: Tour of My Crafting Station

Originally published on January 30th, 2014


Since coming back from Christmas break, I attempted to organize my crafting space.  A few weeks later and I'm ready to reveal my area.  My space is one half of our third bedroom.  The other half of the room is filled with J's modeling supplies and workspace.  The closet is full of bookcases.  So, that leaves the half by the door (minus the corner dedicated to the servers and various computer stuff) and a small space of the long table.  From the above picture, you can see my limited space.

Let's start with the area by the window:


On top of the white table I keep a variety of things.  I have my red bin (we'll look inside in a few minutes), finished cards (currently just stacked up), envelopes, and all my 8.5" x 11" paper.  I decided to buy some Ikea cheapy magazine holders to sort my paper by color.  The last holder on the left holds cut card bases and my Stampin' Up catalogs.  I plan on adding fun scrap paper to the magazine holders to liven them up a bit.


Tucked under the white table is my beloved Ikea Alex drawer set.  I bought this piece right after we moved in almost two years ago and am still in love with it.  It has a total of six drawers.  The top three are shorter and the bottom three are longer height-wise.  All the drawers are extremely deep.  They hold 12" x 12" paper with room to spare.  We couldn't put the drawers under the table with the opening facing out because of a vent (you can see the corner in the pic).  Instead we slide it in sideways.  I can still open the drawers without moving this extremely heavy piece.  The extra room sticking out was the perfect size to hold my boxed Project Life kits.  Currently I have a pocket pages box, a Baby Neutral kit, a Sunshine kit, a Seafoam kit, a Holiday kit, and a Seasons kit residing there.  It makes it really easy to grab a kit to work with and frees up a ton of space on my table.

Inside the Alex drawers, I have a ton of supplies.  The first two drawers hold a lot of various office supplies not worth looking at.  The third drawer (short drawer) holds my Christmas supplies.  I finally decided to sort out my Christmas only supplies from the rest.  Best decision I've made in a long time.


The fourth drawer (first tall drawer) used to hold all my stickers for scrapbooking.  Since I am moving towards Project Life, I've slowly used my stickers and haven't bought much more.  Because of that, this drawer is slowly becoming a paper drawer.  One of next projects is to sort through my 12" x 12" paper and organize them by colors / patterns.


The fifth drawer is a split drawer.  Half is full of more 12" x 12" paper.  Half is full of my paper punches.  Fairly soon I'm going to have to make more room for paper punches.  I'm thinking about moving the punches up to the sticker drawer as I use those.

The last drawer is another half and half drawer.  Half is paper, half is my heat embossing supplies and my scoring board.  Kind of random, but I don't use my heat embossing tools all the time.

Finally on top of the window table I have one of my red bins.  This one is filled with all my Stampin' Up stamp cases, SU framelits, and SU embossing folders.  I would like to have my stamp cases in a more visual spot, but I need to think more about how I want to do that.

Here's the view of my main work space.  I bought this very basic table from Amazon.  I love that I have a large area to work with and nothing for me to get tangled onto.

The right side is a big hodgepodge of stuff.  The little shelving unit contains random notebooks, the twins' scrapbooks I'm currently working on, and my yearbooks.  The top of it has some random office supplies and coasters.  Under the desk, I have my two Project Life albums.  On top, I have my Project Life supply box, two Studio Calico PL supply boxes, and a few PL specific embellishment envelopes.


The pink box contains Project Life specific supplies.  I have a few rotary stamps, some photopolymer stamps, a corner rounder, day stickers, and some random things.  I tried to make it easier on myself when I got to do my weekly spreads.  I didn't want to spend a lot of time searching through supplies.  Having a dedicated box cuts my time in half. Love it!


On the left side of the table, I have a PL album (not usually there), a couple of paper stacks for notes, and four boxes of supplies.  The bottom box (darker blue) is pictures and ephemera for the twins' scrapbooks.  I haven't switched them over to PL (probably won't until I fill the current album).  I tend to scrap there pages once every few months.  So, I throw everything in this bin to keep for later.


The turquoise box holds all my small embellishments. I have a ton of buttons, brads, flowers, jewels, and die cuts.


The orange box holds paper scraps.


The green box has all my ribbon and washi tape.  Given my current obsession with washi tape, I will probably have to rethink this box soon.


Under the table holds the last of my supplies.  I have a few bins and my tool caddy.


The red bin contains my Stampin' Up ink pads, my stamp scrubber, my snail refills, and a few random ribbon spools.  I usually keep my ink pads horizontally, but for the pictures I put them vertical to see the colors.  I don't want the ribbon in this bin, but I ran out of room in the ribbon box.

The second scraps box.  I think I have a scraps problem.  I really need to do a scrap purge.

This bin holds all my non-Stampin' Up stamps.  I think I need a better way of accessing my stamps.  I'll have to think about it.

Lastly, I have my tool caddy.  I try to keep all my scissors, markers, and random tools in one easy access place.  Plus, this holder is mobile!


Overall, I am satisfied with my crafting area.  However, there are a few things that I want to improve in the near future.  I've filled my Pinterest board with crafting room inspiration.  I see a trip to Ikea in my future!

tags: Organization
categories: Craft Supplies
Friday 05.02.14
Posted by Tobe Buffenbarger
 

Archives: Cards #30

Originally published on January 26th, 2014

Wednesday was crop night.  Usually I get overwhlemed by my options and end up not getting much done.  I also always forget something.  This time I got smart at least on one point.  Instead of throwing a ton of supplies into a big bag, I made little card kits in quart size ziploc bags.  Everything I needed for a specific card except ink went into the bag.  As an added organizational tool, I found six different inspirations on Pinterest to use.  Unfortunately, I forgot my snail adhesive at home.  Thankfully Judy let me borrow hers.  Thanks friend!  I'd say even with my forgetfulness, the night was a huge success.  I made six cards using three of my designs.  Love them!


tags: A Word For You, Anniversary, Baby, Butterflies, Congratulations, Print Poetry DSP, Sweet Essentials, Sweetest Gift, Thank You
categories: Baby/Wedding/Anniversa..., Birthday Cards, Misc- Cards, Thank You
Thursday 05.01.14
Posted by Tobe Buffenbarger
 

Archives: Project Life 2014 -- Weeks 1, 2, 3

Originally published on January 25th, 2014

I'm starting a new weekly feature highlighting my Project Life pages.  My goal is to stay on top of the weeks throughout 2014.  Making these posts a weekly feature should hold me accountable.  So here we go...

Many project lifers create a new album for each year with a title page, etc.  I started PL in October with Arthur's birth, so mine is going to look a little different.  I am hoping to keep Oct. - Dec. 2013 and all of 2014 in one album.  We'll see how that goes.  I decided to start my 2014 weekly spreads with the week of Dec. 30 - Jan. 5.  Yes, I included Dec. 30th and 31st in Week 1's spread.  I think it will help me stay organized.

Week 1

Family Album: It's another case of the missing photographs.  Darn Walgreens!  I hope to get them printed sometime this week, so I can add them in.  For the left side, I went with a winter color scheme of gray, blue, and white.  We were still in Indiana and there was almost 2 feet of snow on the ground; the colors seemed appropriate.  I went back to the day by day journaling using the PL day stickers.  For the right side, I wanted to highlight the start of 2014.  I used three inserts from the Holiday mini kit and added some silver stars.  The number chipboard stickers were from a Studio Calico kit I bought on Black Friday.  I love their silhouettes.  The "Explore" insert was a Google image that I downloaded.  I chose "Explore" as my word for 2014, so I wanted to highlight it in this first week's spread.


I added two different inserts in this week.  The first insert is my "State of the Blog" wrap up.  I added journaling cards from the PL Sunshine kit and a screenshot of the home page of my blog.  I love the bright colors and simplicity of the inserts.


The second insert highlights the rest of my Fat Mum Slim's Photo a Day December pictures.  This was the first time I tried one of these challenges.  I finished it, but learned a few lessons along the way.  I used two PL Seafoam inserts as a title page and a journaling card.  To designate each day's theme, I wrote on top of a washi tape swatch adhered to the photo.  They look much better in person.  Now I really need some more washi tape to use this technique more. (Side note: I'm missing the Dec. 31st picture.  I have to get that one printed and inserted.)


Supplies:

  • PL Seafoam kit
  • PL Sunshine kit
  • PL Holiday mini kit
  • PL Day stickers
  • Random stickers from stash
  • Random paper from stash
  • Various washi tape

Arthur's Album


Week 2

Family Album: Another week of photos speaking for themselves.  I wanted to get the rest of our vacation pictures into the album.  To highlight the crazy Midwest weather, I cropped a picture from The Weather Channel.


Supplies:

  • PL Seafoam kit
  • PL Baby kit

Arthur's Album


Week 3

Family Album: This week I tried to incorporate some insert cards other than the Sunshine and Seafoam kits.  I bought some random sets and partial sets online over the holidays.  I love the lighter blue and orange color combinations.  I also tried to play with pattern cards instead of using just simple designs.  Finally I decided to add "Week __" to the date cards.  (Note: I only did this for the family album.)


Supplies:

  • PL Seafoam kit
  • WRMK Tangerine kit
  • PL Day stickers

Arthur's Album: On the left side, I did a few journaling cards and a random insert all in yellow.  I love the clean look.  The right side is all about Arthur's 3 month pictures and inserts.  The photo heavy right side balances the cleaner left side.


Supplies:

  • PL Baby kit
tags: Baby Neutral, Holidays, Seafoam, Sunshine, WRMK Tangerine
categories: Project Life
Thursday 05.01.14
Posted by Tobe Buffenbarger
 

Archives: Cards #29

Originally published on January 19th, 2014 Before getting to the actual crafting, I wasn't able to get my SU order for December before leaving for Indiana.  I completely forget what I even ordered.  I was able to collect it at January stamp club.  Oh yeah, and December was my hostess month.  Lots and lots of goodies.

At stamp club, we made some cute cards.  It was also the start of our new 6 month round.  We drew hostess months and I got February.  Just in time for Sale-a-bration.  Now what should I order?

On the PL front, I finally got everything organized to put together the weekly spreads for the holidays.  I also got some great ideas from my Studio Calico class I joined for January.  Can't wait to put some of them into my spreads.  And I decided to do a monthly wrap-up page with my books read, life goals and progress, and photo a day pics.  I didn't want to have to include every photo a day pic, so I thought to combine some of my features into a monthly wrap up page.  Each month has one side (two months per page protector) using design F.  I have room for eight photo a day choice pics.  I went through and picked title, books read, and life goals inserts for each month.  I tried to play with some color schemes.  I plan on adding embellishments as I do the months.  In the meantime, here's a sneak peek of January's page:


Shopping Scores: Lots of new things!  I picked up some Project Life supplies online: G and H page protectors (for inserts), Seasons Mini Kit (had Holiday, wanted general seasons), a WRMK 3x4 and 4x6 kit (Tangerine), and some random cards from a fellow PLer (from Honey and Kraft kits).  And then I went to Michael's for snail and ended up buying a corner rounder punch (mine is horrid!) and a 2in circle punch.

tags: Banner Greetings, Fresh Prints DSP, Honey, Kaleidoscope DSP, Kraft, Morning Meadow, Simply Sketched, Sunshine, Tag It, WRMK Tangerine
categories: Project Life
Thursday 05.01.14
Posted by Tobe Buffenbarger
 

Archives: Project Life December

Originally published on January 18th, 2014

Wrapping up my 2013 Project Life with the last two weeks of December.  Since I was in Indiana at the time, I had to wait until January to complete these spreads.  However, I did plan ahead and work on parts of them while on vacation.  I took a small box filled with journal inserts, bric a brack, journaling pens, glue, and grided paper.  I laid out each weekly spread on the grid paper and wrote in what photo went where.  Then, I did the journal on the insert cards and added some embellishments.  Once I got home, I just printed the pictures and slide them into the page protector pockets.  Easy peasy!  And I stayed on track!

Dec. 16 - 22

Highlights: Since this was the week we were traveling (Arthur for the first time!), I wanted to use some travel themed paper and embellishments.  Thankfully I bought travel themed paper from SU's clearance rack in December.  I cut up the little embellishments (like the "special delivery" tag) and used them as accents.  I also cut down the rest of the paper into 3x4 or 4x6 pieces to use as inserts.  The only insert that isn't that paper is the "True Story" date card.  That one is from PL's Seafoam kit.  The blue worked nicely with the pattern papers.  It's a bit hard to see in these photos, but I did stamp directly onto a few photos.  The pic of Arthur and I has a "postcard" stamp on the bottom.  I experimented with different inks before leaving and decided that Staz-on black worked the best.  I like the look of a simple stamp here and there.  I also stamped the small plane and the globe onto insert cards. Finally I cut up our boarding passes to use as interesting inserts and added a Komet hockey ticket to the family album.  Overall, I really love the colors and flow of these spreads.


Dec. 23 - 29

Highlights: Christmas week and I had to use Christmas theme paper and embellishments.  The inserts are a mix of some random cut up SU Christmas DSP and pieces from the PL Holiday mini kit.  I then added a few Christmas stickers to add to the fun.  I didn't add any stamping this week, but let the photos speak.  (Side note: The family album's right page is missing a few photos.  For the second time in a row, Walgreens has not printed all the prints I ordered.  Really getting frustrated with them...)


Christmas insert

In the middle of Christmas week, I added a Design H insert to highlight our "professional" Christmas photos.  Alright, my mother and I took them...  I included a few inserts from the PL Holiday mini kit.  I love our little family photos, even if the twins were in a slightly foul mood that day.


Next week, I'll be sharing Weeks 1, 2, and 3 of 2014.

tags: Candlelight Christmas DSP, Holidays, Sent with Love DSP
categories: Project Life
Thursday 05.01.14
Posted by Tobe Buffenbarger
 

Archives: Cards #28

Originally published on December 22nd, 2013

Right before I left for vacation, I attended December stamp club.  We made two adorable non-Christmas cards and a treat holder.  I love love love the eiffel tower card using new Valentine's themed stamps.  And the designer paper behind it is too cute.  I might actually have to buy it.  The shovel card is using the 2013-2015 colors.  I really need to get that ink and cardstock...  January club order!

tags: Epic Day This and That DSP, Tag It
categories: Misc- Cards
Wednesday 04.30.14
Posted by Tobe Buffenbarger
 

Archives: Project Life November and December

Originally published on December 16th, 2013

I've only been at this for a few weeks, but I've already learned so much about what to do and what not to do.  My main realization is that I need to make PL work for me and just me.  I've looked at so many different examples of styles and usage and they all look amazing.  But, I can't get too wrapped up in copying some other's design.  I need to make PL work just for me.  It comes down the fact that I like simplicity.  I don't like a lot of clutter, a lot of layering, a lot of embellishment.  While it can be very pretty, that's just not my style.  My simplistic uncluttered style is evident in my pages so far.  I like clean photos and relatively clean inserts.  Although I am experimenting with adding some washi tape accents in the coming weeks.

Secondly, I really loving taking a bit of time each Sunday or Monday to do my layouts.  I figure out what pictures I want, where to put them, and which inserts to use.  Then, I journal and put the inserts in the pages.  The photos will be printed later, but I've already got each spread 90% done by Monday night.  As an extra bonus, working on my pages is a nice break from mommy duties.  I can focus just on me for 30-60 minutes.

Thirdly, while I would love to have my pictures printed instantly, I have accepted the plan of printing monthly instead.  I just don't know if home printing is worth the money and hassle at this point.  I save up my pictures until Walgreens or Snapfish or Shutterfly have a good deal and then print them.  So far, so good.

Fourth, I have added a ton of PL related products to my Amazon wishlist.  While I love everything I see, I have limited my list to my favorites.  I just need to remember to not get too stash buying happy that I over supply myself.

Fifth, taking pictures of my pages while in their plastic sleeves is tricky.  To get better pictures, I've resorted to taking the pieces out, laying them on the desk, and then photographing them...  Much better looking on the blog.

Finally, I joined a Studio Calico class starting in January for extra motivation and inspiration.  I've heard about so many people losing momentum at some point in the year.  I want to make it all the way.  And having a bit of extra help will certainly be a great idea.

Nov. 4 - 10

Highlights: This week was all about hanging out near the house...  As for the design, I stuck with my basic design of 4x6 prints and 3x4 inserts.  I added the day of the week stickers to my weekly highlights for the family album.  I'm trying to add more embellishments to my pages, but haven't quite figured that out yet.


Nov. 11 - 17

Highlights: Arthur turned one month old this week.  I made sure to add the special 1 month inserts to his pages to highlight the occasion.  For the family album, I stuck more toward the pictures speaking for themselves.  A little bit of embellishment on these pages.


Nov. 18 - 24

Highlights: A couple of trips outdoors this week.  Arthur and I went to two new parks.  I love discovering new places around here...  The holes you see were pictures that somehow didn't get printed by Walgreens.  I have about 10 different photos that didn't print, but were clearly on my order.  I had to call, complain, and get them to reprint my photos.  I just haven't stuck them back into the albums yet.  I added a few word stickers to the family album.  I don't want to over embellish my pages.  I like the cleaner look.


Nov. 25 - Dec. 1

Highlights: Arthur and I started our weekly walks at Shoreline with the mom's group.  Shoreline is a gorgeous park with gorgeous views.  We are really loving the walk, socializing with other moms and babies, and lunch at the cafe afterwards.  I caught some great Arthur expressions in this week's photos.  For the family album, I started including my photo-a-day challenge photos.  When they don't easily fit into the spreads, I have collecting them into their own inset page for the end of the month.

Extra bonus: I added in a Thanksgiving insert for Arthur's photo shoot with the turkey hat.  I didn't want to lose out on including other photos just to get these adorable ones in...  An insert seemed like the perfect way to go.  I plan on doing another insert for Christmas photos.


Dec. 2 - 8

Highlights: A pretty quiet week at home.  For my photo-a-day pics, I added each day's theme on washi tape.  I love the look and it utilizes more of my craft stash.  The cut out heart was a random chip board piece that was lying around.  I love how it stands out against the dark background in that picture.  Plus, lots of regular day-by-day style journaling.


Dec. 9 - 15

Highlights: Arthur turned 2 months old this week!  I had to include his 2 month photo shoot pictures.  If you look closely, the monthly stats insert isn't filled out.  I finished doing that yesterday.  I wanted to get his stats from the doctor's appointment.  Since we didn't do much this week, I condensed my day-by-day journaling inserts into one weekly highlights insert.  This allowed me to include more Arthur and photo-a-day pictures.


tags: Baby Neutral, Seafoam, Seasons, Sunshine, Thanksgiving
categories: Project Life
Wednesday 04.30.14
Posted by Tobe Buffenbarger
 

Archives: Cards #27

Originally published on December 8th, 2013

I had a couple of classes these past two weeks, a meet and greet, and a crop night.  At crop night, i finished my stamp club homework (pics #2, 3, 4) and some copycat cards (pics #1, 5).  Lots of crafting fun!  With the class today, I think I've finished my Christmas cards.  Now to get them addressed and sent out before traveling.

tags: Christmas
categories: Christmas Cards
Wednesday 04.30.14
Posted by Tobe Buffenbarger
 
Newer / Older

Powered by Squarespace.