• Home
  • About
  • Archives - Wading Through
  • Archives - The Craft Sea

Wading Through...

  • Home
  • About
  • Archives - Wading Through
  • Archives - The Craft Sea

#4 Candlelight Christmas Throwback

Today's sketch comes from January 2017.

For today's card, I pulled out my random retired paper scrap box and found some pieces from SU's Candlelight Christmas DSP pack. I figured out my favorite pattern combos and started layering. To help break up the pattern, I cut out a piece of Real Red cardstock. I added a simple sentiment from last year's stamp set, Wonderful Year. As a final touch, I added this 3D pointsettia. 

11:4.jpg
 
  • Stamps: Wonderful Year (retired)
  • Inks: Real Red
  • Cardstock: Candlelight Christmas DSP (retired 2012); Real Red; Very Vanilla
  • Accessories: random flower 3D sticker
  • Tools: Layering Circles Framelits; Stitched Shapes Framelits; Triple Banner Punch
30 Days of Christmas Cards from Sketches.png
tags: Wonderful Year, Candlelight Christmas DSP, SSINKCS, Sketch, 30 Days of Christmas Cards
categories: Christmas Cards
Saturday 11.04.17
Posted by Tobe Buffenbarger
 

Candlelight Christmas

For my other Christmas card set, I pulled the leftovers DSP and stickers from the Candlelight Christmas collection (retired). I hoard pretty paper. It's what I do, but I'm really trying to change that.  I've made it my mission to use, sell, give away, or trash my old retired DSP.  I added in the Christmas Cheer and Christmas Bliss stamp sets for sentiments. I'm loving how these turned out.  I sold a few at the craft fair last weekend, but still have a majority left to send to friends and family. Because I finished this DSP pack, I can move on to more current paper. Yippee!

tags: Candlelight Christmas DSP, Christmas, Christmas Bliss, Christmas Cheer
categories: Christmas Cards
Saturday 11.22.14
Posted by Tobe Buffenbarger
 

Christmas OSW Set

For the Christmas set, I wanted to try another OSW template.  I found this one from Mae Collins.


Unfortunately, it is using the metric system.  My paper trimmer doesn't do centimeters.  First things first, I had to convert the measurements to get me approximations for inches.  Once cut, I was supposed to use the pieces to create these 15 cards.

Instead of making 15 cards, I made the following 12 cards.  I added some layering cardstock and stamping to help fill the cards.  Overall, I did like the template and will possibly use it again sometime.


Supplies:

  • Stamps: SU Merry Christmas stamp (retired); SU Christmas Tree stamp (retired)
  • Cardstock: SU Candlelight Christmas (retired); Primrose Petals (retired)
  • Accessories: SU Buttons (retired); SU Embossing Folder (retired)

Snail Adhesive

$6.95

Stampin' Trimmer

$29.95

Big Shot Die-Cut Machine

$99.95

Stampin' Dimensionals

$3.95

Old Olive 8-1/2X11 Card Stock

$6.95

Real Red 8-1/2X11 Card Stock

$6.95

Chocolate Chip Classic Stampin' Pad

$5.95

Table by StampinBuddy. Try it FREE.

tags: 12x12 Template, Candlelight Christmas DSP, Christmas, Embossing Folder, One Sheet Wonder
categories: Christmas Cards
Thursday 07.03.14
Posted by Tobe Buffenbarger
 

Archives: Project Life December

Originally published on January 18th, 2014

Wrapping up my 2013 Project Life with the last two weeks of December.  Since I was in Indiana at the time, I had to wait until January to complete these spreads.  However, I did plan ahead and work on parts of them while on vacation.  I took a small box filled with journal inserts, bric a brack, journaling pens, glue, and grided paper.  I laid out each weekly spread on the grid paper and wrote in what photo went where.  Then, I did the journal on the insert cards and added some embellishments.  Once I got home, I just printed the pictures and slide them into the page protector pockets.  Easy peasy!  And I stayed on track!

Dec. 16 - 22

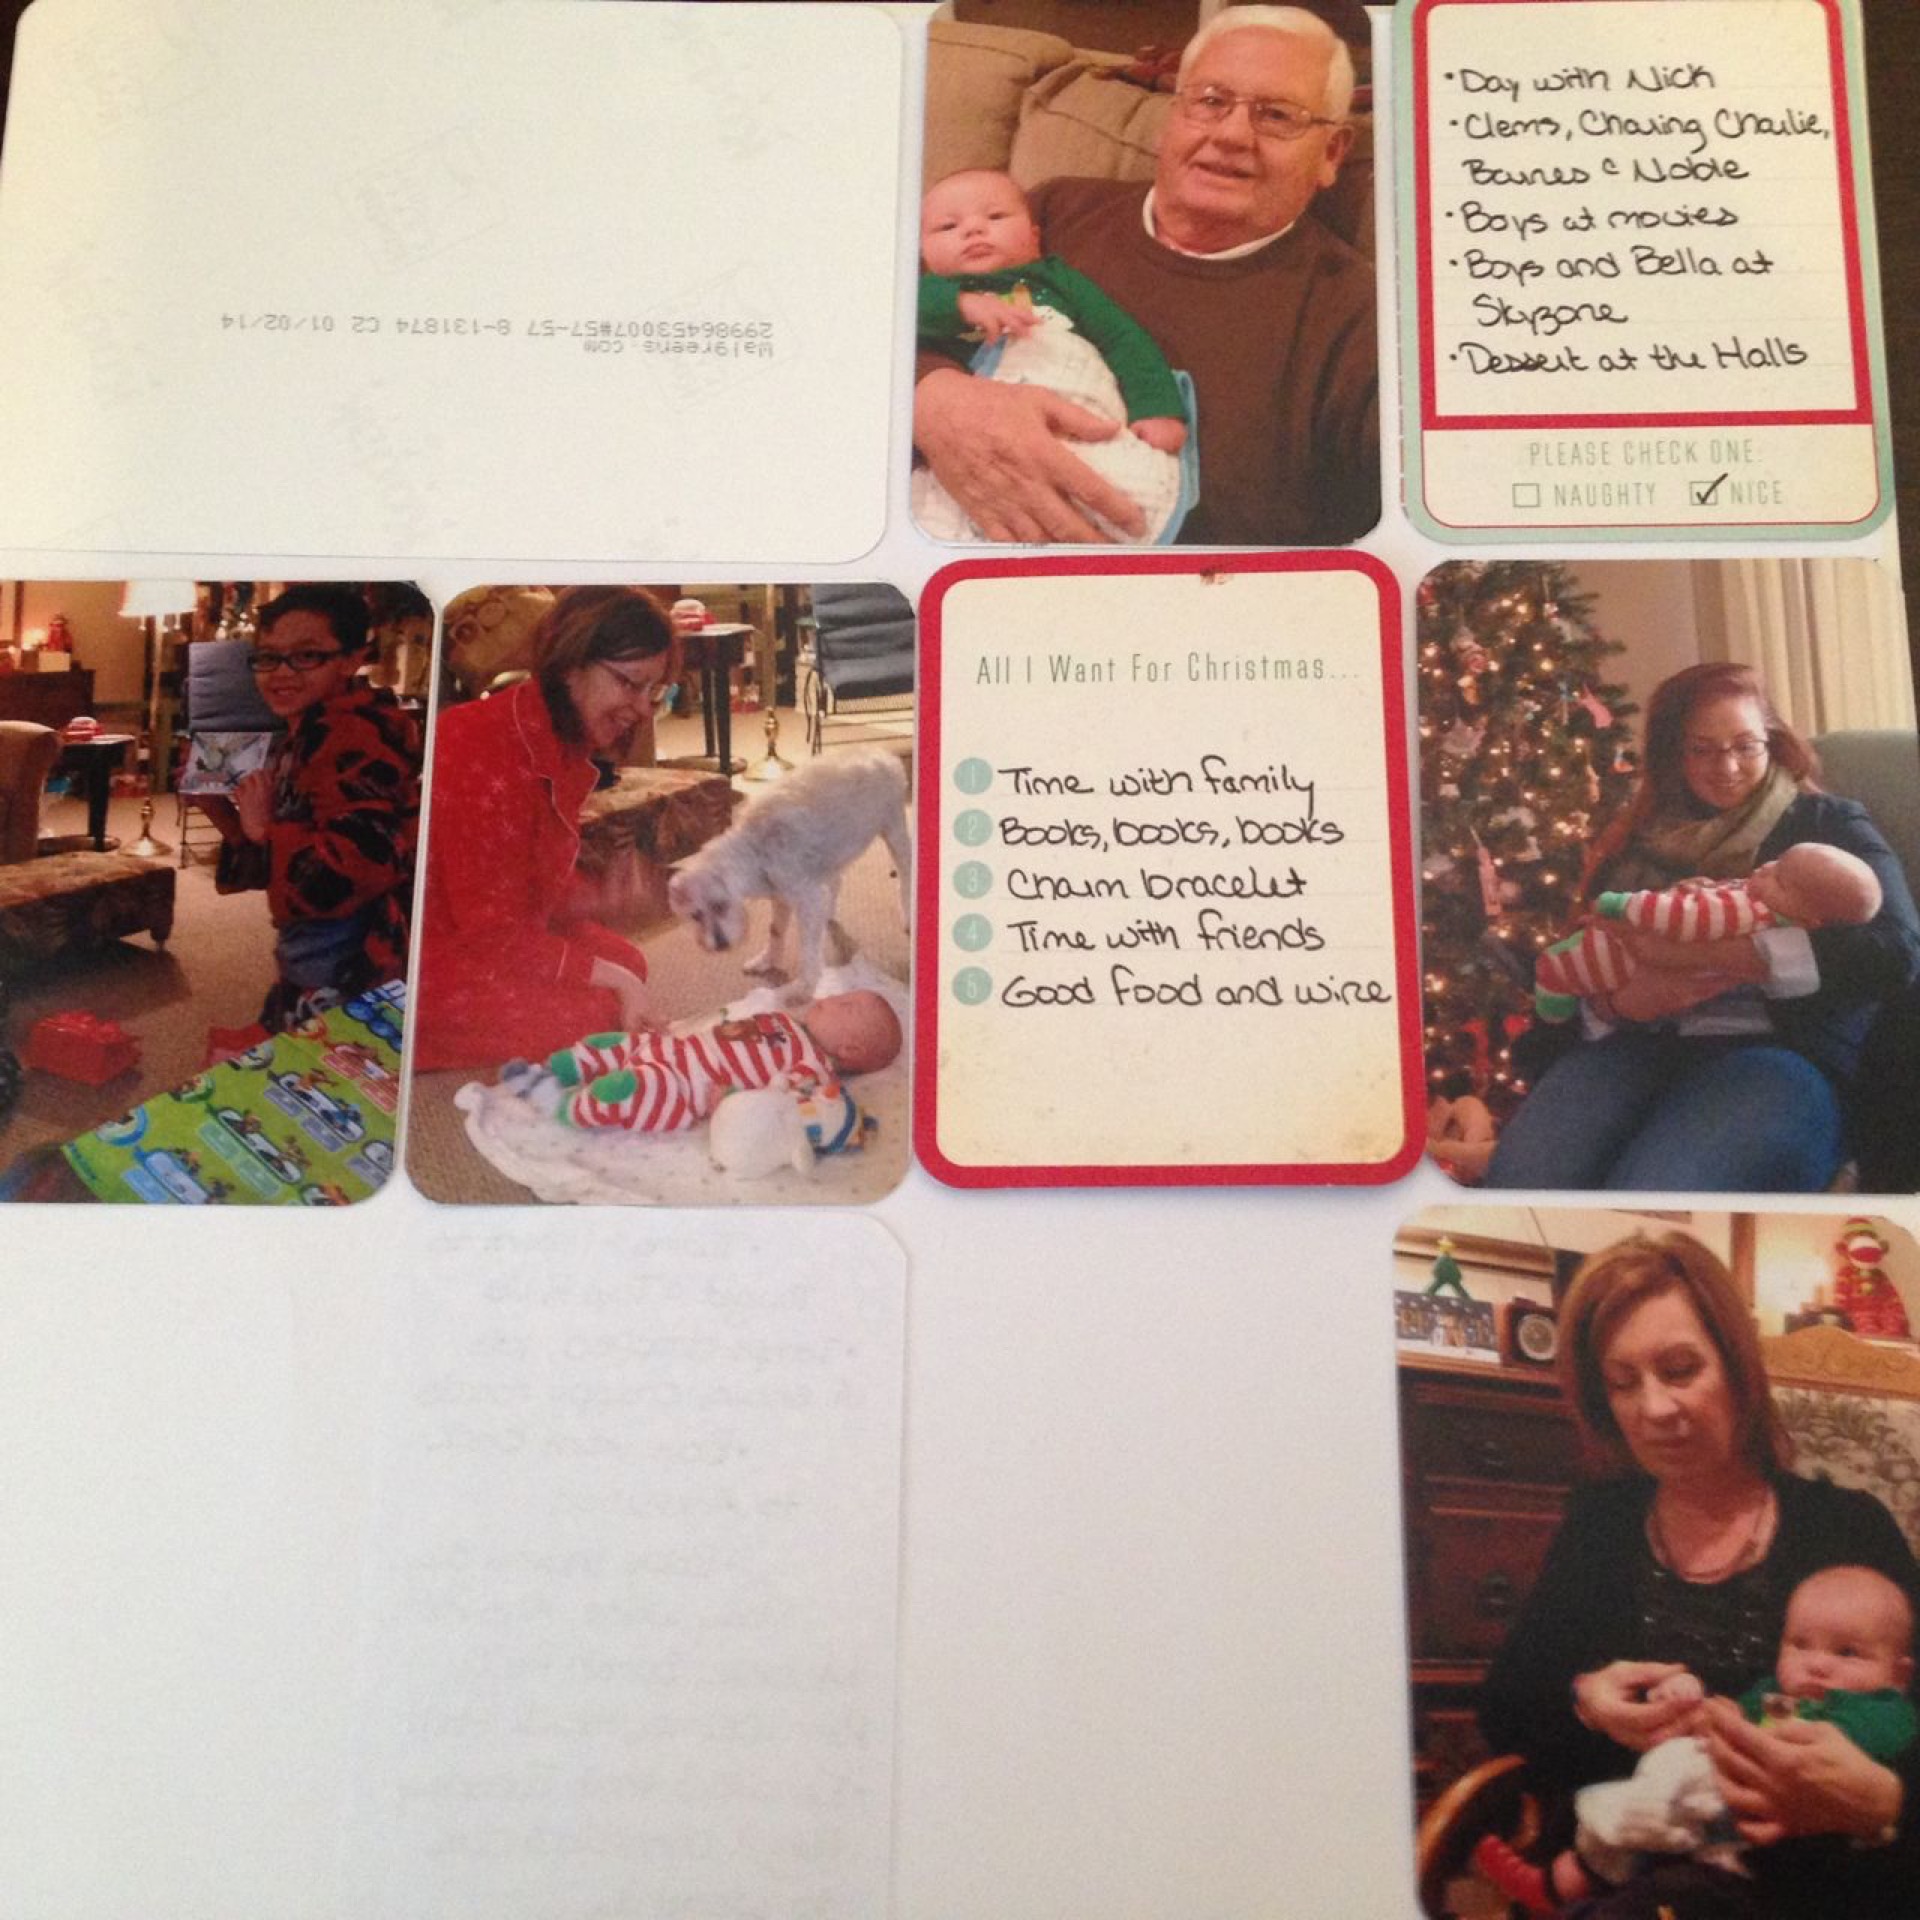
Highlights: Since this was the week we were traveling (Arthur for the first time!), I wanted to use some travel themed paper and embellishments.  Thankfully I bought travel themed paper from SU's clearance rack in December.  I cut up the little embellishments (like the "special delivery" tag) and used them as accents.  I also cut down the rest of the paper into 3x4 or 4x6 pieces to use as inserts.  The only insert that isn't that paper is the "True Story" date card.  That one is from PL's Seafoam kit.  The blue worked nicely with the pattern papers.  It's a bit hard to see in these photos, but I did stamp directly onto a few photos.  The pic of Arthur and I has a "postcard" stamp on the bottom.  I experimented with different inks before leaving and decided that Staz-on black worked the best.  I like the look of a simple stamp here and there.  I also stamped the small plane and the globe onto insert cards. Finally I cut up our boarding passes to use as interesting inserts and added a Komet hockey ticket to the family album.  Overall, I really love the colors and flow of these spreads.


Dec. 23 - 29

Highlights: Christmas week and I had to use Christmas theme paper and embellishments.  The inserts are a mix of some random cut up SU Christmas DSP and pieces from the PL Holiday mini kit.  I then added a few Christmas stickers to add to the fun.  I didn't add any stamping this week, but let the photos speak.  (Side note: The family album's right page is missing a few photos.  For the second time in a row, Walgreens has not printed all the prints I ordered.  Really getting frustrated with them...)


Christmas insert

In the middle of Christmas week, I added a Design H insert to highlight our "professional" Christmas photos.  Alright, my mother and I took them...  I included a few inserts from the PL Holiday mini kit.  I love our little family photos, even if the twins were in a slightly foul mood that day.


Next week, I'll be sharing Weeks 1, 2, and 3 of 2014.

tags: Candlelight Christmas DSP, Holidays, Sent with Love DSP
categories: Project Life
Thursday 05.01.14
Posted by Tobe Buffenbarger
 

Powered by Squarespace.