• Home
  • About
  • Archives - Wading Through
  • Archives - The Craft Sea

Wading Through...

  • Home
  • About
  • Archives - Wading Through
  • Archives - The Craft Sea

OLW January

Let’s take a look at what I did this past month for my OLW. This year’s focus is HOME.


My monthly intentions:

1. Project List – Got a master list. Now to start getting those items checked off.

2. Home Management Binder – I wanted to create a place to keep all my to-do lists, coupons, important info, and random bits of whatever that seem to multiple. I checked out a few posts on Pinterest and started formulating my own binder. I have a major projects page, my weekly to-do list, a pocket for coupons, and the rest of my OLW pages.


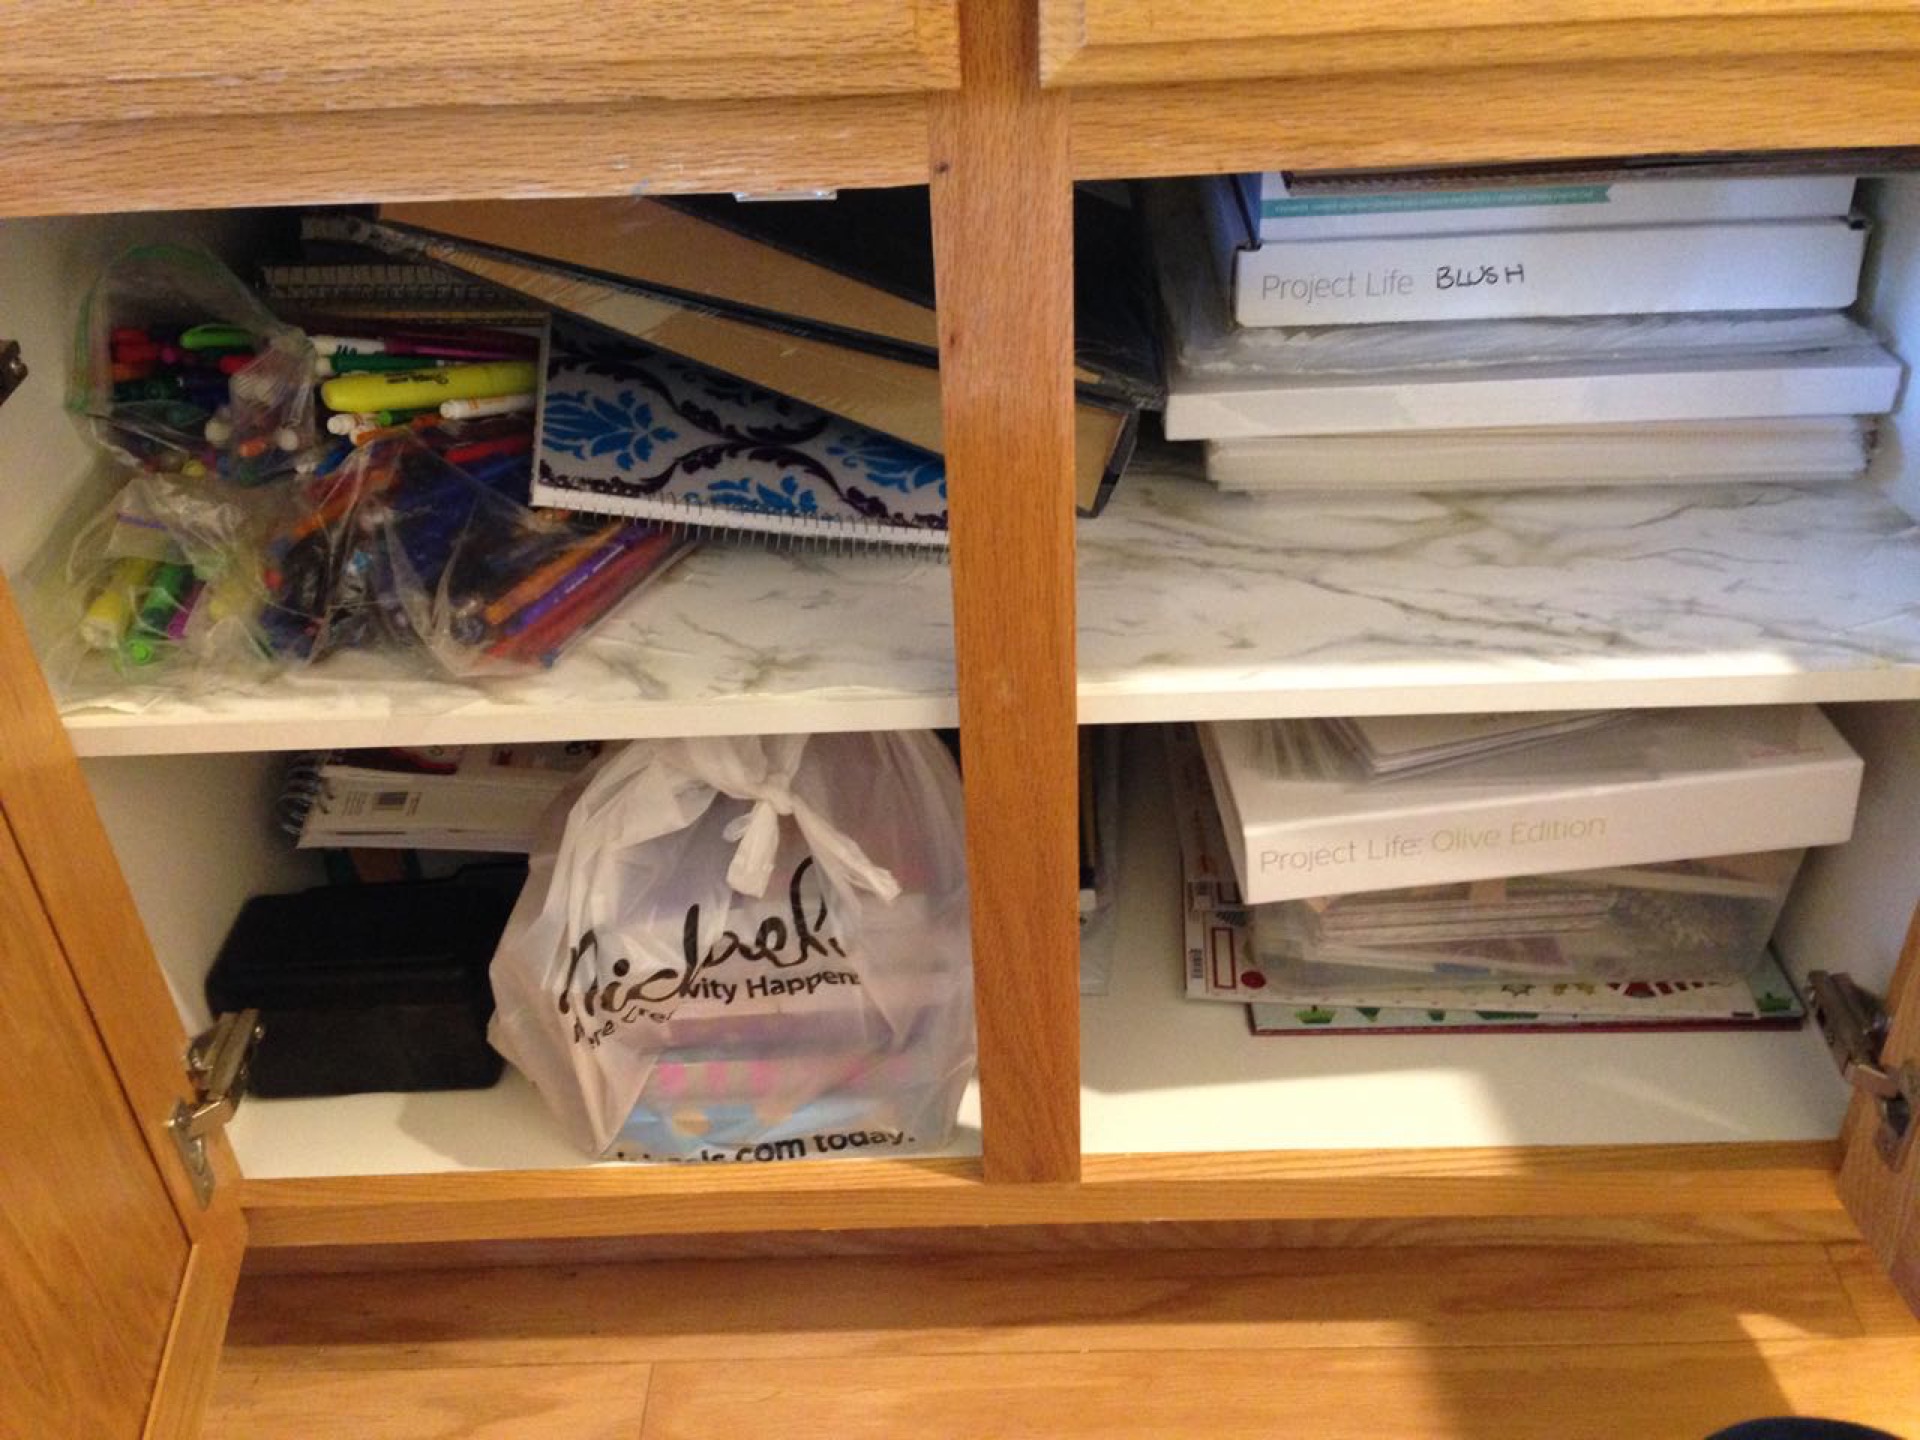
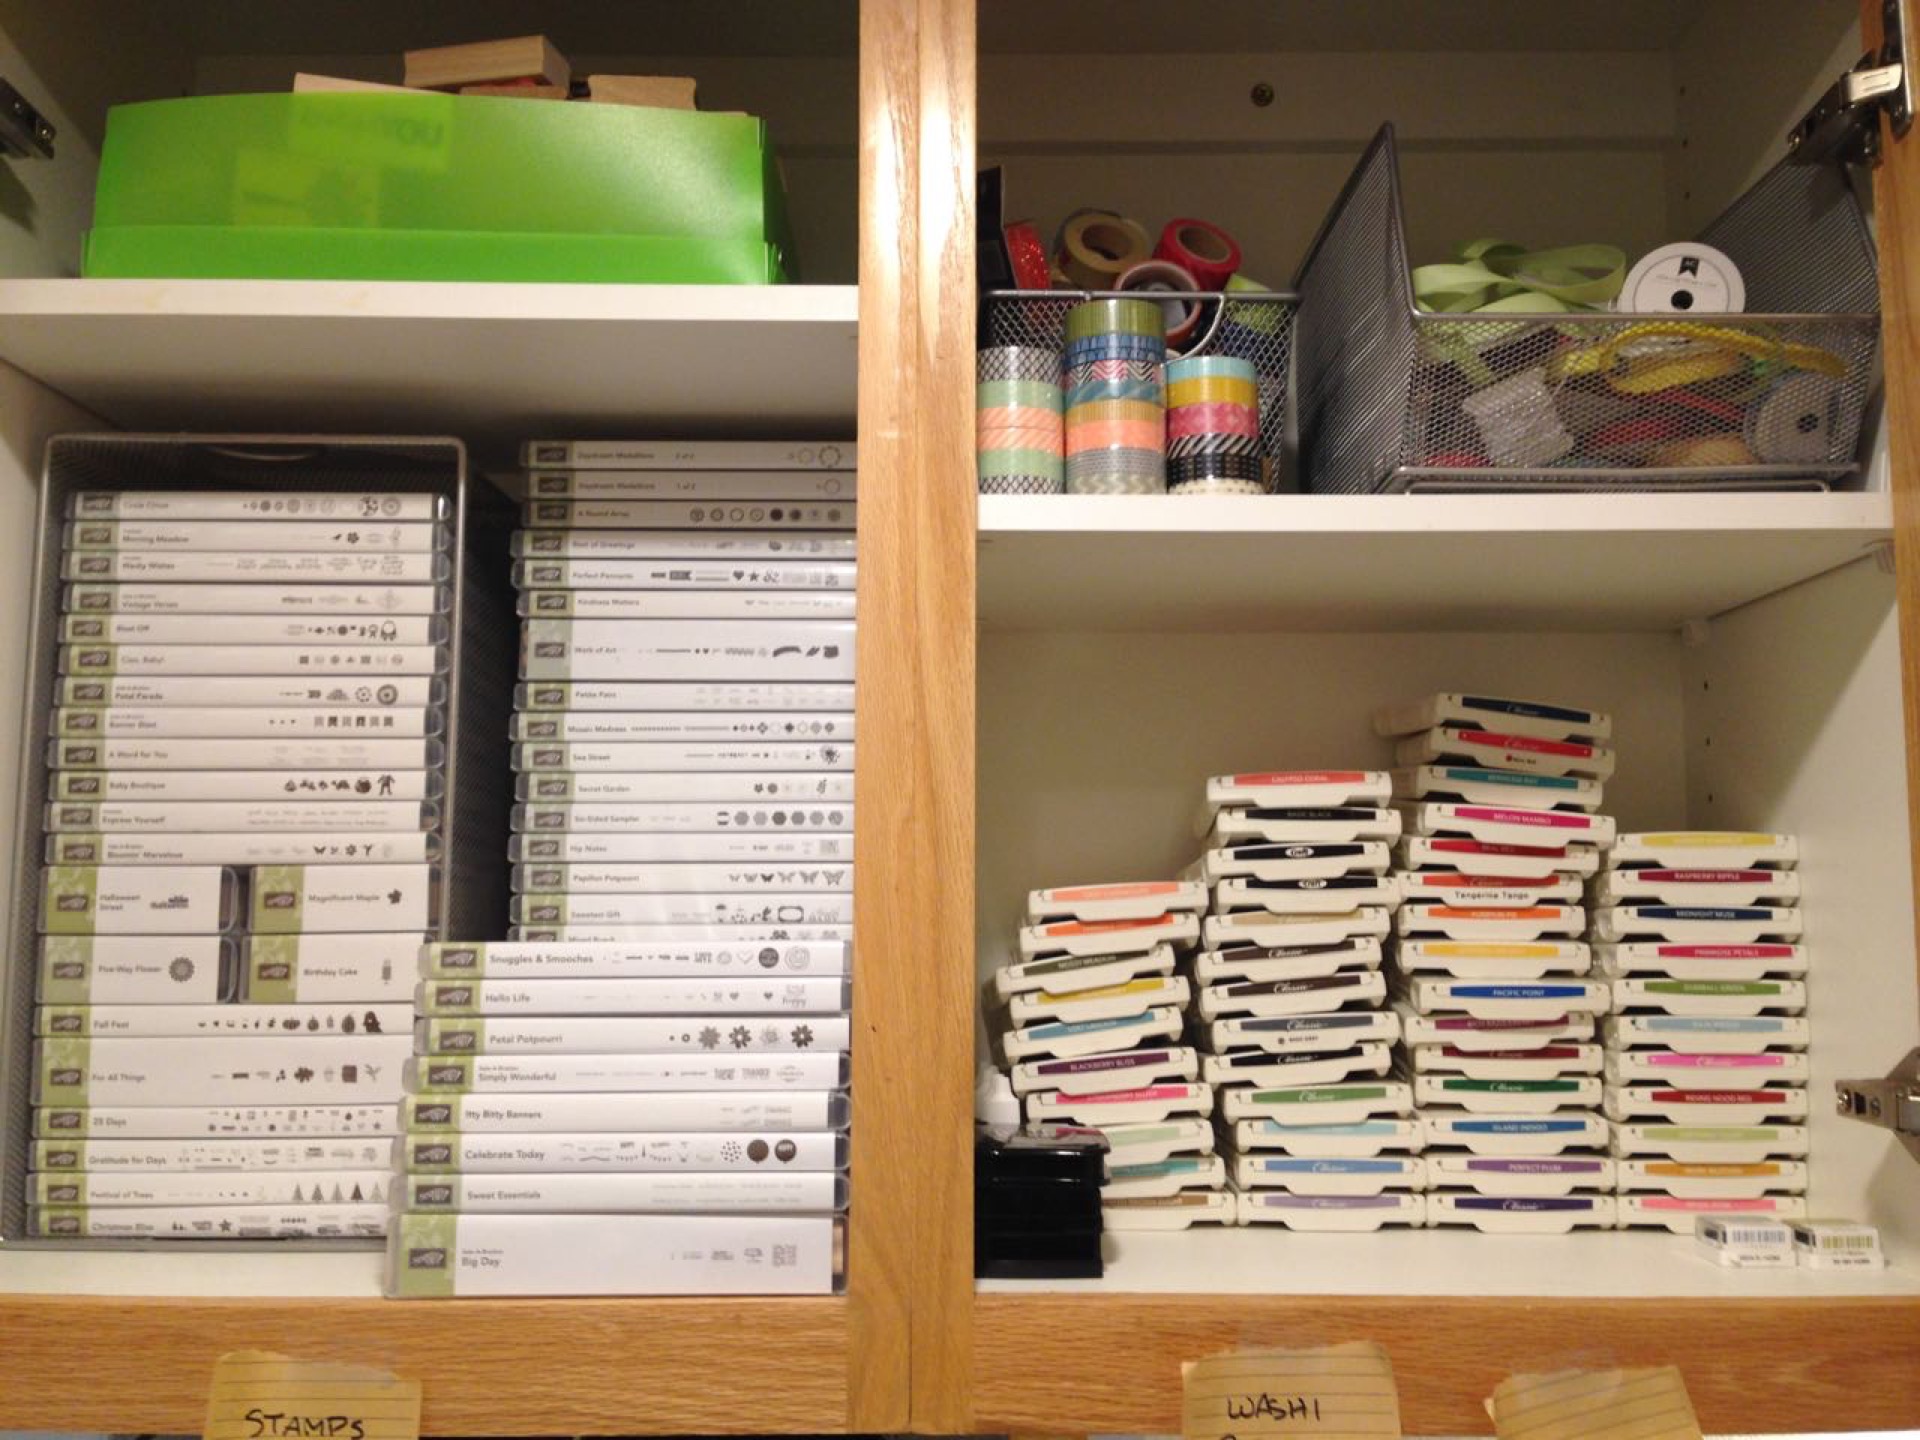
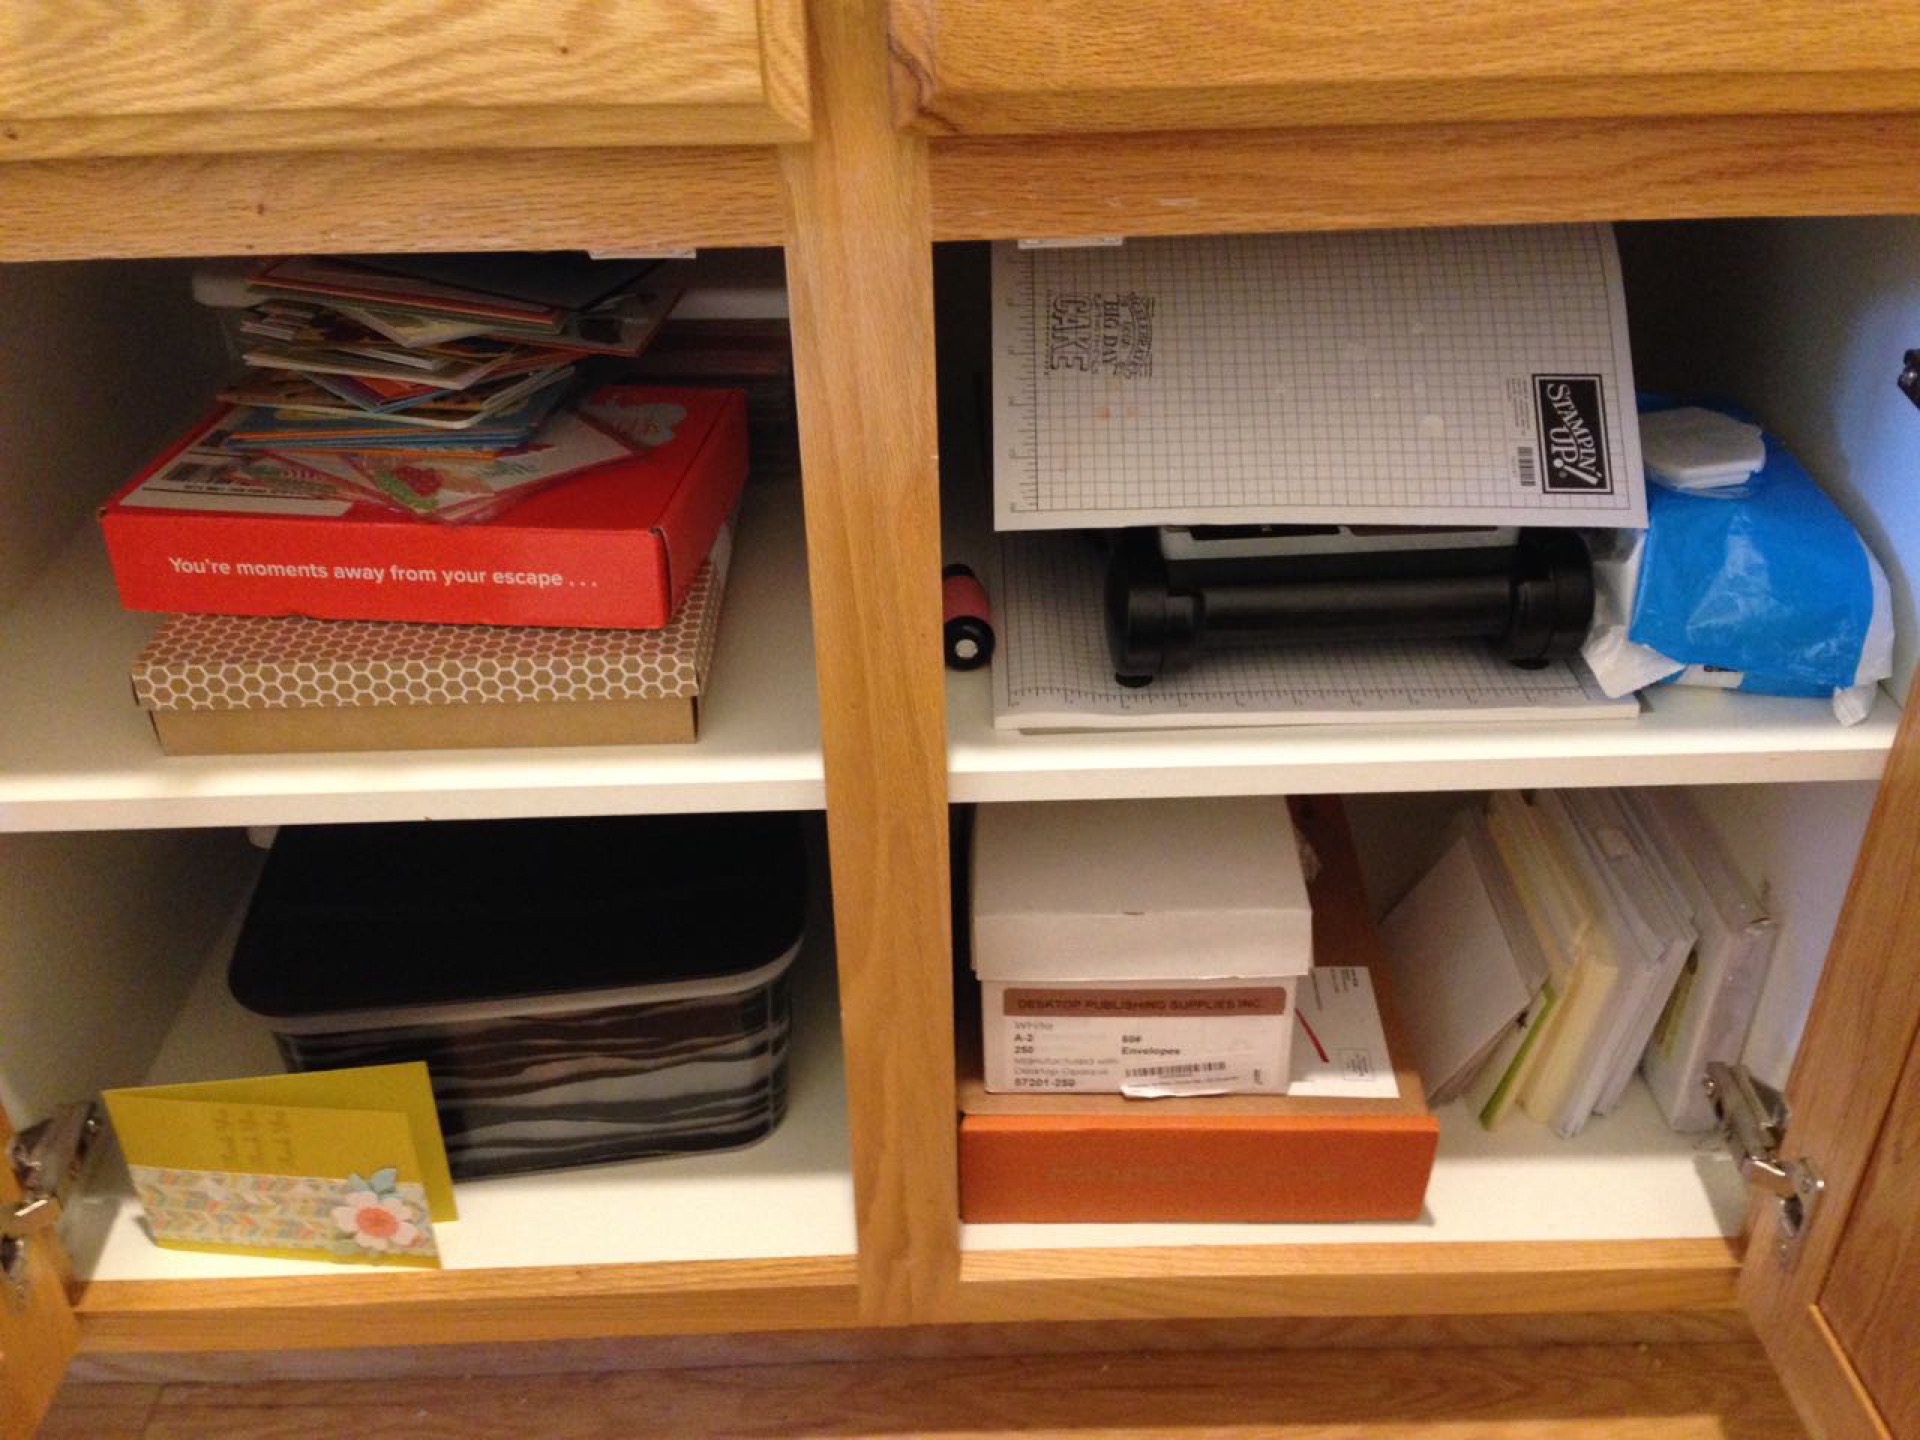
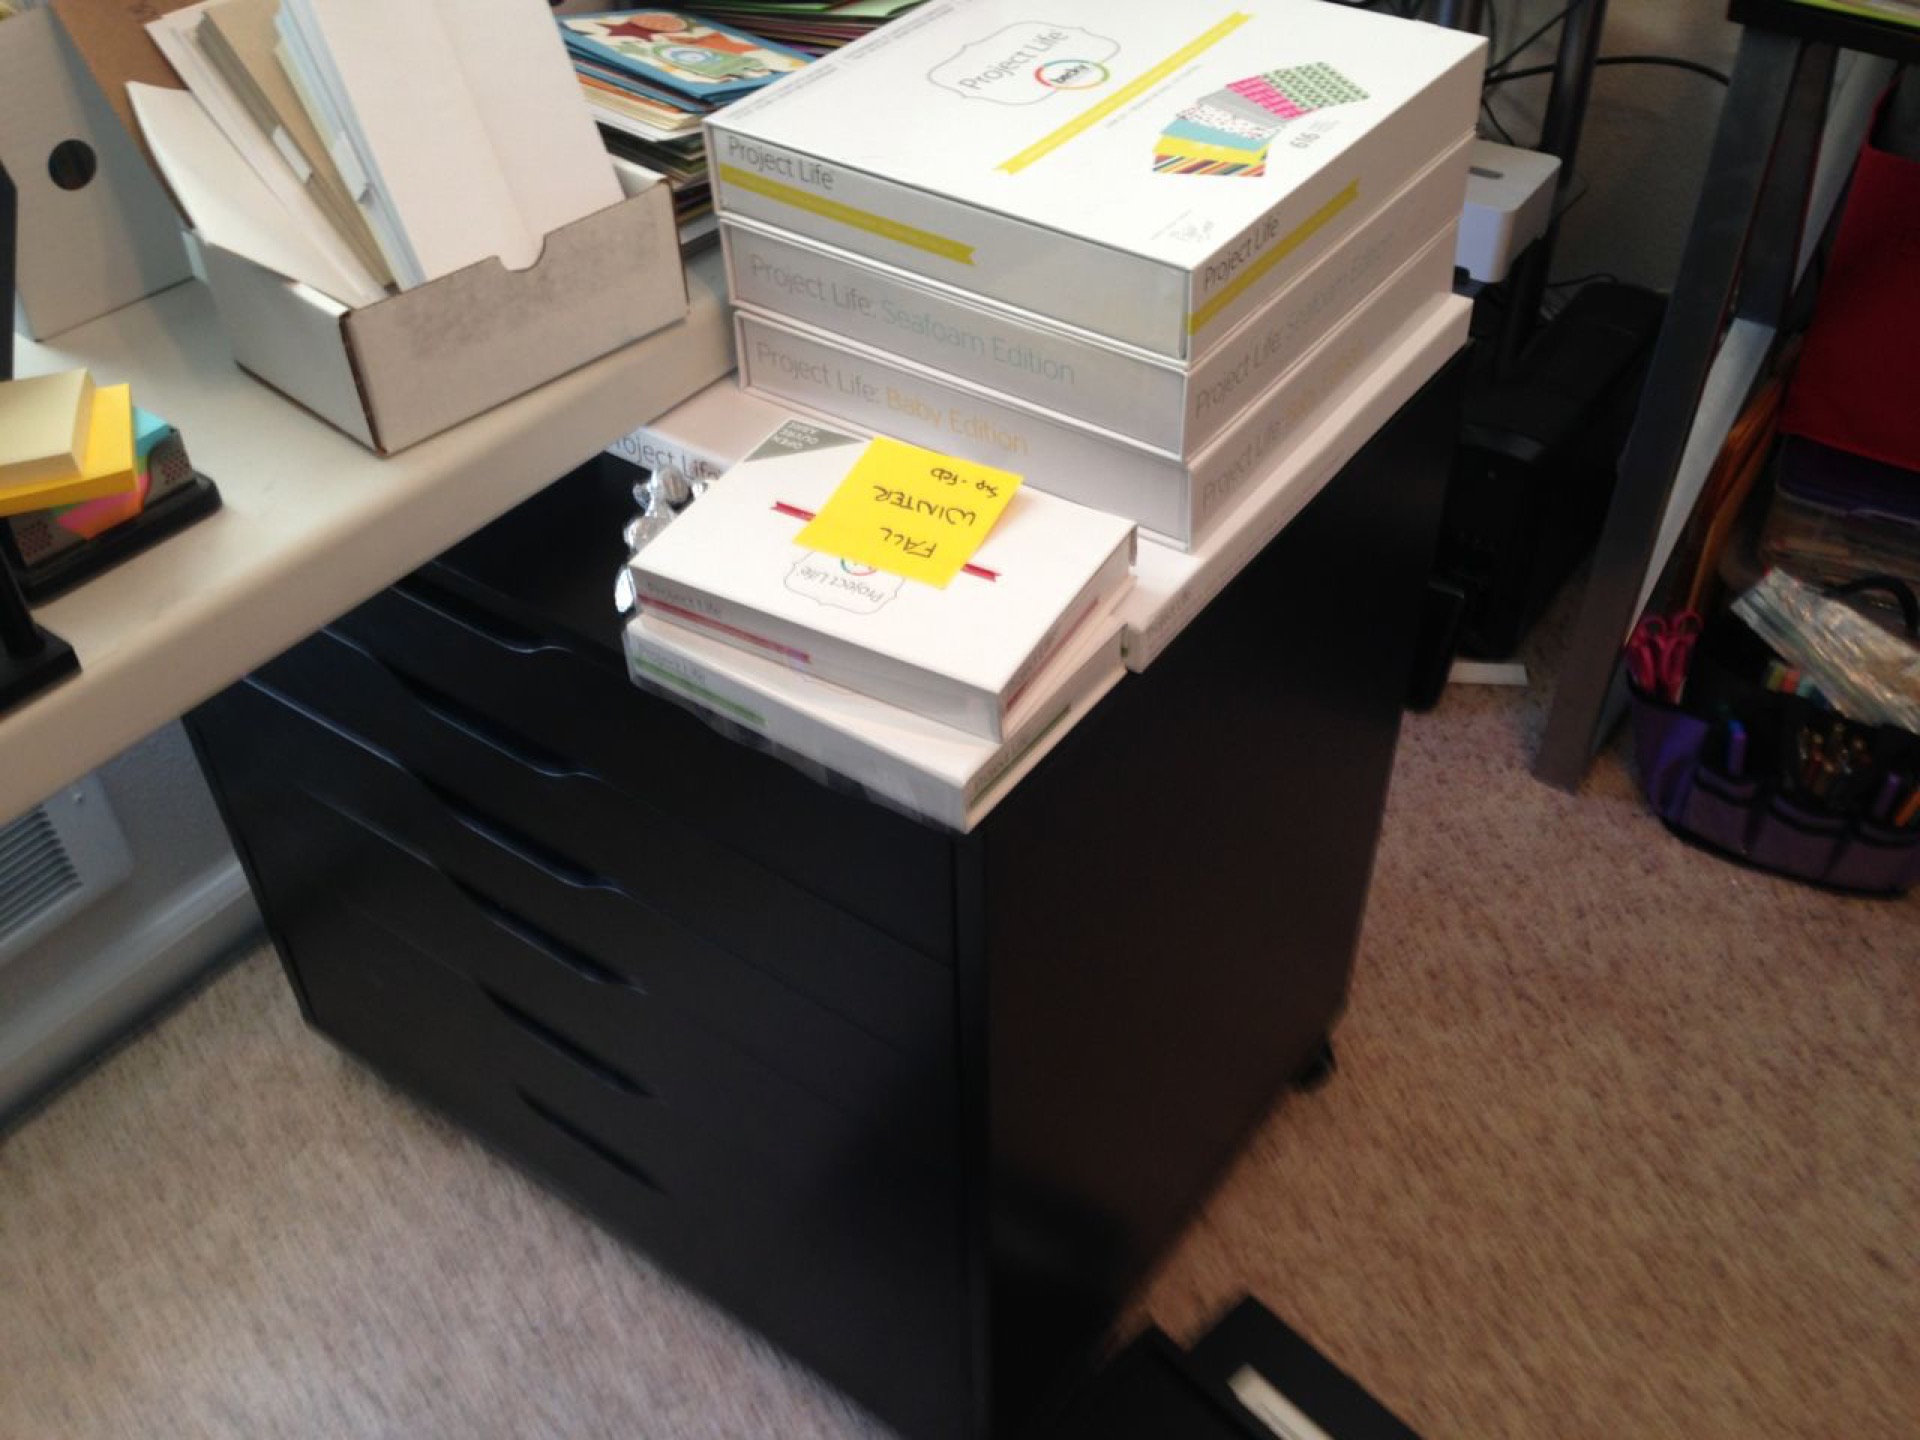
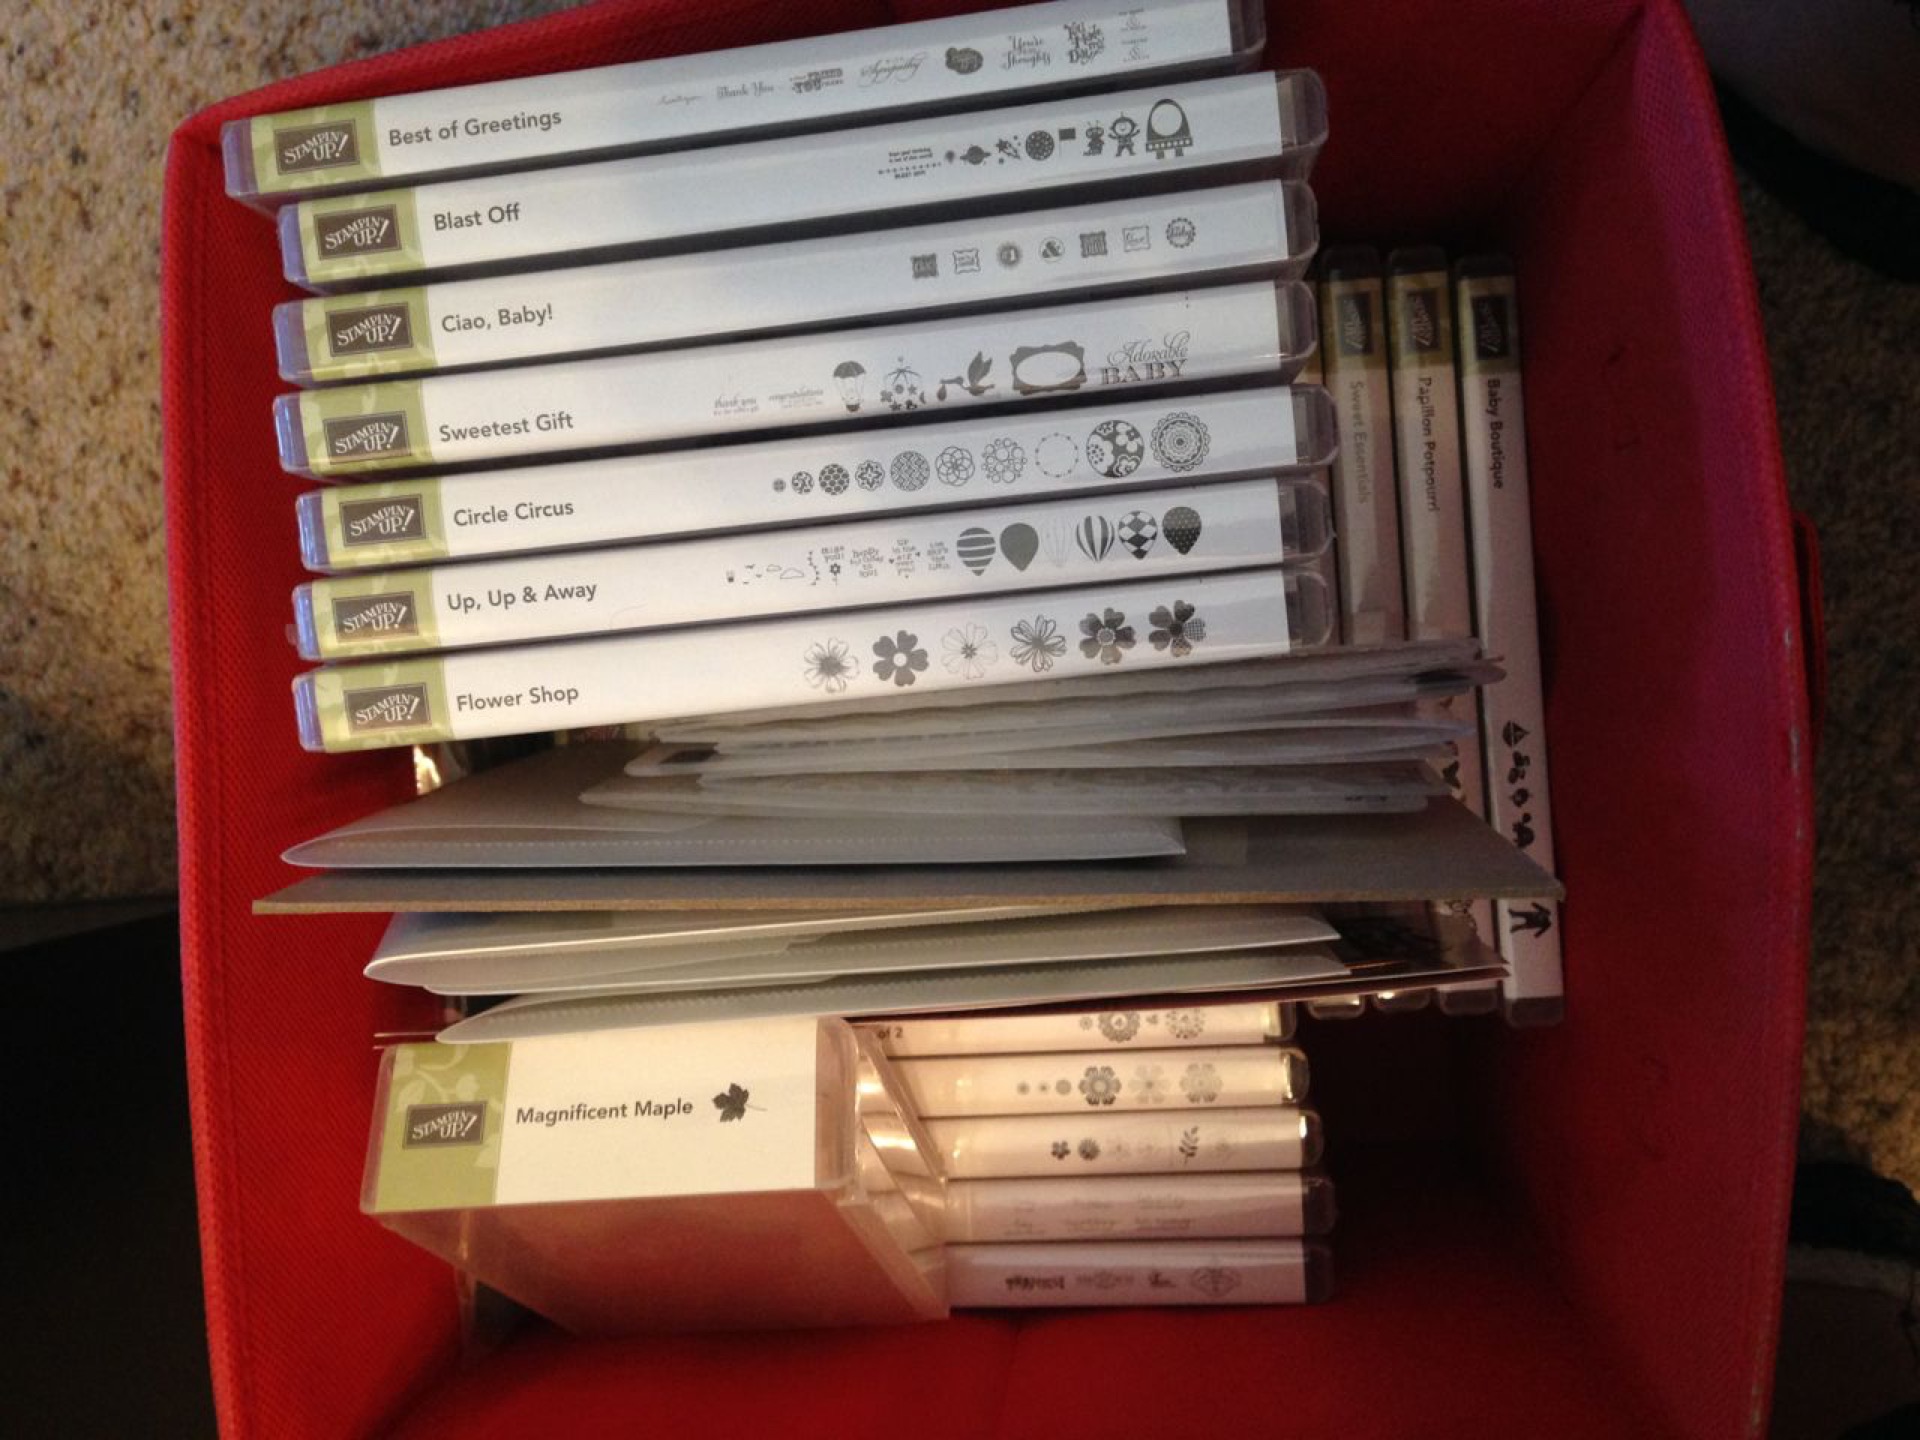
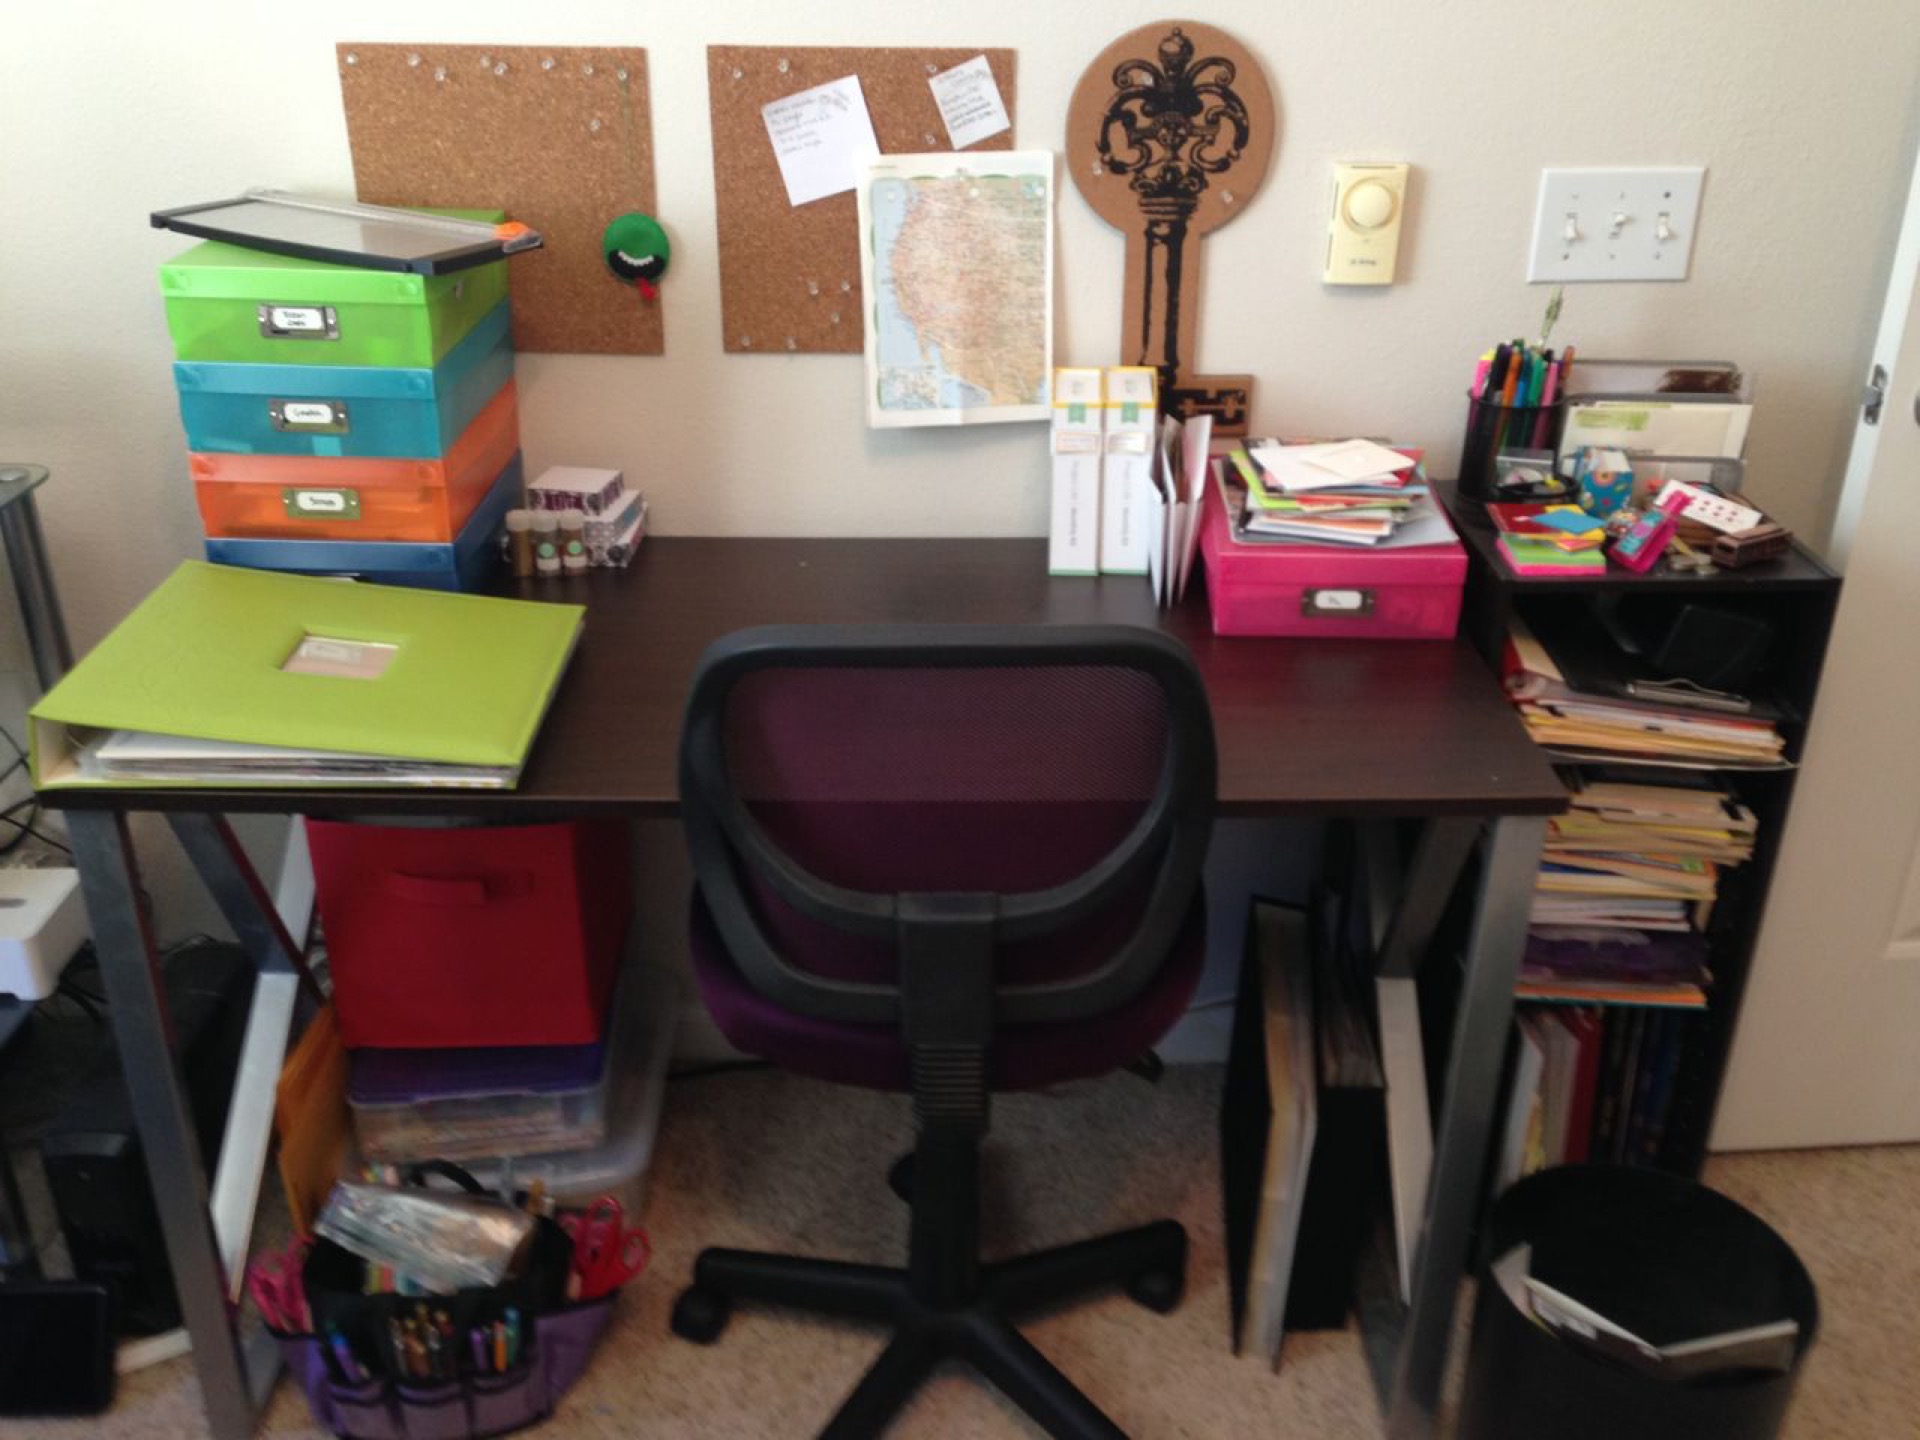
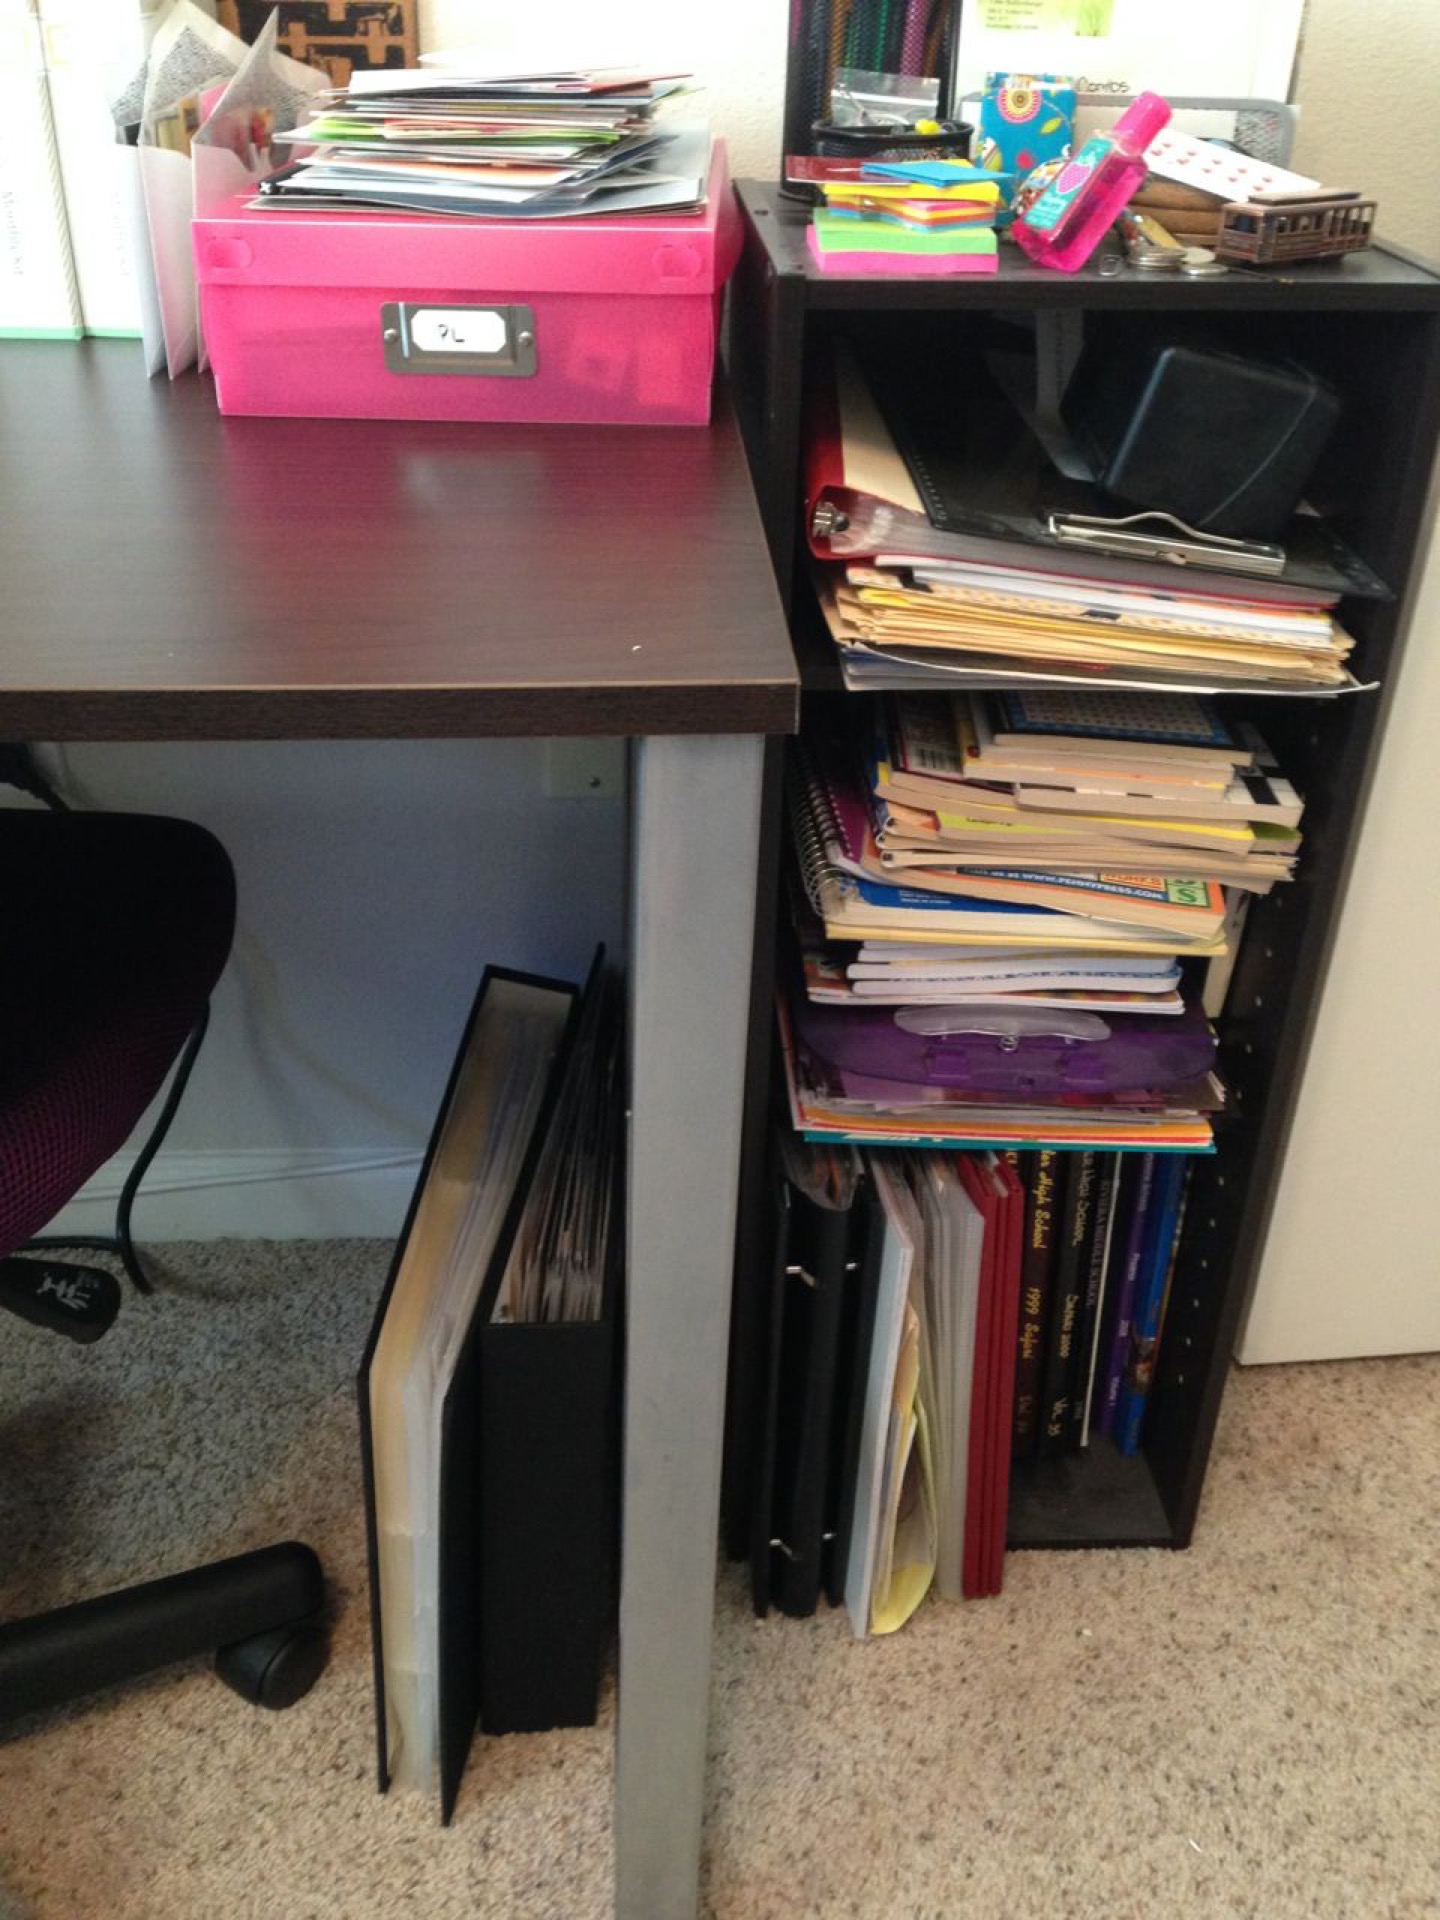
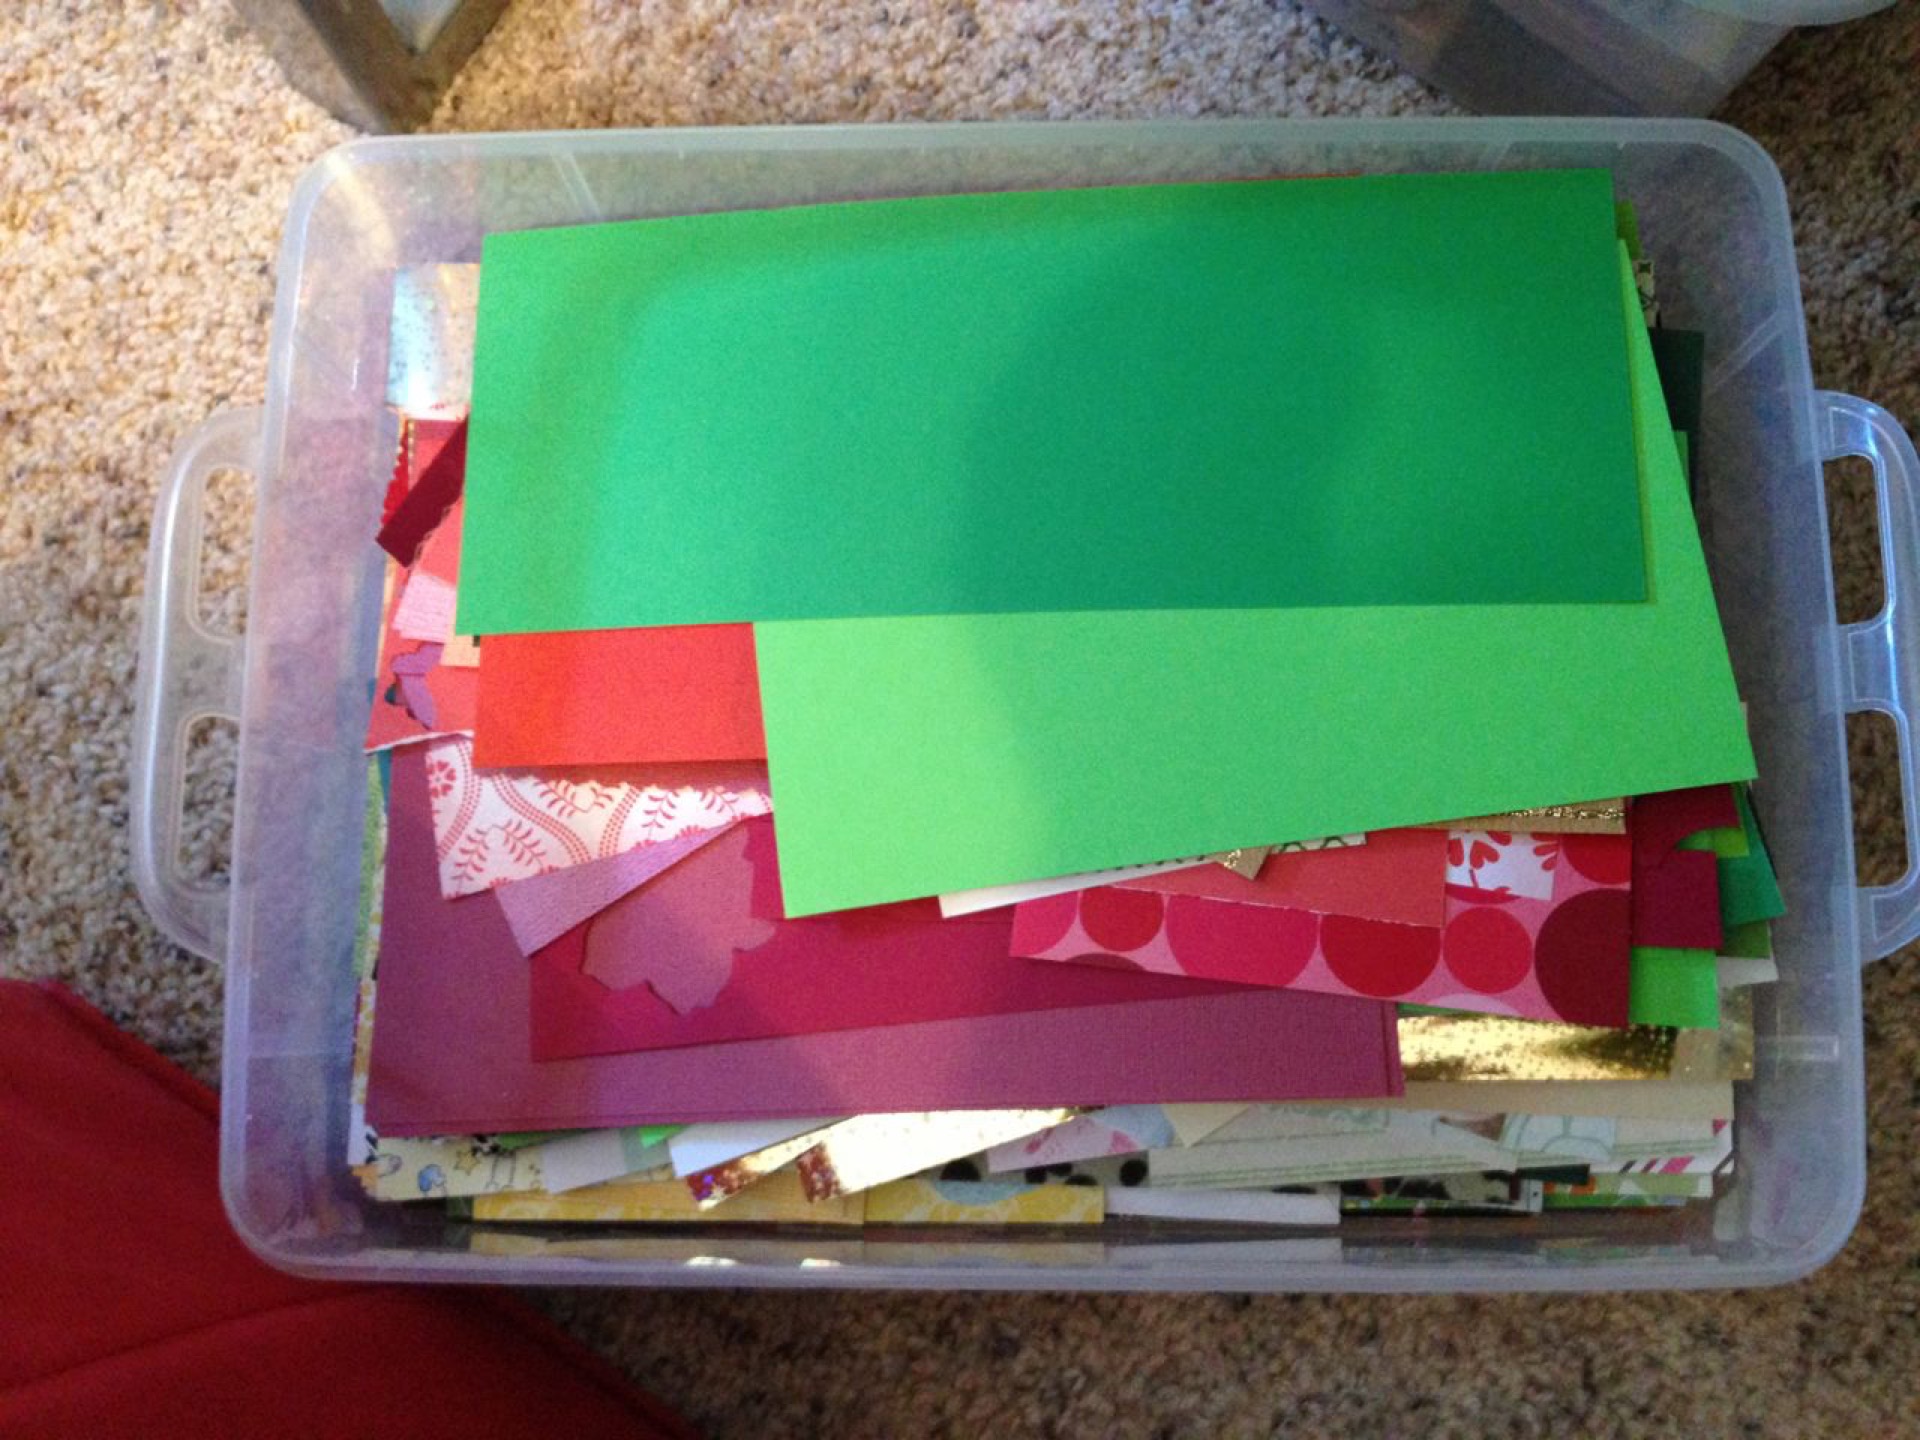
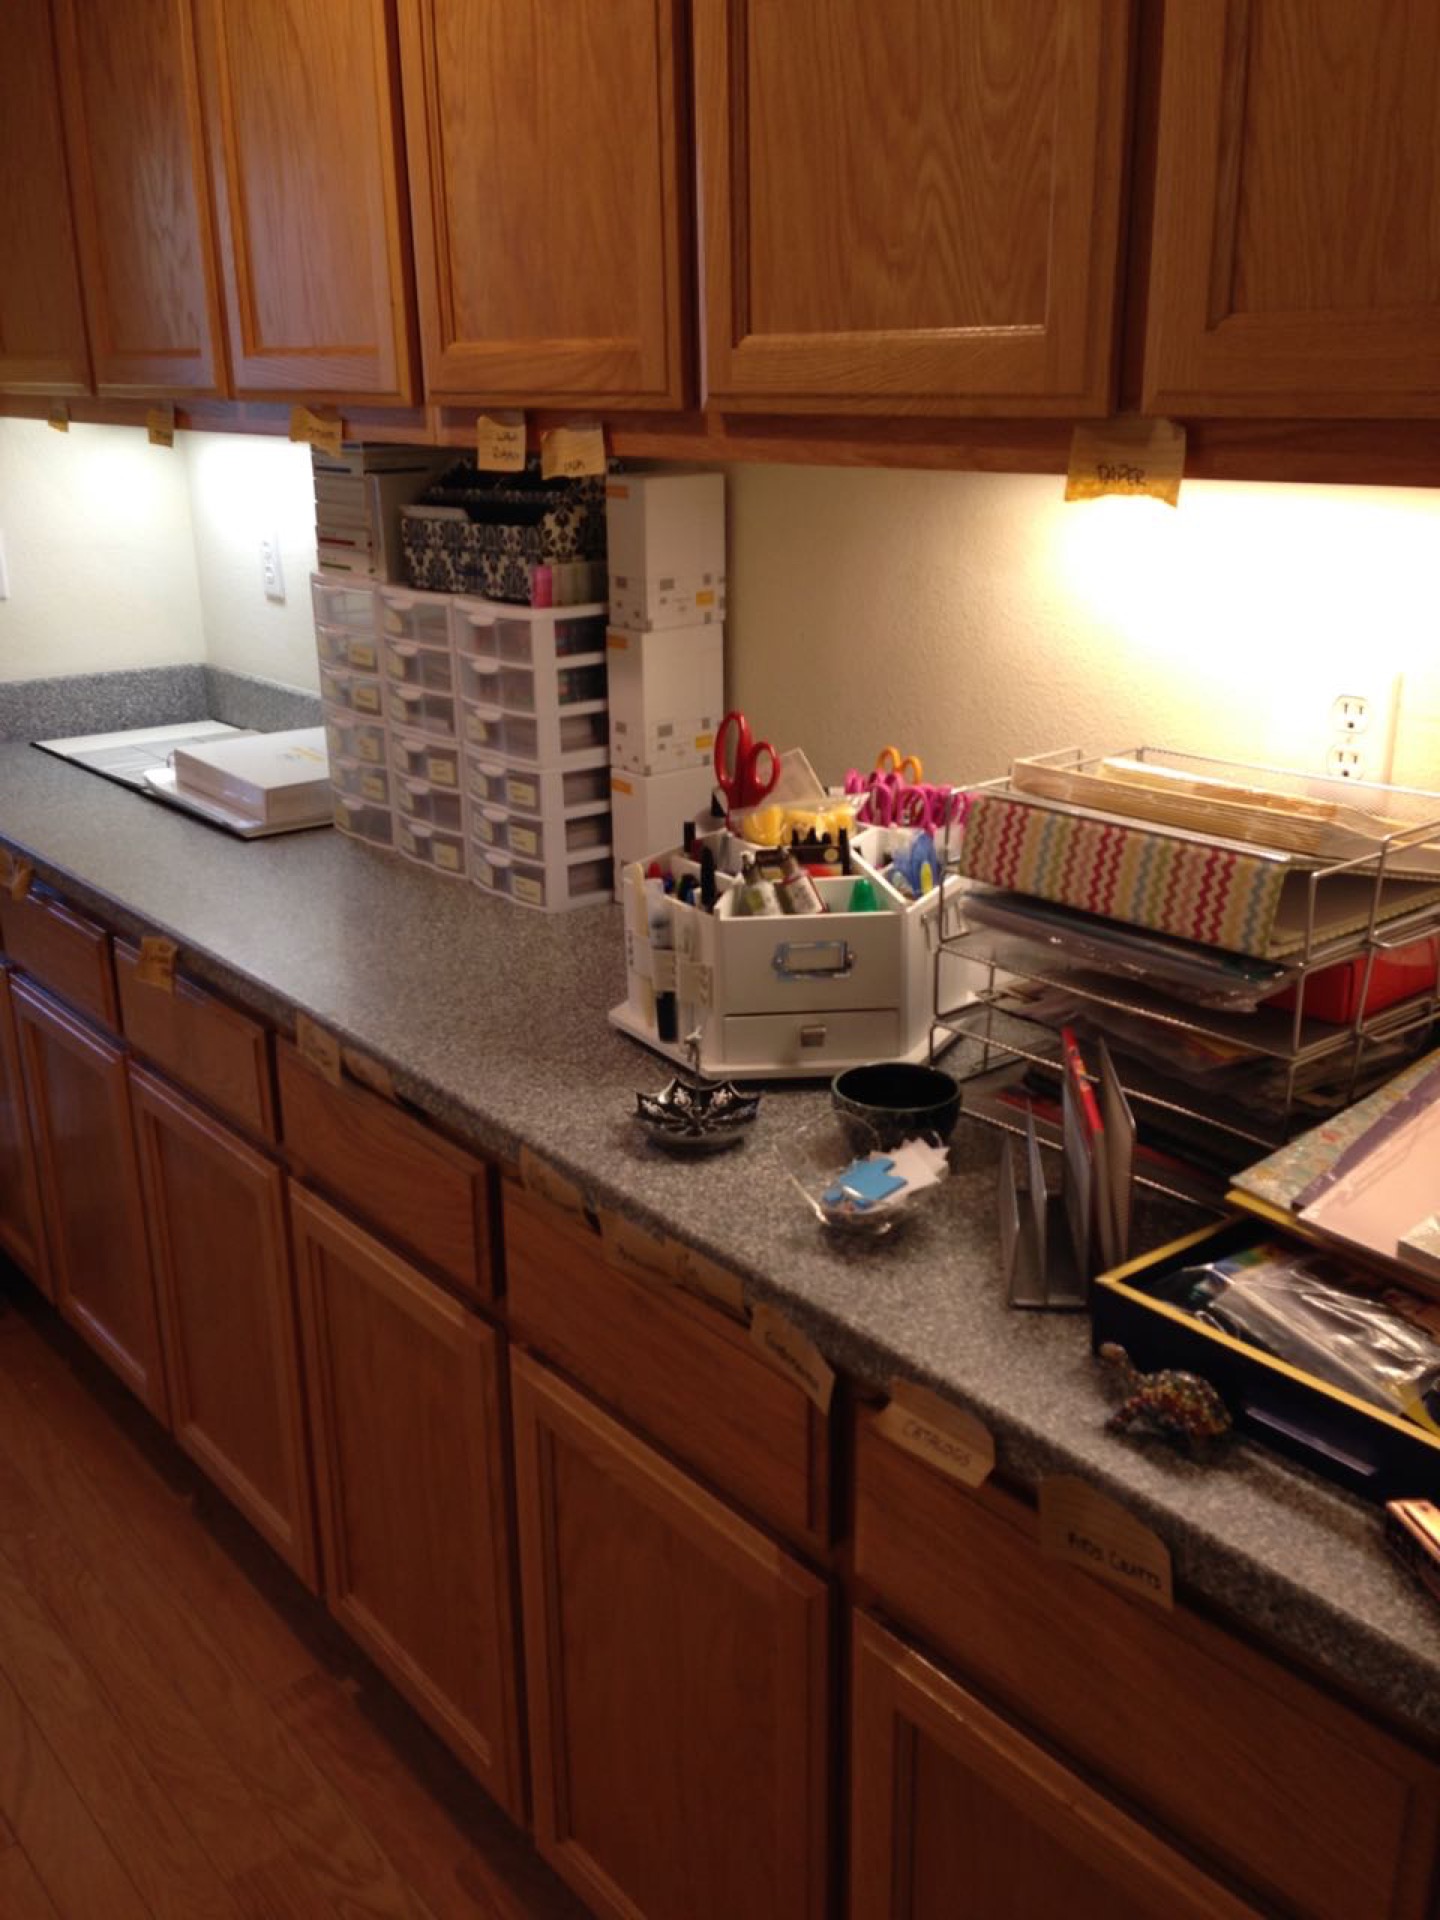
3. Craft Space Organization – I spent a fair amount of money at The Container Store to organize all the cabinets in my new craft space. It’s in a great space right now and so very usable.


4. Daily Housekeeping – My intention was to do at least one housekeeping duty per day. I’ve been very good sticking to this goal.

5. Curate Pinterest Board – I’ve got a nice collection of pins right now. I can’t wait to really dive into those.

Extras:

— January PL pages: I just completed all of my monthly pages this week. Loving how this new approach is working.

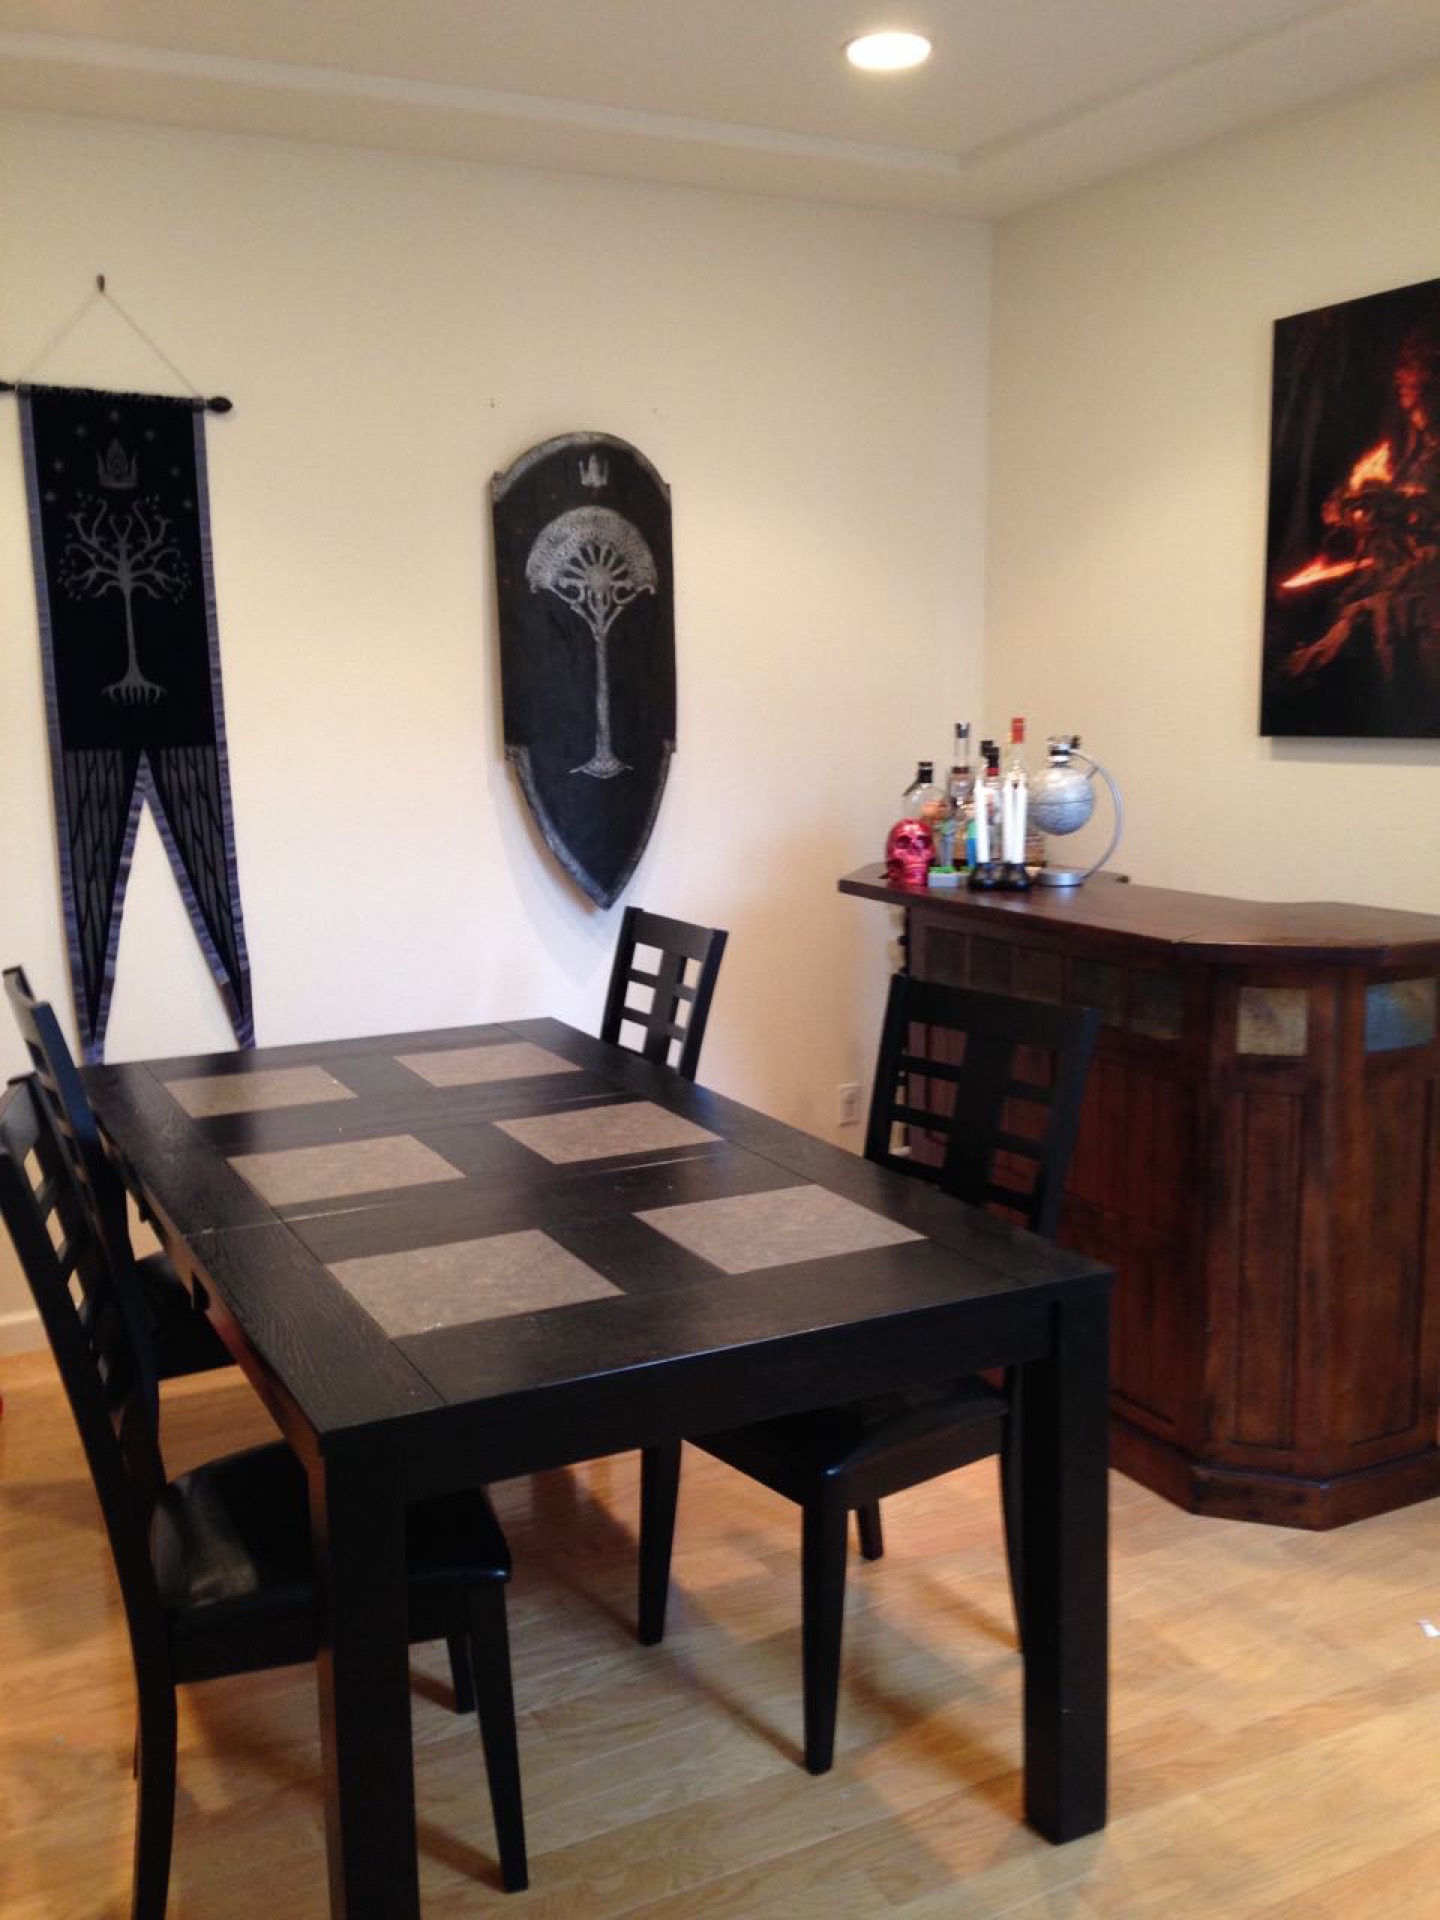
— Dining room: We’ve got most of the pieces in place for the dining room. I just need to add some curtains and this room is complete. Very excited. 


— Arthur’s playroom: I started with a completely blank canvas at the start of January. A few weeks later and things are shaping up. I need a few more decorative pieces and to organize the rest of his toys. Plus, I’ve got to get some curtains up there. One of next month’s intentions!


My OLW Pages:

I decided to add in my monthly OLW pages to my home management binder. My first page includes a nice self-portrait, some decorative cards, and the big prompts from January.


The next two pages hold my monthly intentions. While it wasn’t a prompt for January, I wanted to lay out my proposed large projects. This should help my keep me on track throughout the year. I may add to these intentions, but this is a good start.


tags: Kraft, One Little Word, Organization
categories: Life, Other Crafts
Tuesday 02.10.15
Posted by Tobe Buffenbarger
 

New Craft Space Tour

We moved houses right before Thanksgiving, but I haven't been there to enjoy it. I came home January 6th and my first priority was to organize my new craft space. This space is actually a hallway between the kitchen and dining room. It is full of kitchen cabinets and drawers. I didn't need the extra storage for kitchen stuff, so we decided this would be the perfect spot for my craft room. After some initial planning, I spent a ton of time (and a fair amount of money) at The Container Store. Putting my supplies just in the cabinets was not going to work. I bought a variety of silver mesh containers for my various products. You'll see those containers throughout the pictures.

The first two pictures are general overview pictures. The first one is is from the dining room, the second one is from the kitchen side.  This is how my space looks when I'm not working on a project. The remaining pictures detail each cabinet, drawer, and work area.


I reserved the left section of my countertop for Project Life. Specifically I left enough room to have the album I'm working on open. This helps me remember what spread I am working on. I still have some real estate to work on stuff. Plus, I can always close the album. Arthur's album and the baby core kit are currently sitting there. Guess what I'm on...

The middle of the countertop holds many of my PL cards and some random accessories. I bought these Sterilite drawers from Target. They are perfect for all my partial PL kits. I even got fancy and labeled them with some post-it notes. On top are my mini kits and a holder for random cards. I also have my Stampin' Up PL sets stacks next to the drawers. You can also see part of the magnetic board that I want to hang on the wall. Obviously I haven't gotten to that yet.

The right hand side of the countertop has a hodge podge of items. I have my Recollections tool caddy (so worth the money!). Next to that is my collection of random bowls. I intend to use those for small embellishments that I want to use. I also have my standing letter holder for notes and such. Behind that I bought four letter trays to hold my current projects. Before I let current projects clutter up my work area. This way I can have my current projects on hand, but not in the way if I'm not actively working on them. On the far right side, I bought a decorative tray from Target (Christmas clearance) to keep things to send, things for classes, or newly acquired products.

And now on to the cabinets and drawers.

The top left cabinet above my open PL album is full of PL accessories and embellishments. The navy bin holds items to scrapbook for the twins.  The pink and blue bins hold embellishments that still need to be sorted out. The cd bin on the right has my PL specific stamps. The bottom cd bins hold small alphas and PL embellishments. I also have two photo cases of tiny embellishments there to sort eventually. The large dvd bin holds large alphas and stickers.

The first drawer is my random office supply drawer. It's a mess I know... but I hardly get in here. And it's a good thing as this drawer is slightly broken.

The next drawer is my overflow office supply drawer. Not that exciting I know.

The bottom left cabinet holds a lot of stuff. I have large office products (pens, notebooks, folders) on the left side. The right top is full of my PL core kits. Those spill over to the right bottom while also including Christmas. All my Christmas paper, stamps, and embellishments are currently in a plastic container. I need to sort through these soon.

Moving to the middle we have a cabinet full of stamps. The green bin holds loose stamps. I need to sort through them but at least they are contained right now. My SU stamp cases are partially contained in an upright dvd bin. I need to pick up another one of those. On the right, I have all my SU ink pads. I don't have a great way to store these right now, but at least they have a cabinet. The small open bin holds my ribbon. While the mini bin holds my washi tape. Not the absolute best storage solution but they will work for right now. At least the washi and ribbon is more visible than it used to be.

The next drawer holds larger tools including masks, small SU notebooks, paper piercing tools, and my paper cutter. This is right below where i usually work so it has easy access.

The next drawer is all about my extra tools. Plus, I have a few small tins containing buttons and flowers.

Directly below I have a cabinet of finished products. Those boxes really need to be sorted, but at least they are together. The right side holds my Big Shot (accessible but out of the way), envelopes, grid paper, baby wipes, and SU business items.

The most far right cabinet is all about paper. My 12x12 is contained in two desktop letter files. I have SU DSP is one and random paper in the other. Five magazine files hold my 8.5 x 11 cardstock. I need to re-color coordinate those soon, but they are basically sorted. I also have a large dvd bin full of 6x6 paper pads and scraps. The orange bin has scraps yet to be sorted and white paper scraps. You'll notice I also have small tag labels on each of my magazine files. Amazingly I had these tags squirreled away and found them in the move.

This drawer holds most of my business supplies. I have business cards, address labels, and plastic sleeves. Randomly I also have my 2014 bucket list I made last summer. I kept this out to show at events.

The last drawer should hold my catalogs. It does, but the drawer also has bookmarks to give away and PL sets to sell. I hope to get these out of here soon. The catalogs are under there I swear.

Finally the bottom right cabinet holds the rest of my supplies. I have a mini bin for my embossing supplies. I have three cd bins for punches, framelits, and embossing folders. The bottom shelf has some random storage (need to decide what to do with these). The right side holds a ton of kid-related craft supplies. Mainly these are things I have bought for our preschool days.

And that is the tour of my new craft area. The dining room table is about five feet away making it perfect for easy access while hosting classes or crops. I need to continue sorting and destashing a bit, but I think it is a workable state. I've already made 9 cards for a swap, another card for a different swap, and finished 5 PL spreads in my new space. It will keep evolving as I use it, but I'm very happy with how everything is turning out.

tags: Organization
categories: Craft Supplies
Friday 01.16.15
Posted by Tobe Buffenbarger
 

Stamps and Punch Inventory

 Do you have too many stamps and punches to easily remember?  Do you reoutinely "discover" stamps and punches that you already own?  I definitely do!  And something needed to be done to help me organize.  Enter Pinterest!  I scoured for an easy way and relatively free way to organize.  I finally settled on creating a stamp and punch inventory.  This way I don't have to have the physical items always within arm's reach.  But I can still quickly look at my inventory when choosing what to use.

Stamp Inventory: I took regular white card stock and stamped every set.  I went a little further by grouping stamps by Christmas, holidays, occasions (birthdays, etc), sentiments, and no sentiments.  I then hole punched the sheets and placed them in a cheap binder.  I can keep the binder right under my desk.  Any time I want to choose a stamp, I grab the binder and flip to the appropriate section.  Easy peasy!

IMG_8805 (1920).jpg

 Punch Inventory: Same premise at the stamp inventory.  I chose to use a set of blank playing cards as my base instead of full sheets of cardstock.  I then grouped the punches (circles with circles, scallops with scallops, etc) and started punching.  If I knew I was missing a size, I left a spot for it on the cards.  Otherwise, I tried to put at least two punches per card.  I also added the punch name and/or size for easy reference.  This guide hangs on my bulletin board above my desk for easy access.


I may end up using a different system in the future, but for right now this work's great.  Since making these, I have found myself using many stamps that I would have otherwise forgotten.  It serves it's purpose!

tags: Organization
categories: Craft Supplies
Monday 07.28.14
Posted by Tobe Buffenbarger
 

New Discoveries #5: Evernote for Organization

Who here has trouble organizing their blog post ideas, craft ideas, etc?  I know I do!  It seems that I think of things in the shower or getting ready to bed.  I used to write it down on a random piece of paper and promptly lose it.  And then I found Evernote! J actually told me to buy Evernote for my computer a few years ago.  Up until then, I had been using a notebook and was relatively organized.  He convinced me that this little app would change my life for the better.  He was right!

I now use Evernote for a variety of organization needs.  I created a notebook for each blog.  I have one for general blog post ideas.  I have one for keeping track of monthly goals.  I have another notebook for Project Life and one for vacation ideas.  I even have one for meal planning.  But for this post, I want to highlight my calendar notebooks.

I created a notebook for each year with separate notes for each month.

You'll note notecards for "July Life" and "July Craft."  I tried to combine the two notes for the two blogs and I was hopelessly lost within a week.  So I try to keep them separate for my sanity.  Within each note, I have written each day of the month with the day notation in front.  I went even a bit further and separated out the weeks to help see the break points.  Each month I go through and write my blog post title on the corresponding day.  If the post doesn't exist in some form on the blog, but is only an idea at this point, it gets an asterisk after the title.  Once a post is completed, I strikethrough.  This way I can see what I have scheduled and what is needed to be finished with a quick glance.  No more wading through each of blogs trying to determine what needs to be done.  My Evernote method has kept me more consistent with my blogging.  I have also cut down on the number of times that I publish a post that isn't finished.

While I use my calendar notebooks daily, I've recently started a separate notebook for upcoming blog challenges.  I really want to start participating in these more often, but usually forget until the day they are due.  This easy, I'm hoping Evernote can help me work ahead a bit.  This notebook will also include my upcoming swaps and blog hops.

I have seen many bloggers that keep a paper notebook or a Filofax for their blog organization.  My thought is: whatever works for you!  I've found that Evernote is my best friend.  I don't know how I would blog without it at this point.

tags: New Discoveries, Organization
categories: Craft Supplies
Thursday 07.10.14
Posted by Tobe Buffenbarger
 

Archives: Tour of My Crafting Station

Originally published on January 30th, 2014


Since coming back from Christmas break, I attempted to organize my crafting space.  A few weeks later and I'm ready to reveal my area.  My space is one half of our third bedroom.  The other half of the room is filled with J's modeling supplies and workspace.  The closet is full of bookcases.  So, that leaves the half by the door (minus the corner dedicated to the servers and various computer stuff) and a small space of the long table.  From the above picture, you can see my limited space.

Let's start with the area by the window:


On top of the white table I keep a variety of things.  I have my red bin (we'll look inside in a few minutes), finished cards (currently just stacked up), envelopes, and all my 8.5" x 11" paper.  I decided to buy some Ikea cheapy magazine holders to sort my paper by color.  The last holder on the left holds cut card bases and my Stampin' Up catalogs.  I plan on adding fun scrap paper to the magazine holders to liven them up a bit.


Tucked under the white table is my beloved Ikea Alex drawer set.  I bought this piece right after we moved in almost two years ago and am still in love with it.  It has a total of six drawers.  The top three are shorter and the bottom three are longer height-wise.  All the drawers are extremely deep.  They hold 12" x 12" paper with room to spare.  We couldn't put the drawers under the table with the opening facing out because of a vent (you can see the corner in the pic).  Instead we slide it in sideways.  I can still open the drawers without moving this extremely heavy piece.  The extra room sticking out was the perfect size to hold my boxed Project Life kits.  Currently I have a pocket pages box, a Baby Neutral kit, a Sunshine kit, a Seafoam kit, a Holiday kit, and a Seasons kit residing there.  It makes it really easy to grab a kit to work with and frees up a ton of space on my table.

Inside the Alex drawers, I have a ton of supplies.  The first two drawers hold a lot of various office supplies not worth looking at.  The third drawer (short drawer) holds my Christmas supplies.  I finally decided to sort out my Christmas only supplies from the rest.  Best decision I've made in a long time.


The fourth drawer (first tall drawer) used to hold all my stickers for scrapbooking.  Since I am moving towards Project Life, I've slowly used my stickers and haven't bought much more.  Because of that, this drawer is slowly becoming a paper drawer.  One of next projects is to sort through my 12" x 12" paper and organize them by colors / patterns.


The fifth drawer is a split drawer.  Half is full of more 12" x 12" paper.  Half is full of my paper punches.  Fairly soon I'm going to have to make more room for paper punches.  I'm thinking about moving the punches up to the sticker drawer as I use those.

The last drawer is another half and half drawer.  Half is paper, half is my heat embossing supplies and my scoring board.  Kind of random, but I don't use my heat embossing tools all the time.

Finally on top of the window table I have one of my red bins.  This one is filled with all my Stampin' Up stamp cases, SU framelits, and SU embossing folders.  I would like to have my stamp cases in a more visual spot, but I need to think more about how I want to do that.

Here's the view of my main work space.  I bought this very basic table from Amazon.  I love that I have a large area to work with and nothing for me to get tangled onto.

The right side is a big hodgepodge of stuff.  The little shelving unit contains random notebooks, the twins' scrapbooks I'm currently working on, and my yearbooks.  The top of it has some random office supplies and coasters.  Under the desk, I have my two Project Life albums.  On top, I have my Project Life supply box, two Studio Calico PL supply boxes, and a few PL specific embellishment envelopes.


The pink box contains Project Life specific supplies.  I have a few rotary stamps, some photopolymer stamps, a corner rounder, day stickers, and some random things.  I tried to make it easier on myself when I got to do my weekly spreads.  I didn't want to spend a lot of time searching through supplies.  Having a dedicated box cuts my time in half. Love it!


On the left side of the table, I have a PL album (not usually there), a couple of paper stacks for notes, and four boxes of supplies.  The bottom box (darker blue) is pictures and ephemera for the twins' scrapbooks.  I haven't switched them over to PL (probably won't until I fill the current album).  I tend to scrap there pages once every few months.  So, I throw everything in this bin to keep for later.


The turquoise box holds all my small embellishments. I have a ton of buttons, brads, flowers, jewels, and die cuts.


The orange box holds paper scraps.


The green box has all my ribbon and washi tape.  Given my current obsession with washi tape, I will probably have to rethink this box soon.


Under the table holds the last of my supplies.  I have a few bins and my tool caddy.


The red bin contains my Stampin' Up ink pads, my stamp scrubber, my snail refills, and a few random ribbon spools.  I usually keep my ink pads horizontally, but for the pictures I put them vertical to see the colors.  I don't want the ribbon in this bin, but I ran out of room in the ribbon box.

The second scraps box.  I think I have a scraps problem.  I really need to do a scrap purge.

This bin holds all my non-Stampin' Up stamps.  I think I need a better way of accessing my stamps.  I'll have to think about it.

Lastly, I have my tool caddy.  I try to keep all my scissors, markers, and random tools in one easy access place.  Plus, this holder is mobile!


Overall, I am satisfied with my crafting area.  However, there are a few things that I want to improve in the near future.  I've filled my Pinterest board with crafting room inspiration.  I see a trip to Ikea in my future!

tags: Organization
categories: Craft Supplies
Friday 05.02.14
Posted by Tobe Buffenbarger
 

Archives: Crafts Book Review

Originally published on December 11th, 2013

Title: Inside the Creative Studio

Author: Cate Coulacos Prato

Publisher: Interweave 2012

Genre: Home; Crafts

Pages: 160

Rating: 4/5 stars

Reading Challenges: Fall into Reading; Nerdy Nonfiction -- Home; 52 Books -- W50

The professional artists and crafters of Studios Magazine give you the tools to create your own one-of-a-kind artistic environment in this best-of compilation. Learn how to find space in your home, whittle down your stash, maximize your storage and organization possibilities, and manage your stash of supplies and equipment to keep your work space functional and fun to work in. Experts will also show you how to repurpose furniture, integrate recyclables, and showcase vintage items to establish a space with purpose and personality. You will spend less time struggling with your studio, or lack thereof, and more time actually creating in your unique space.

Lots of great ideas for organizing your creative space.  My space isn't completely out of control, but I would love to reorganize it this coming year (on my big to do list!).  This book helped me start thinking about what I want...  I see a trip to Ikea in my future for early next year.

Title: B is for Baby: 26 Projects from A to Z

Author: Suzonne Stirling

Publisher: Taunton Press 2006

Genre: Crafts

Pages: 176

Rating: 3/5 stars

Reading Challenges: Fall into Reading; Nerdy Nonfiction -- Crafts

B is for Baby honors the age-old tradition of crafting with a mix of vintage and modern-style projects for all women who buy baby gifts who want to give something meaningful and handmade. In a unique A to Z presentation, the projects are aimed at a variety of skill levels and budgets. Every letter is represented with a main project and many variations, and all have concise step-by-step directions, photos and templates.

Why do I always pick these craft books up?  Oh right, I love looking at the pictures.  To be fair, there are some very cute projects in this book.  Most of them just aren't my style (lots of pastels and cutesy things) and there was only two projects I even contemplated doing.  Cute book for super crafters, just not really my style.

tags: Organization
categories: Book Review
Wednesday 04.30.14
Posted by Tobe Buffenbarger
 

Powered by Squarespace.