• Home
  • About
  • Archives - Wading Through
  • Archives - The Craft Sea

Wading Through...

  • Home
  • About
  • Archives - Wading Through
  • Archives - The Craft Sea

Thanksgiving Circles

Yet another simple design to help me finish my twelve sets of twelve cards.


My Interpretation: I decided against the flower and stuck with three simple circles, a sentiment, and a ribbon.  I started with just the circles and sentiment, but realized that the card was just too plain.  The ribbon goes a long way to adding to the card.  I didn't take pictures of the others, but ended up running out of this green plaid ribbon and substituted orange and brown solid ribbon for the rest.


Tip: The orange circles looked too plain as just solid orange, so I made my own patterned paper.  I took SU's Magnificent Maple stamp (sadly retired), and stamped all over a 8.5x11 sheet of pumpkin pie paper in pumpkin pie, wild wasabi, early espresso, and more mustard ink.  The overlapping leaves created a nice neutral pattern paper to then cut into circles.  It definitely adds a bit more homemade touch to card.  Plus, I now have some leftover homemade pattern paper to play with.

Supply List:

  • Stamps: Magnificent Maple (retired)
  • Inks: More Mustard (retired)
  • Cardstock: Fall themed scraps
  • Accessories: Ribbon scraps
  • Tools: 2" Circle Punch

Snail Adhesive

$6.95

Stampin' Trimmer

$29.95

Chocolate Chip 8-1/2X11 Card Stock

$6.95

Very Vanilla 8-1/2X11 Card Stock

$8.50

Pumpkin Pie 8-1/2X11 Card Stock

$6.95

Early Espresso Classic Stampin' Pad

$5.95

Pumpkin Pie Classic Stampin' Pad

$5.95

Wild Wasabi Classic Stampin' Pad

$5.95

Hip Notes

$11.95

Table by StampinBuddy. Try it FREE.

tags: Hip Notes, Magnificent Maple, Mojo Monday, Sketch, Thanksgiving
categories: Other Holiday Cards
Saturday 05.31.14
Posted by Tobe Buffenbarger
 

Project Life 2014 W19-20

These two weeks were my challenge to use the new Stampin' Up Everyday Adventure Card Collection and Accessories.  I did cheat just a bit and included a few non-SU stamps.

Week 19

This week was dominated with pics from our first trip to Deer Hollow Farm.  I got some pictures of the animals, but most importantly a few pics of Arthur enjoying the trip.  My favorite is the picture of him sitting on the sheepskin rug.  So cute! I especially love that his hat was askew; just feels right.

I added some stickers, washi tape, and wood veneers to coordinate with the SU cards.  I'm loving the bright colors and geometric patterns.


Week 20

This week included a few pics from Arthur's 7 month photo shoot.  I had to include the one where he's laying across the chair.  Too cute!  I added some stickers and stamps to a few of the photographs, but kept it mostly simple like usual.


Supplies:

  • SU's Everyday Adventure Card Collection
  • SU's Everyday Adventure Accessory Pack
  • Heidi Swapp Stamp Set
  • Stamp Set from May's Take Ten Kit
tags: Everyday Adventure
categories: Project Life
Friday 05.30.14
Posted by Tobe Buffenbarger
 

Card Class #1

A few weeks back I held my first ever card class.  We made four cards using a ton of retiring/retired DSP.  I wanted to make sure that the card designs were fun, but easy to make.  I think I found the right balance with these.

Card #1

Inspiration: From Stamp with Sandy


My Interpretation:


Supplies:

  • Stamps: Morning Meadow (retired)
  • Cardstock: Whisper White; Afternoon Tea (retired); Smoky Slate
  • Ink: Wisteria Wonder; Certainly Celery; Primrose Petals
  • Accessories: Large Pearls
  • Tools: Pansy Punch

Card #2

Inspiration: I have two inspirations for these baby cards.  One is a card I had made a few months back


And the other is from a card made by Lucie Bell


My Interpretation:


Supplies:

  • Stamps: Sweetest Gift (retired)
  • Cardstock: Marina Mist; Blushing Bride; Whisper White; K & Company Paper Stacks
  • Ink: Marina Mist; Crumb Cake; Regal Rose
  • Accessories:
  • Tools: 2" Circle Punch; Cloud Embossing Folder (retired); Polka Dot Embossing Folder; Pattern Scissors; Paper Trimmer; Snail

Card #3

Inspiration: From Stamp with Amy K


My Interpretation:


Supplies:

  • Stamps: Wacky Wishes (retired)
  • Cardstock: Crushed Curry; Kaleidoscope DSP (retired); Whisper White
  • Ink: Strawberry Slush
  • Tools: Banner Punch; Snail; Paper Trimmer

Card #4

Inspiration: From Mama Mo Stamps


My Interpretation:


Supplies:

  • Stamps: A Word for You (retired)
  • Cardstock: Rich Razzleberry; Floral District DSP (retired)
  • Ink: Rich Razzleberry
  • Accessories: Tangerine Tango Ribbon (retired); Silver Jewels
  • Tools: Elegant Butterfly Punch; Bitty Butterfly Punch; Snail; Paper Trimmer
tags: A Word For You, Afternoon Tea DSP, Baby, Butterflies, Embossing Folder, Floral District DSP, Happy Birthday, Kaleidoscope DSP, Morning Meadow, Sweetest Gift, Thank You, Wacky Wishes
categories: Baby/Wedding/Anniversa..., Birthday Cards, Thank You
Thursday 05.29.14
Posted by Tobe Buffenbarger
 

Essential Products #2: Cutting Tools

Let’s dive in today with a huge essential product: Cutting tools!

Everyone needs to be able to cut paper (and ribbons and stickers and everything else).  There are definitely lots of cutting tools out there to choose from.  Here's my round-up of tools:


Product Description: Cutting tools come in all shapes and sizes.  Most people start out simply with a pair of scissors. But as your crafting experience grows, so does your collection of tools.

Choices: As evidenced by the pictures above, I have multiple different types of cutting tools.  They each have their own specific purpose.

  • Scissors -- A comfortable, sharp, and sturdy pair of scissors goes a long way in crafting.  I picked up this pair of Fiskars scissors about three years ago and they are still going strong even with almost daily usage.  I have a tool caddy sitting under my desk, but these stay front and center in my pen holder for easy access.  Some people prefer short paper snips, but I love my big handled long scissors.  I imagine that when they get dull, I will just got out and buy another pair.
 
  • Ribbon scissors -- You do not want to use the same scissors for ribbon cutting as for paper cutting.  For ribbons cutting, I have a small, short pair of Fiskars scissors.  They are marked on the other side with sharpie so I can remember to only use these for ribbons.  I've seen others mark their ribbon scissors with a bow.
 
  • Patterned scissors -- After my regular scissors, this set (they are actually two more, but they are packed away for an upcoming class) was my next cutting tool purchase.  I found this EK Success set at Target, but I've seen similar at most craft stores.  Originally I used them to cut my pictures for traditional scrapbooking pages.  Now, I mainly use them to add fun edges to my greeting cards. Very versatile set!
  • Paper trimmer -- The most expensive cutting tool purchase I've made is this paper trimmer.  I realized eventually that I wanted to be able to quickly made straight measured cuts.  This is the best way to do that.  I bought my Fiskars trimmer at Michael's years before I became a Stampin' Up demo.  This one is great with the easy to swing out extended ruler, but I've noticed that my lines are starting to wear off.  It may be time to upgrade to Stampin' Up's version.  I've heard really nice things about it.  Plus, I can easily buy and switch out the blade for rotary trimmers.  And it doubles as a scoring tool.  As with all paper trimmer, you must buy replacement blades every once in while.  The more you cut, the faster you need to replace.  For this Fiskars trimmer, I buy a pack of twp replacement blades about every other month.
  • Exacto knife and paper piercer -- My last two cutting tools are nice to have but in way a necessity.  Both my blade and pierce came from Michael's.  The blades are replaceable, but I've never replaced them.  I don't use these tools often, but they do come in handy.  The blade can be used for small precise cuts (i.e. cutting out a stamped image).  The pierce is most often used to pierce holes for brads.  I also occasionally use to pick up small jewels, especially those that really stick to the plastic.


My Choice Brand(s):

  • Stampin' Up -- Of course SU has a great selection of various cutting tools.
  • Fiskars -- Any from Fiskars is guaranteed to be nice quality.  They know their cutting tools.
  • EK Success -- My patterned scissors are EK Success, but I can tell they are aren't as sharp or well-constructed as my Fiskars supplies.

Where to Buy:

  • Stampin' Up
  • Michael's
  • Joann's
tags: Essential Products
categories: Craft Supplies
Tuesday 05.27.14
Posted by Tobe Buffenbarger
 

May PL Swaps

I joined a Project Life Swap group on Facebook a few months back and have really been inspired.  Basically every month, the admins post swap themes (8-10 usually).  You sign up for how ever many you want and commit to making usually 10 cards making the theme.  Before the due date, you send your cards to the swap host.  She collect everyone's cards, sorts them, and sends you back a packet of card. This month, I joined four swaps:

Yellow -- I used SU's Hip Notes and Petal Parade stamp sets and the Bitty Butterfly punch.  The base cardstock and yellow patterned paper were from my scraps pile.  Very simple card, but lovely.

PL Card Revamp -- The goal was to take existing PL cards and revamp them with embellishments, stamps, paper, etc.  I chose some random 4x6 cards (mostly from Studio Calico kits) and the Vintage Collection Paper stack and started layered.  I also added some pink chevron washi tape and stamps from SU's new PL collection.


Children's Book -- I joined the children's book swap because I immediately thought of my favorite children's book: Alice in Wonderland.  I took a simple quote on a black background and layered some paper that reminds me of Wonderland.  I used American Craft's Galaxy Marker in medium, DCWV's Bewitched paper stack, and SU's Pocketful of Posies DSP (retired).


Butterflies and Ribbons -- For this swap, I challenged myself to use all non-SU stamps, accessories, and papers.  I'm use really trying to use as much non-SU stuff as I can to make room for my growing SU side business.  I took a sentiment stamp from a forgotten set (with peacocks) and combined it with some punched out butterflies and ribbon tassels.  I was going for a fluttering look and they do flutter if you wave the paper around a bit.  I also tried to use paper scraps for the butterflies (a few are slightly different papers because I ran out) and leftover ribbon.  And it change it up a bit, I made five purple and five red cards, just for the variety.  I like how these came out: clean but with a bit of flair.

tags: Butterflies, Hip Notes, Petal Parade, Pocketful of Posies DSP, Point and Click
categories: Other Crafts, Project Life
Monday 05.26.14
Posted by Tobe Buffenbarger
 

Sunday Haul #3

I took advantage of a Steals.com deal about a week ago and it finally came!  I snapped up Captured, Official, Bewitched, and Harvest for extremely cheap.  I'm planning on selling about half of each set on my FB group.  I just don't really need hundreds of cards of the same design.  I'd rather have a variety.  I also picked up a package of PL Design 4 pages.  I'm planning on using them for my Daily December album later this year.

tags: Sunday Haul
categories: Craft Supplies
Sunday 05.25.14
Posted by Tobe Buffenbarger
 

6x6 Template Card Stack

From Kathryn's Cards, I found this great 6x6" template.  Since I have so much retired paper just laying around, I though this would be the perfect template to try. Here are the two template pages:


Out of those templates, I used 6 sheets of SU's International Bazaar DSP to create 33 cards.  That's a lot of cards covering my desktop!

There are four different designs of cards.


Obviously I added the punched out shape and the sentiment to the cards.  But Kathryn's examples also have a bit of added flair.  I like the end result.  This was simple and easy.  Perfect for a stamp-a-stack or volunteering event.

Supply List:

  • Cardstock -- International Bazaar DSP (retired)

Basic Black 8-1/2X11 Card Stock

$6.95

Whisper White 8-1/2X11 Card Stock

$8.50

Whisper White Craft Stampin' Pad

$7.50

Island Indigo 8-1/2 X 11 Card Stock

$6.95

Daffodil Delight 8-1/2X11 Card Stock

$6.95

Snail Adhesive

$6.95

Stampin' Trimmer

$29.95

Perfect Pennants Clear-mount Stamp Set

$21.95

Mosaic Punch

$15.95

Stampin' Dimensionals

$3.95

Chocolate Chip 8-1/2X11 Card Stock

$6.95

Old Olive 8-1/2X11 Card Stock

$6.95

Pool Party 8-1/2 X 11 Card Stock

$6.95

Pacific Point 8-1/2X11 Card Stock

$6.95

Rich Razzleberry 8-1/2" X 11" Card Stock

$6.95

Tangerine Tango 8-1/2X11 Card Stock

$6.95

Table by StampinBuddy. Try it FREE.

tags: 6x6 Template, International Bazaar DSP, One Sheet Wonder, Perfect Pennants
categories: Birthday Cards
Saturday 05.24.14
Posted by Tobe Buffenbarger
 

New Discoveries #3: Peachy Cheap and Steals

I love finding deals on crafting supplies, don't you?  A few months ago, I was searching on various supplies online (specifically Project Life supplies), when I came across two amazing websites of deals.

Peachy Cheap

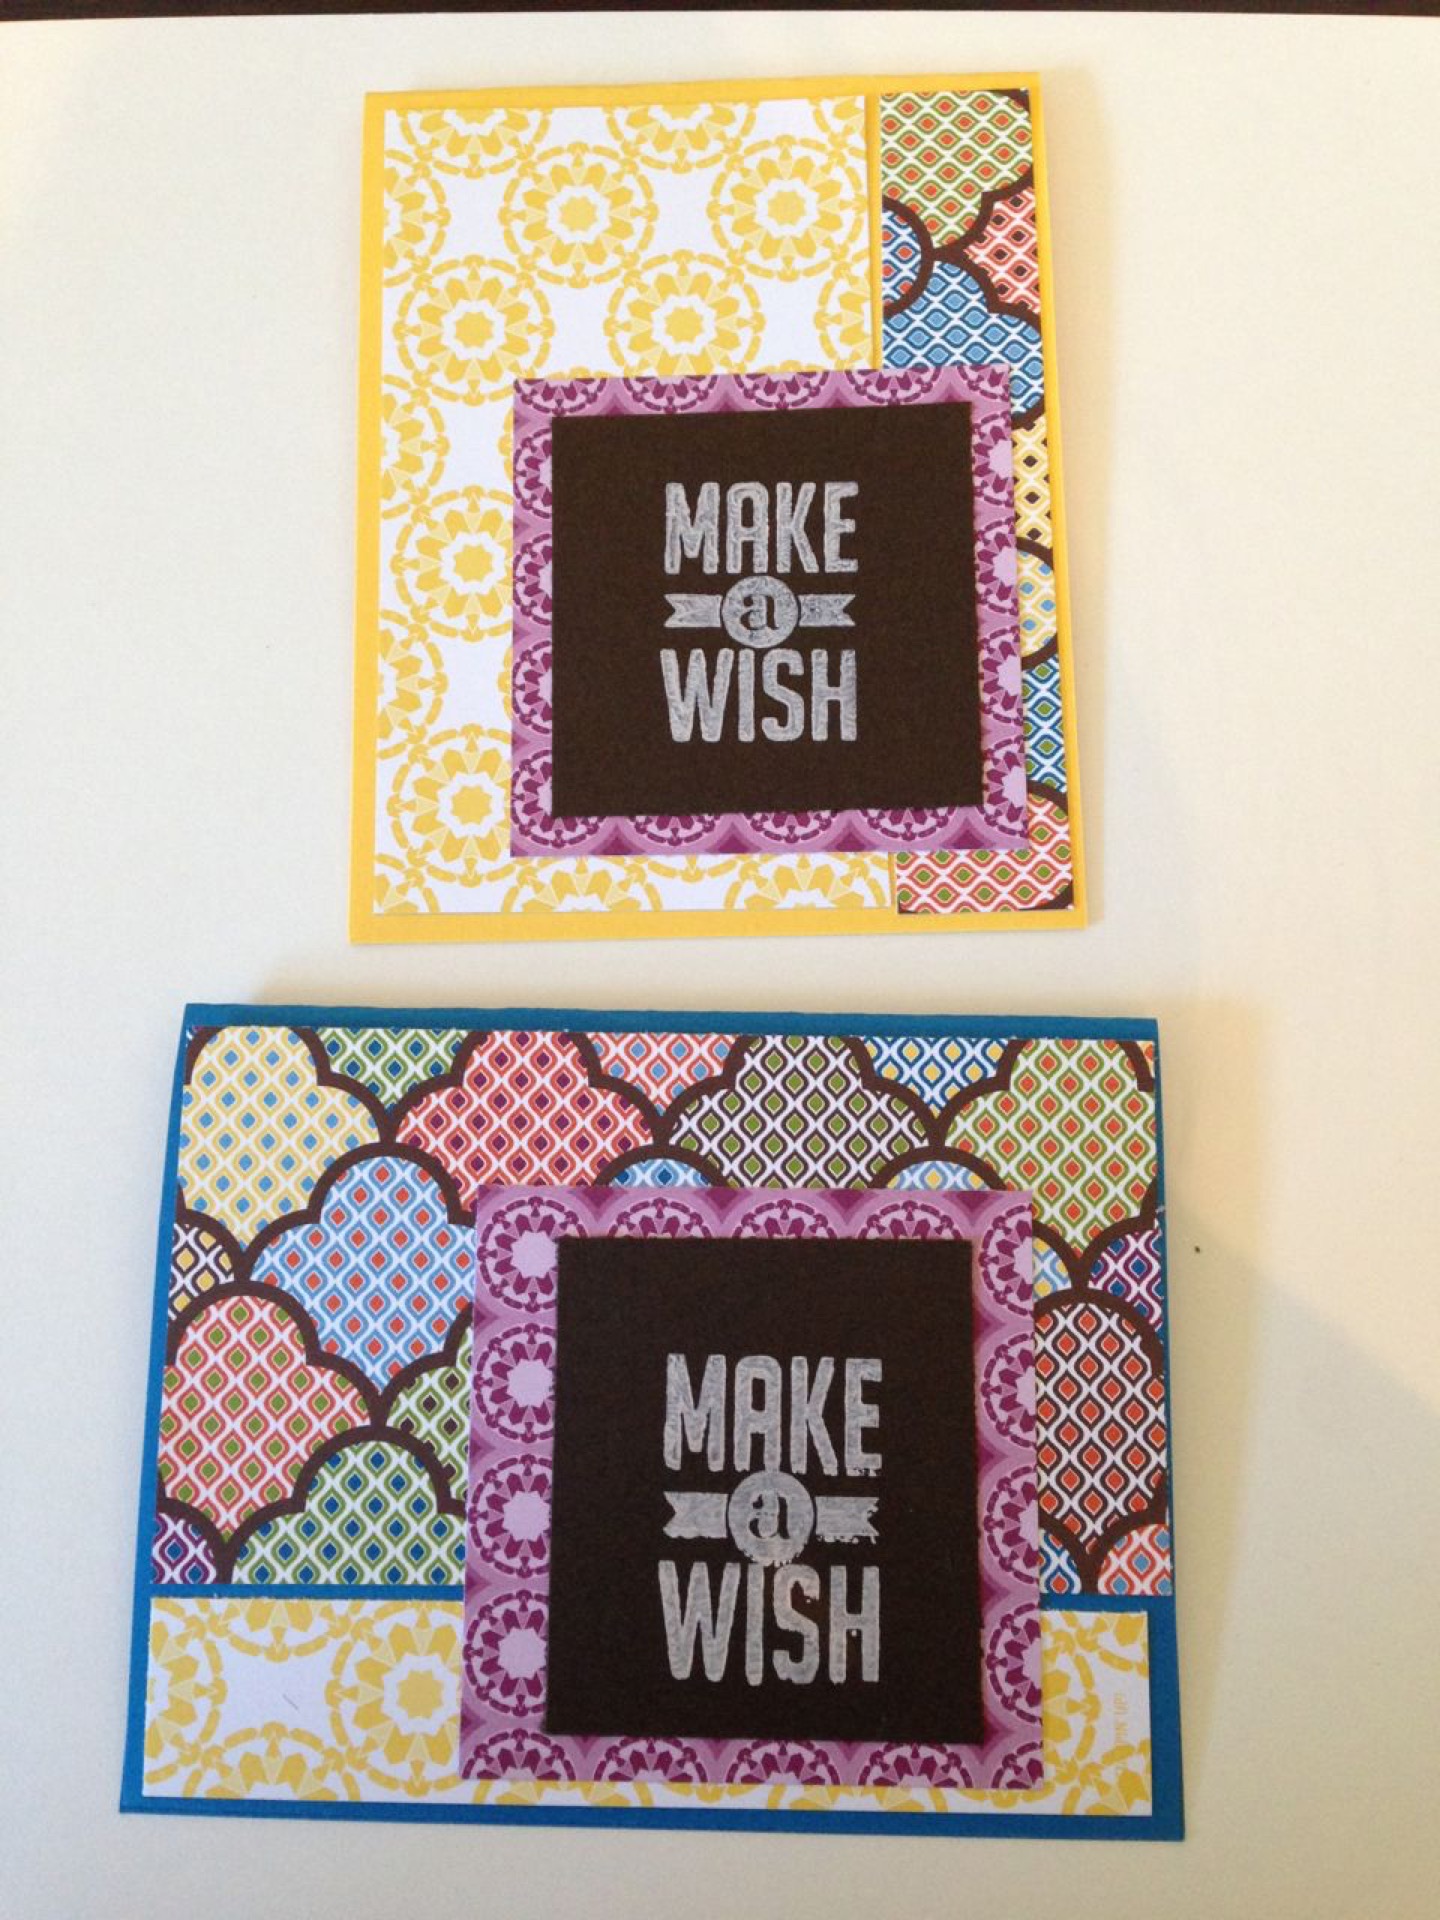
Peachy Cheap offers one crafting supply deal per day Monday through Saturday.  Typically these deals are for embellishments (die cuts, brads, enamel dots) or for ribbon or washi tape.  Sometimes I have seen 6x6 paper packs.  The great thing about this site is the quantity per price.  I snapped up a deal a few months ago for a 6 pack of Basic Grey enamel dots for $6.99.  With the $5.99 extra for shipping, I paid about $13.00 for six packs of enamel dots.  This would have cost me probably $25 in a retail store.  I also snapped up a huge lot of My Mind's Eye die cuts, stickers, and PL cards for $9.99.  I had over 100 pieces include (probably closer to 200 pieces).  To buy the equivalent in store, it would have cost me at least $50.  Amazing deal!

Details:

  • One deal a day while supplies last
  • Shipping is through USPS, per item (no combined shipping), typically $5-6 in the US
  • Shipping usually takes around 10 days
  • Sometimes offer the same projects on another day, but no guarantees

Steals

Steals actually has four different sites: Scrap, She, Kid, and Baby.  Each site has a new deal starting at 8am PST and 8pm PST.  They usually offer multiple related projects for 25-80% retail price.  Like Peachy Cheap, they are while supplies last.  However they do keep the any remaining stock and sell it in their "shop" category.  Occasionally they will run a warehouse sale with cheaper and/or combined shipping on anything that's left over in the shop.  in the past, I have bought a few baby and kid related items, packs of WRMK Albums Made Easy cards ($3.99 when they retail for $9.99), and warehouse sale grab bags (entire 2 pound box of supplies for $20, probably retailed for at least $75).  My only word of caution for this site is to watch out for shipping.  Sometimes I find they offer great deals on a project, but when you factor in shipping, the price is higher than purchasing a similar product at Michael's or Joann's.  (Case in point: American Crafts 6x6 paper pads for $2.99 each + $4.99 shipping.  Only works out if you buy multiple pads.  Buying only one pad pushed the price over the brick-and-mortar store regular prices).

Details:

  • New deals daily at 8am PST and 8pm PST
  • Can sell out quickly
  • Shipping varies with deal, typically $4-7 in US
  • Shipping usually takes around 10 days, can pay more to expedite
  • Any deal leftovers are sold in the "shop" category
categories: Craft Supplies
Thursday 05.22.14
Posted by Tobe Buffenbarger
 

Basic Techniques #1: Proper Stamping

Today let's discuss some tips for proper stamping.  There is general rule and etiquette book when it comes to stamping.

First up: Different types of stamps

There are three main types of stamps that you can buy: 1. classic wooden mounted rubber stamps, 2. cling or clear stamps, 3. photopolymer clear stamps.  Each of these types of stamps have their own uses and challenges.

Classic wooden stamps come either premounted (bought in a store) or unassembled (Stampin' Up).  If they are unassembled, you need to mount the rubber stamp to the wooden block and adhere the picture on the other side.  Pretty simple.  I love wooden stamps for their ease of use.  They are also nice for people with unsteady hands.  The wooden block is nice and sturdy and gives you a good grip.  Wood stamps are also nice for the ease of use.  Once they are mounted, they are always ready to go.  I see two major cons with wooden stamps: bulky storage and not being able to easily see where I'm stamping the image.


Cling or clear stamps aren't truly clear.  They are usually made of the same rubber that that wooden stamps are.  The difference is that they come unmounted.  To use, you must have clear mounting blocks.  You temporarily adhere the stamp to the clear block.  Usually they "cling" on their own.  However, I have a few stamp sets that don't like to stick to the clear blocks.  For those, I usually put a small piece of Snail adhesive to the block and then adhere.  Your stamps can get a little sticky, but it works.  The main advantage of cling or clear stamps is that you can more accurately see where you are stamping the image.  Plus, they are much less bulky for storage.  Stampin' Up's clear stamps come in a standard size DVD case.  I love the easy of storage!  They are also usually cheaper than wood mounted stamps.


The third type of stamps are photopolymer stamps.  These are truly clear stamps.  They work the same way as cling stamps in that you need clear mounting blocks to use them.  Photopolymer stamps truly adhere to the mounting block without any additional help.  Being clear, it makes it very easy to layer various stamps or make patterned backgrounds.  Storage is also a breeze.  SU's photopolymer stamps also now come in a standard DVD case.  For my non-SU clear stamps, I keep them in a tote bin, but I have seen many people create binders with page protectors.  I might just have to work on that next.  The biggest con with this type is that they can stain and yellow more easily than the others.  The main rule of thumb is keep them out of sunlight.


Second: How to care for stamps

A general rule of thumb for keeping your stamps nice is to keep them out of the sunlight.  Sunlight and heat will cause stamps to yellow (photopolymer) and crack (all stamps).  A second suggestion is too always clean your stamps after usuage.  This should prevent most staining (might have a little depending on brand and ink used) and kept the stamped images true to ink color.  You can clean your stamps one of two ways: baby wipes or scrub pads.  The baby wipe method is simply using a baby wipe to clean off the stamp.  This is great for small stamp jobs or on-the-go stamping.  If you are stamping a lot, you are going to go through a lot of baby wipes.  


My preferred method is to use a stamp scrub pad.  Stampin' Up sells this great pad in a nice hinged case.  You also need to buy some stamp cleaning solution.

  • Spray the solution onto the "wet" side (SU's has handy labels).
  • Scrub the stamp on the wet side. (A few swipes should do)
  • Scrub the stamp on the dry side.
  • Repeat is necessary.

To clean the scrub pad, all you need to do is run is under water until water runs clear.  Then air dry.  I usually clean mine once every two weeks, but it all depends on how much you stamp.

 
IMG_8845 (1920).jpg


Third: How to stamp

Stamping is easy, but can be tricky for first-timers.  A good rule of thumb is to put the least amount of pressure on the stamp when pressing into an ink pad and the paper.  Stampin' Up's new firm foam ink pads can be very juicy, but are awesome.  All you need is a quick tap-tap of stamp to pad to get the stamp fully inked.  You can also check by stamping onto scratch paper.  To stamp, press stamp to paper firmly by without moving it around.  Lift straight up quickly.  Following these instructions should give you clear images.  If you put too much pressure on the stamp to the ink pad, you will likely get ink all around your image.  This can smudge the image or leave extra lines when stamping.  On a wood block, if can leave ink stains.  Putting too much pressure on the stamp to paper can also smudge your image.  Try it a few times.  You'll get the hang of it pretty quickly.


tags: Basic Techniques
categories: Craft Supplies
Tuesday 05.20.14
Posted by Tobe Buffenbarger
 

Fall Cards in May: Sunburst Halloween

I wanted something a little different for the Halloween set.  I love the Frightful Sight DSP (sadly retired) and wanted to use as many of the patterns as possible.  Enter the sample and tutorial from Welcome to Stampin' Sue:

My Interpretation: Taking Sue's idea, cut a ton of DSP and went to work creating my own sunburst image.


Basic Tutorial:

  • Cut a piece of scrap cardstock to 3 1/2" x 3 3/4"
  • Cut strips of DSP to 1 1/2"x 3 3/4"
  • Cut those strip diagonally
  • Mark your scrap cardstock piece at the middle
  • Use the mark as a center for the pointed ends of the DSP
  • Adhere and trim off excess
  • Use excess to fill in the end spots of the sunburst
  • Cover the straggly ends with a ribbon, washi tape, or piece of cardstock (I chose cardstock)

Supplies:

  • Stamps: Wacky Wishes (retired)
  • Cardstock: Frightfull Sight DSP (retired)

Snail Adhesive

$6.95

Stampin' Trimmer

$29.95

Basic Black 8-1/2X11 Card Stock

$6.95

Whisper White 8-1/2X11 Card Stock

$8.50

Elegant Eggplant 8-1/2X11 Card Stock

$6.95

Whisper White Craft Stampin' Pad

$7.50

Table by StampinBuddy. Try it FREE.

tags: Frightful Sight DSP, Halloween, Wacky Wishes
categories: Other Holiday Cards
Monday 05.19.14
Posted by Tobe Buffenbarger
 
Newer / Older

Powered by Squarespace.