Originally published on March 1st, 2014Week 7
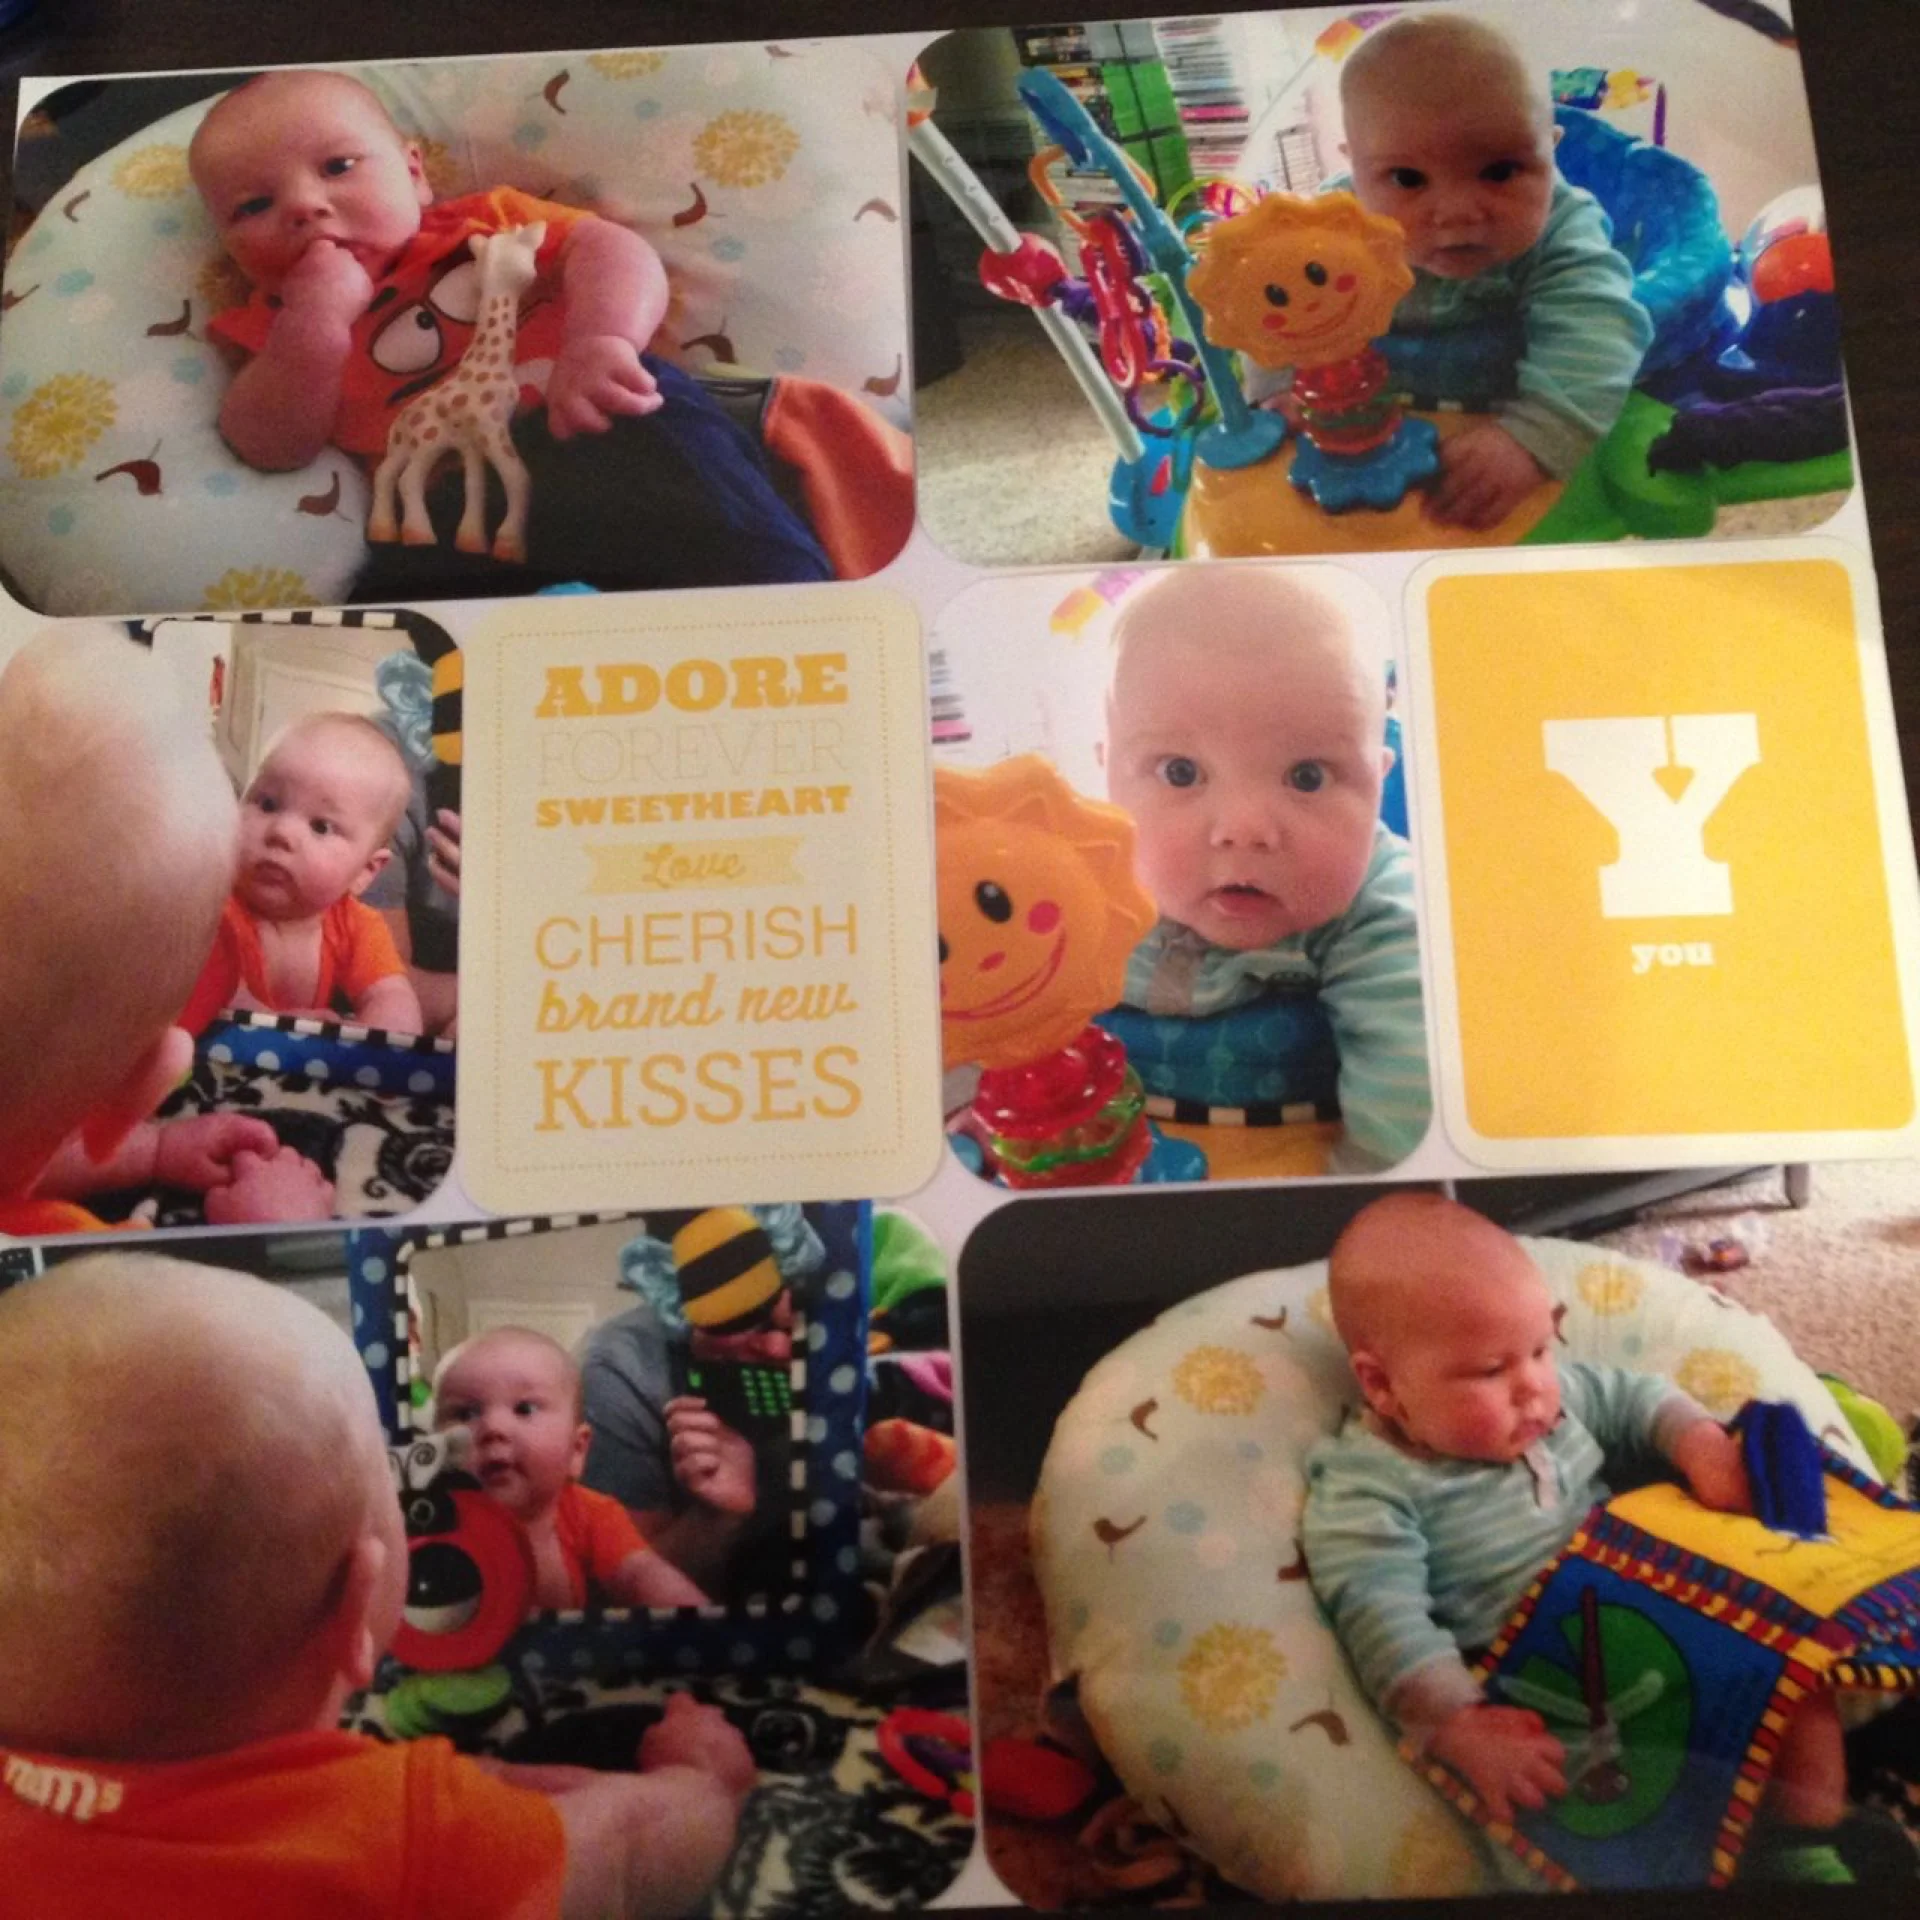
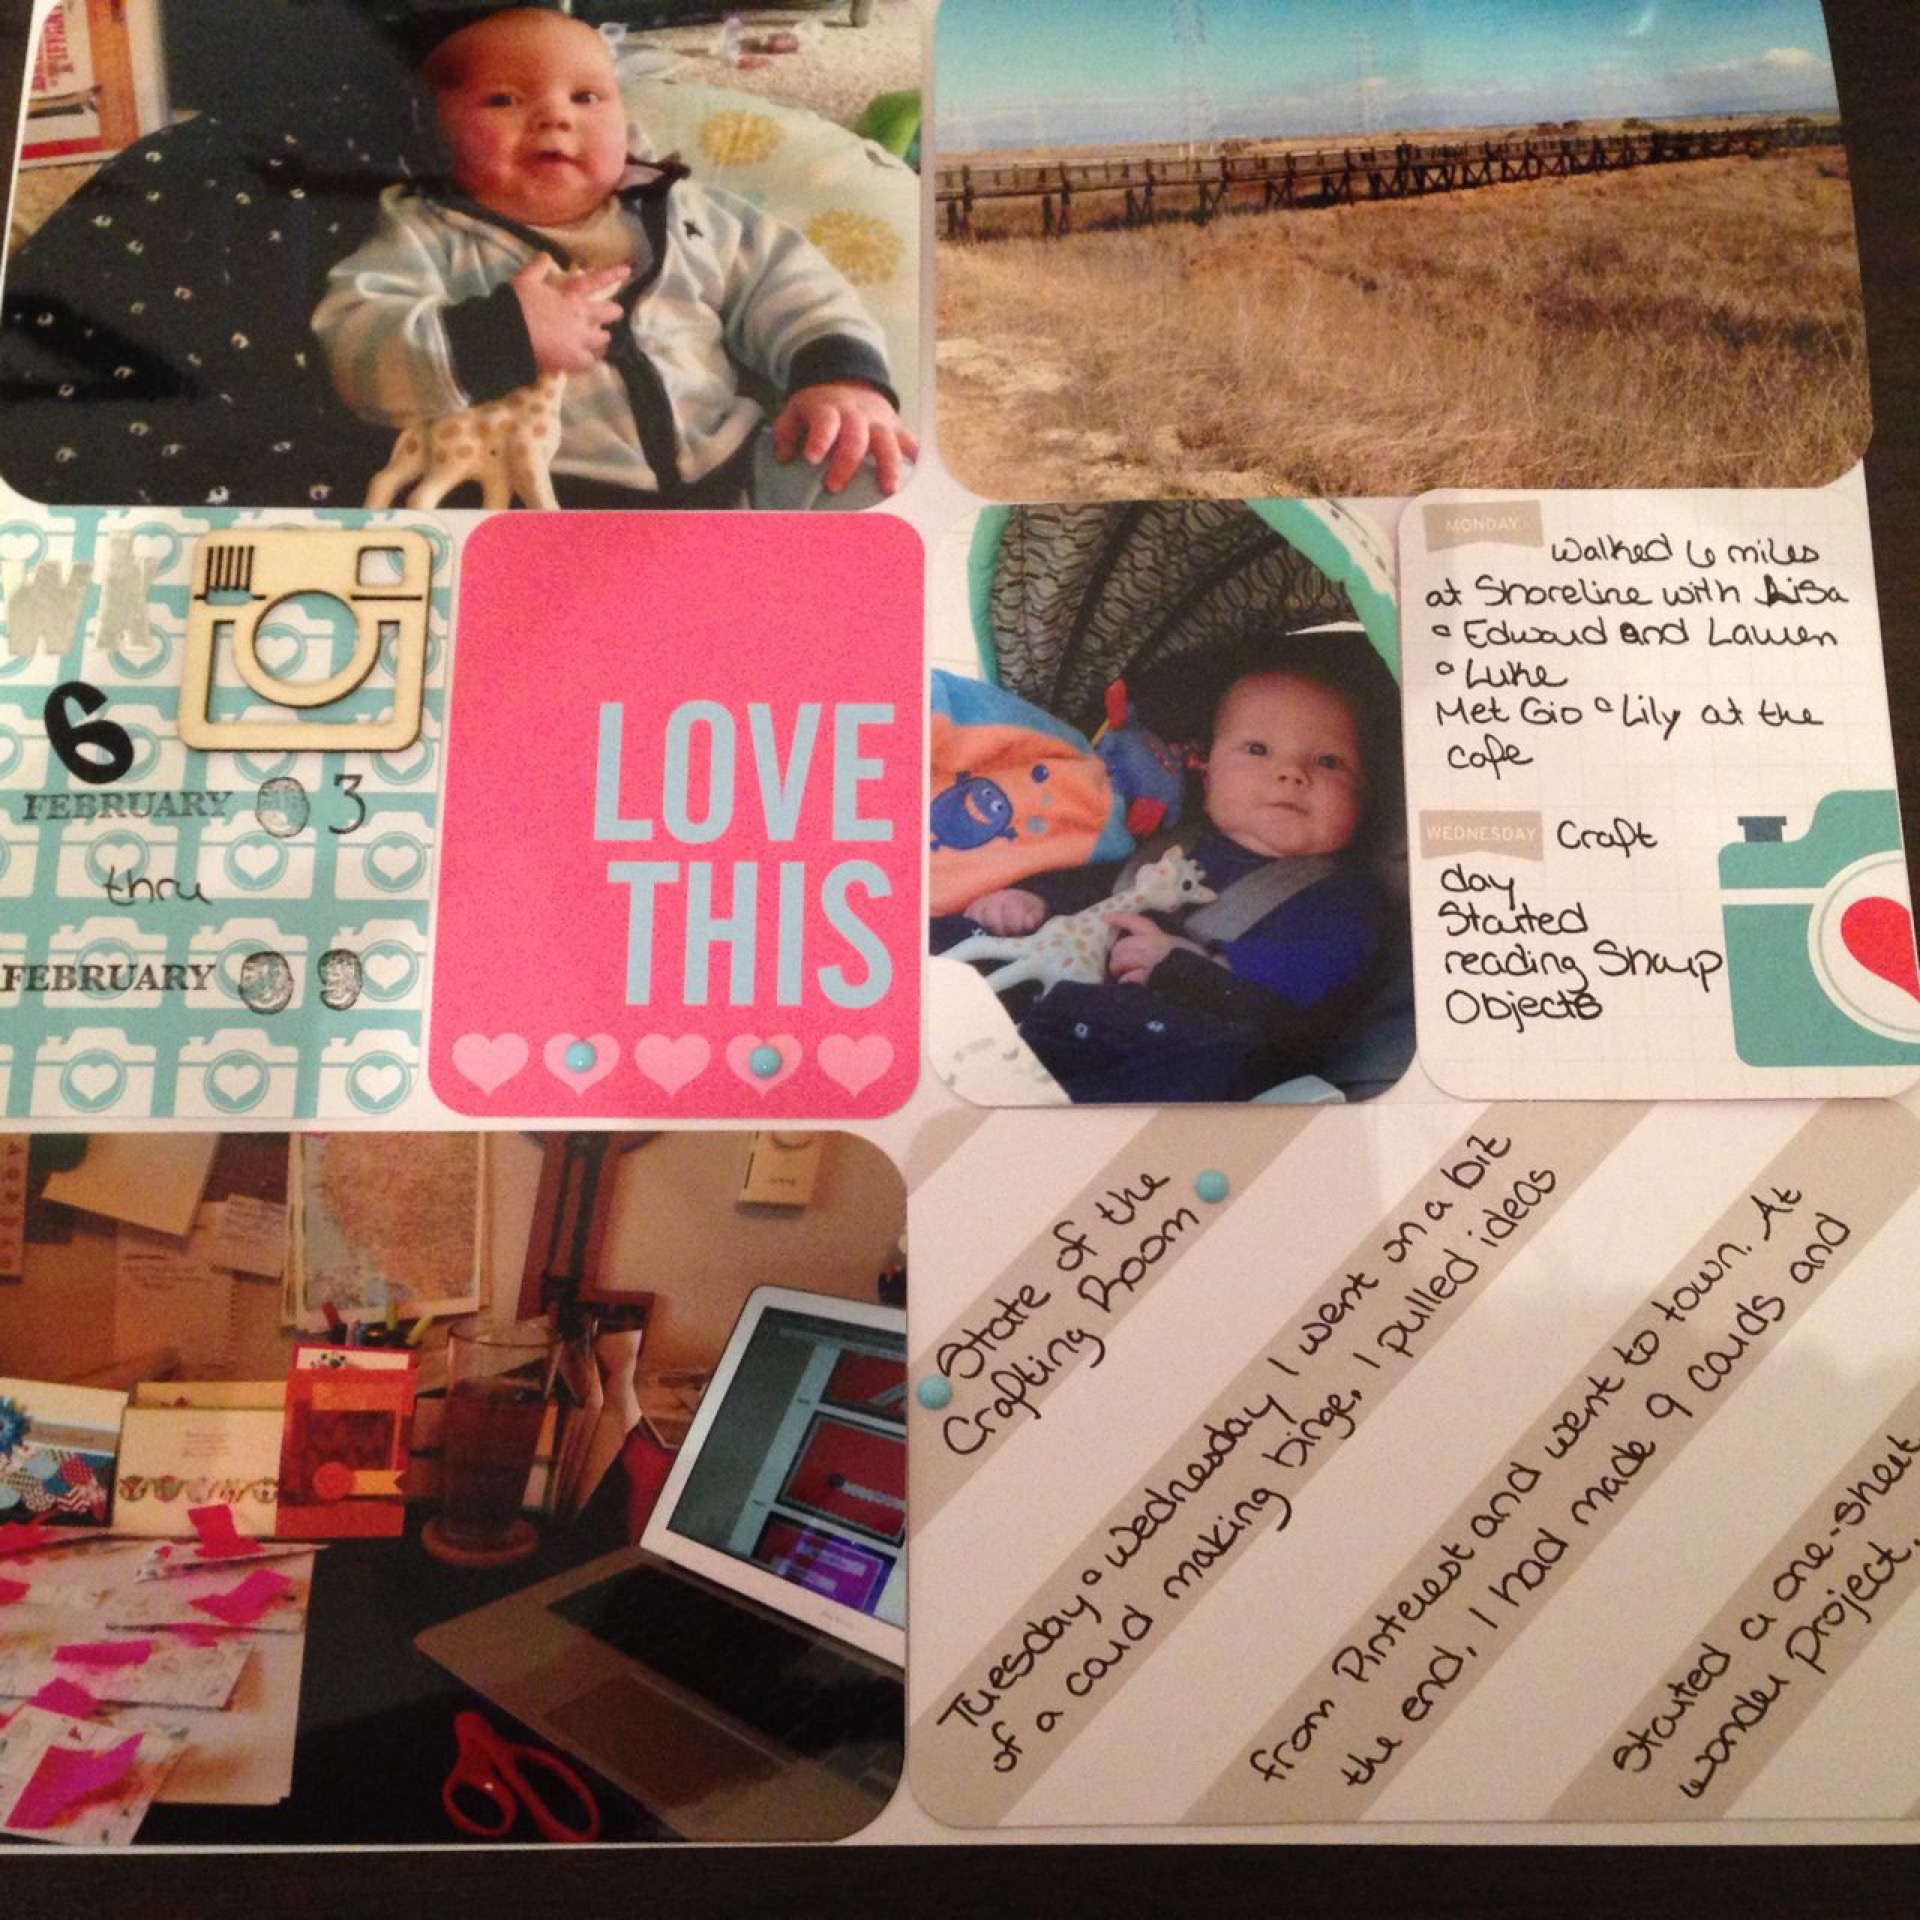
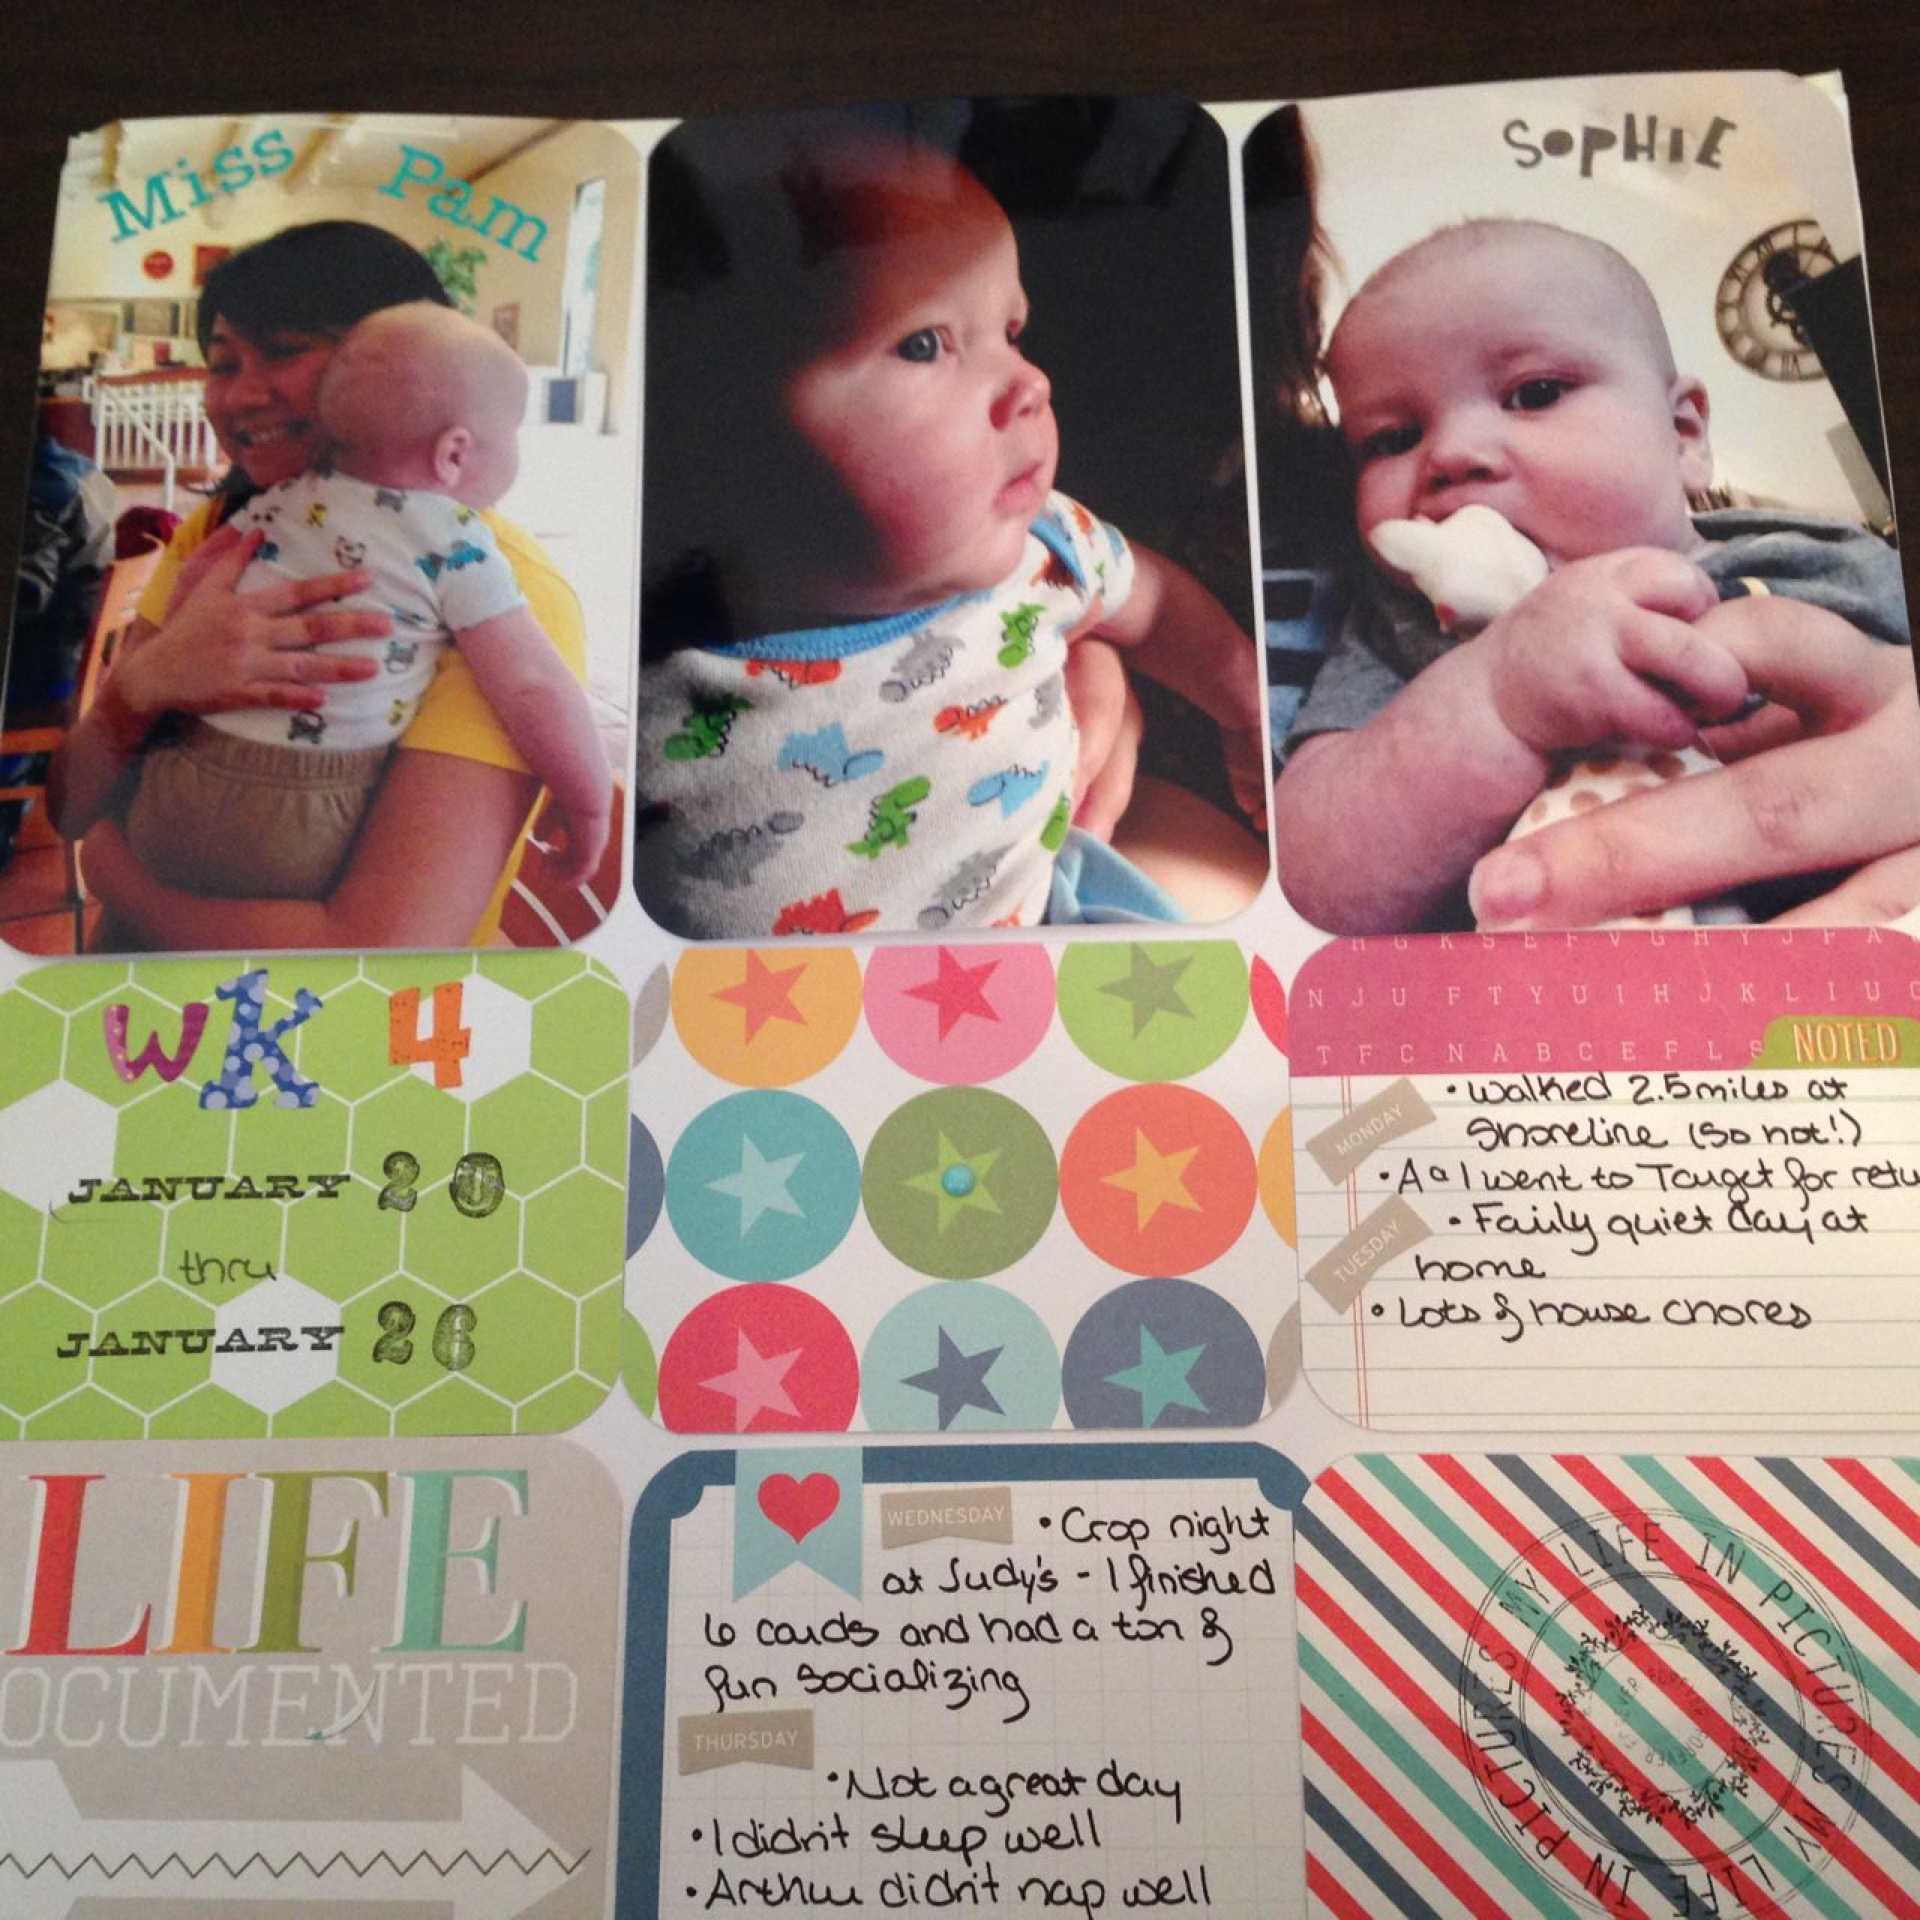
Family Album: This week was a combination of regular activities, Valentine's Day, and Arthur turning 4 months. I decided to split the spread. The left side focuses on our regular activities. I used a nice orange and turquoise palette to add visual interest. Instead of adding another picture, I chose to use a 4x6 pocket as my weekly highlights insert. I didn't add much embellishment: space man stamp and piece of washi tape was all. The right side was heavy on Arthur's milestones. The red is a bit overwhelming, but I still think it looks nice.
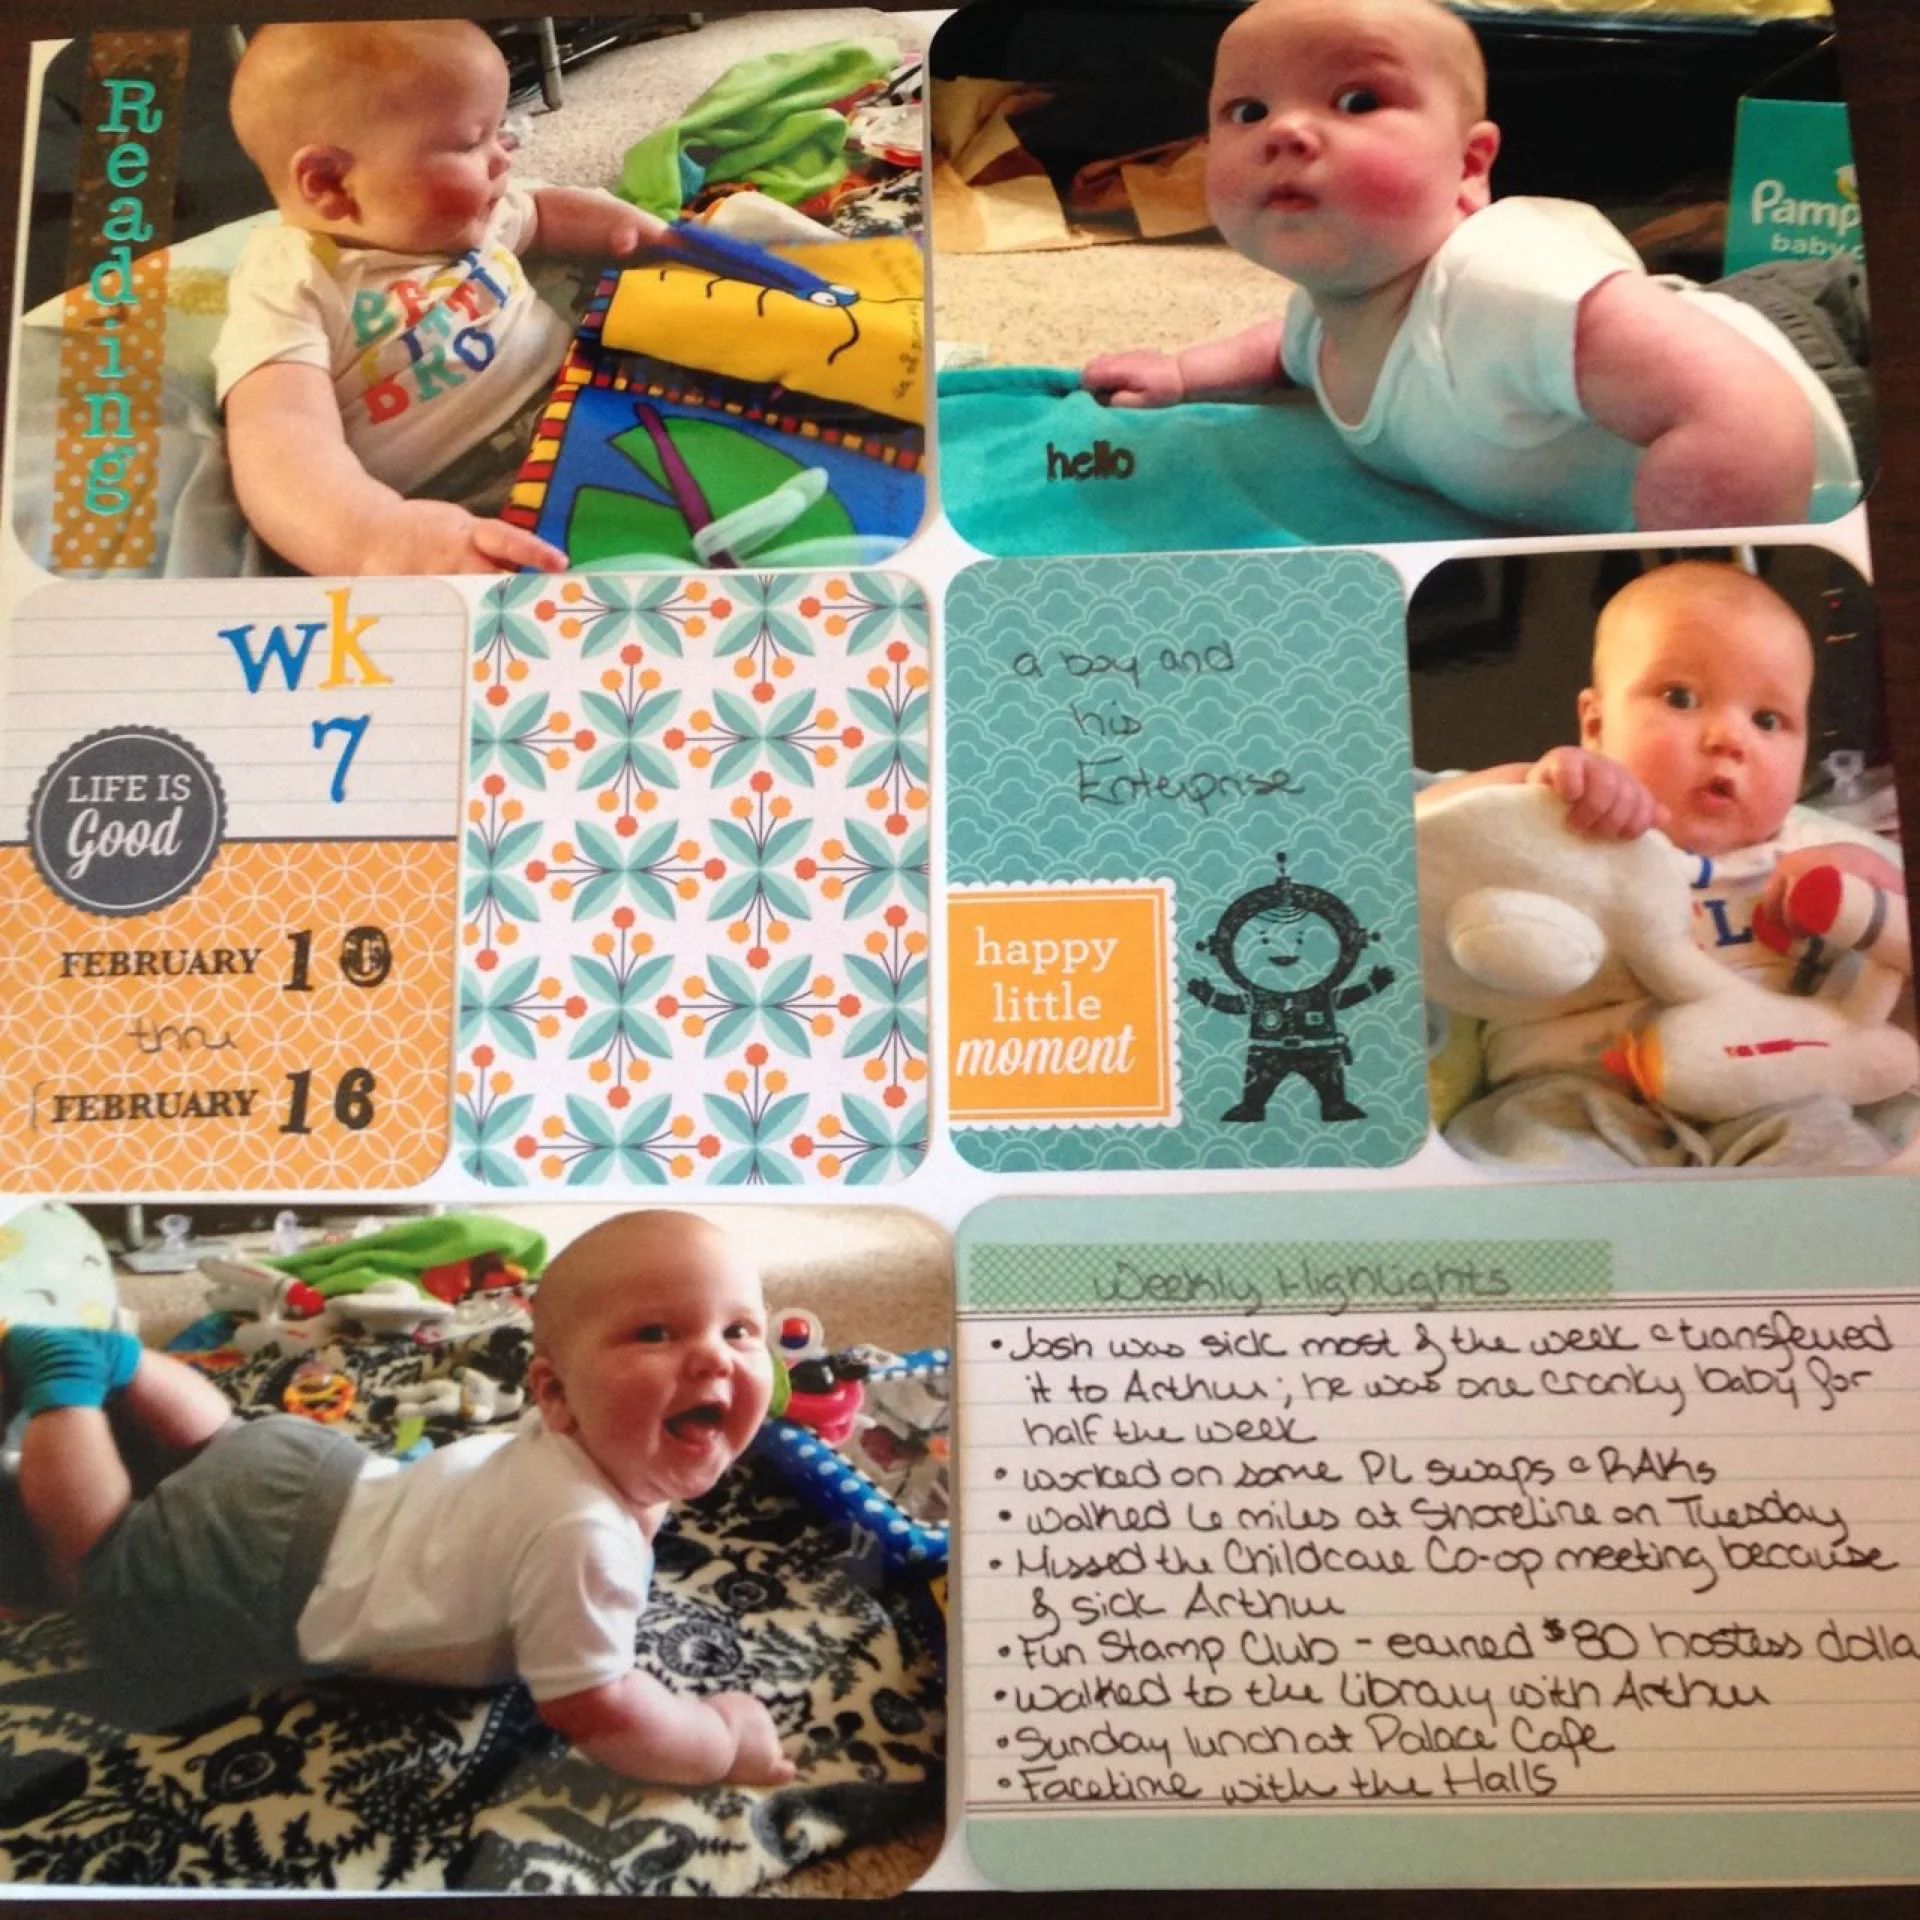
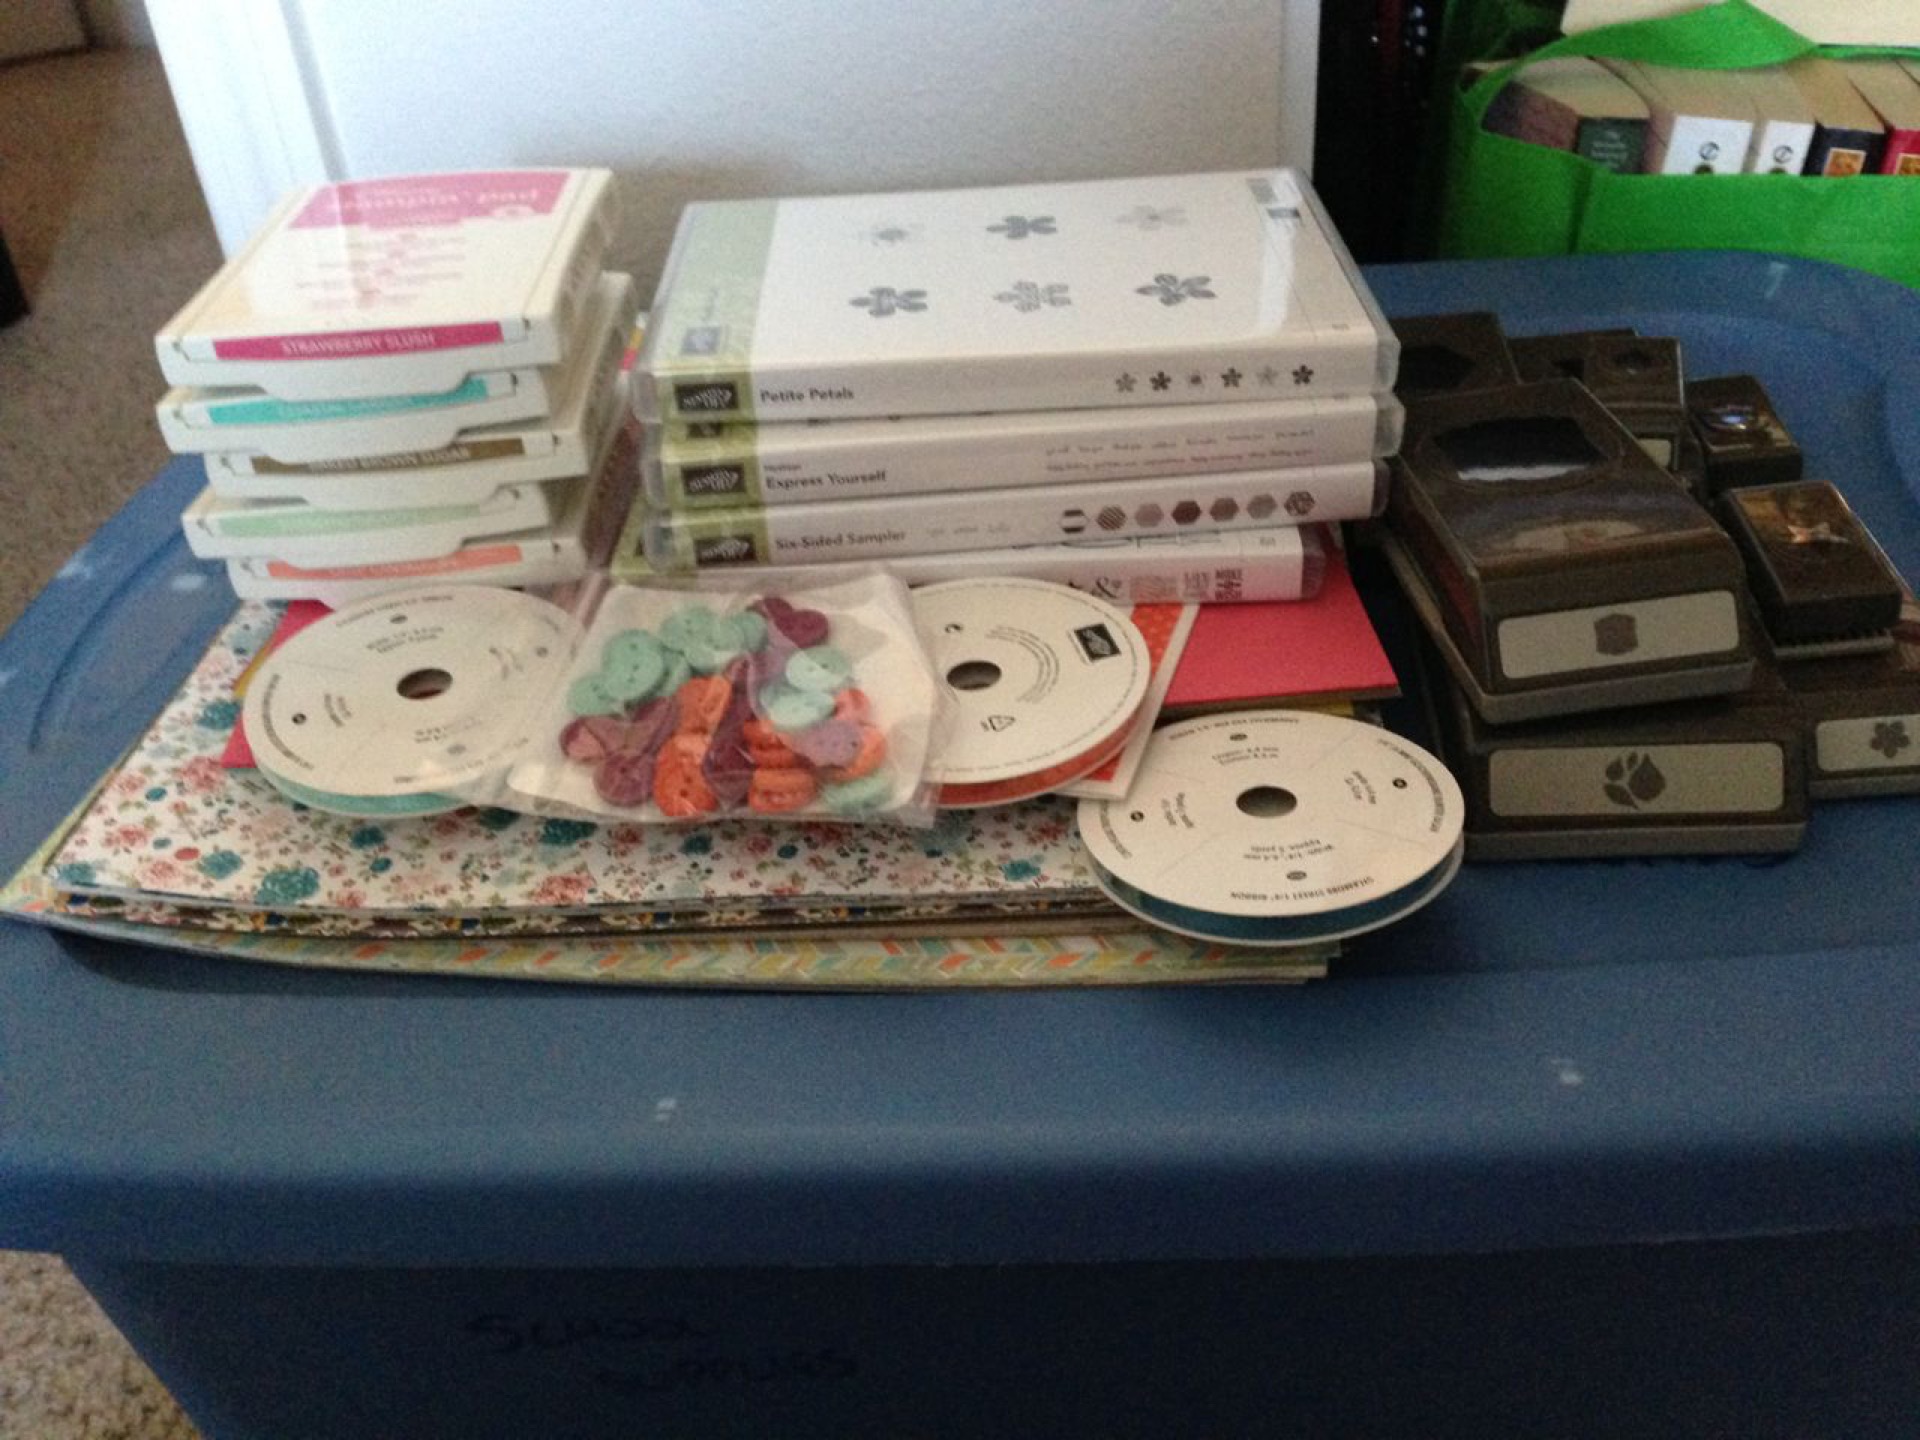
Supplies:
- WRMK Tangerine Journalling Kit
- PL Holidays Mini Kit
- PL Neutral Baby Kit
- SU Stamp (space man)
- Random embellishments
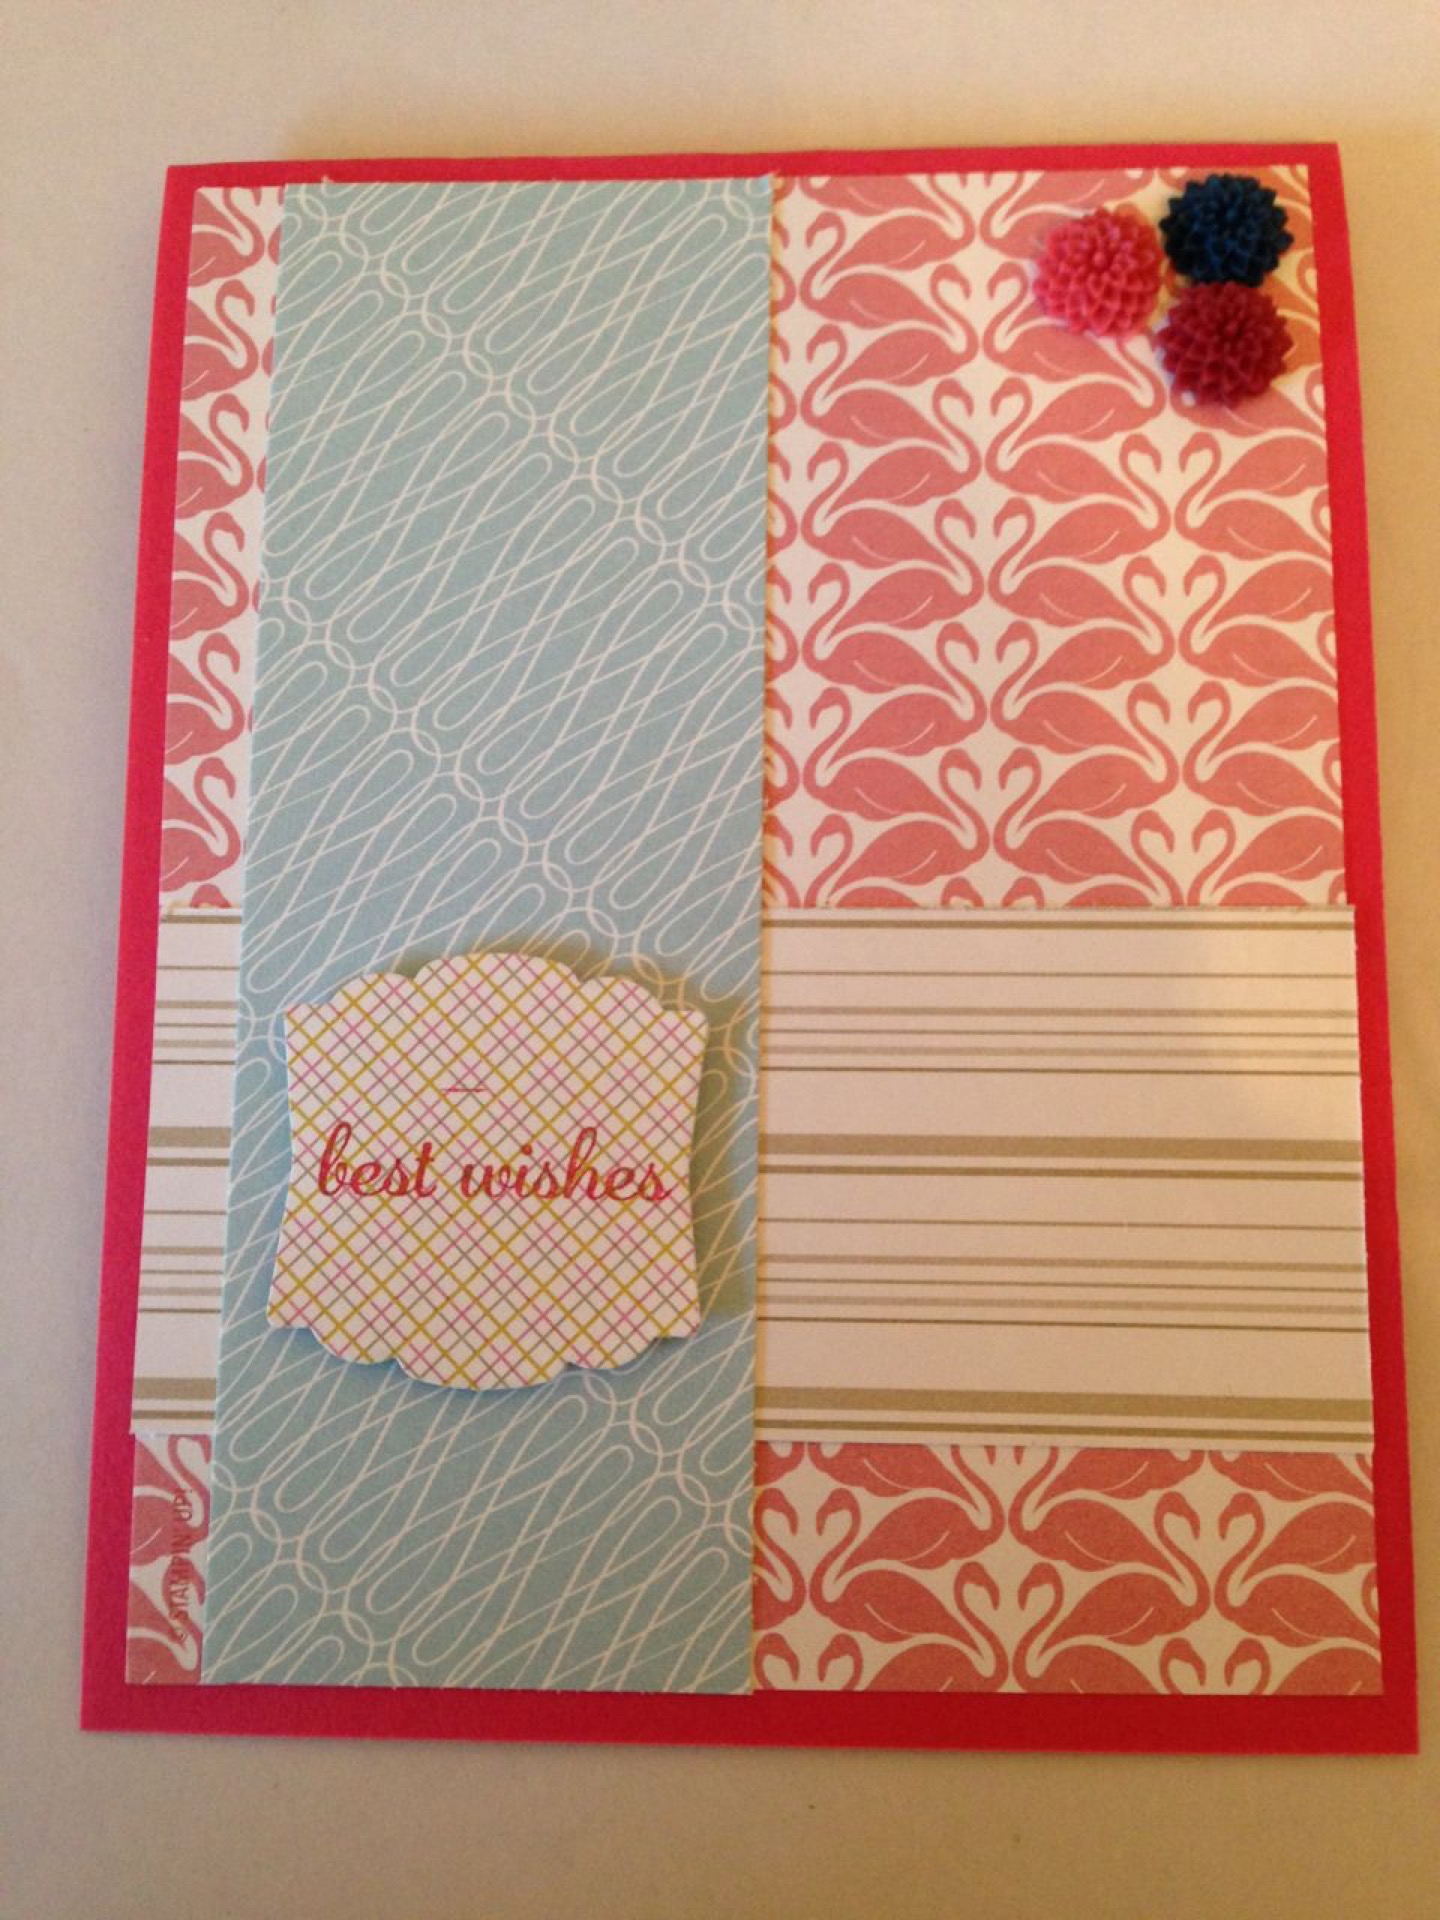
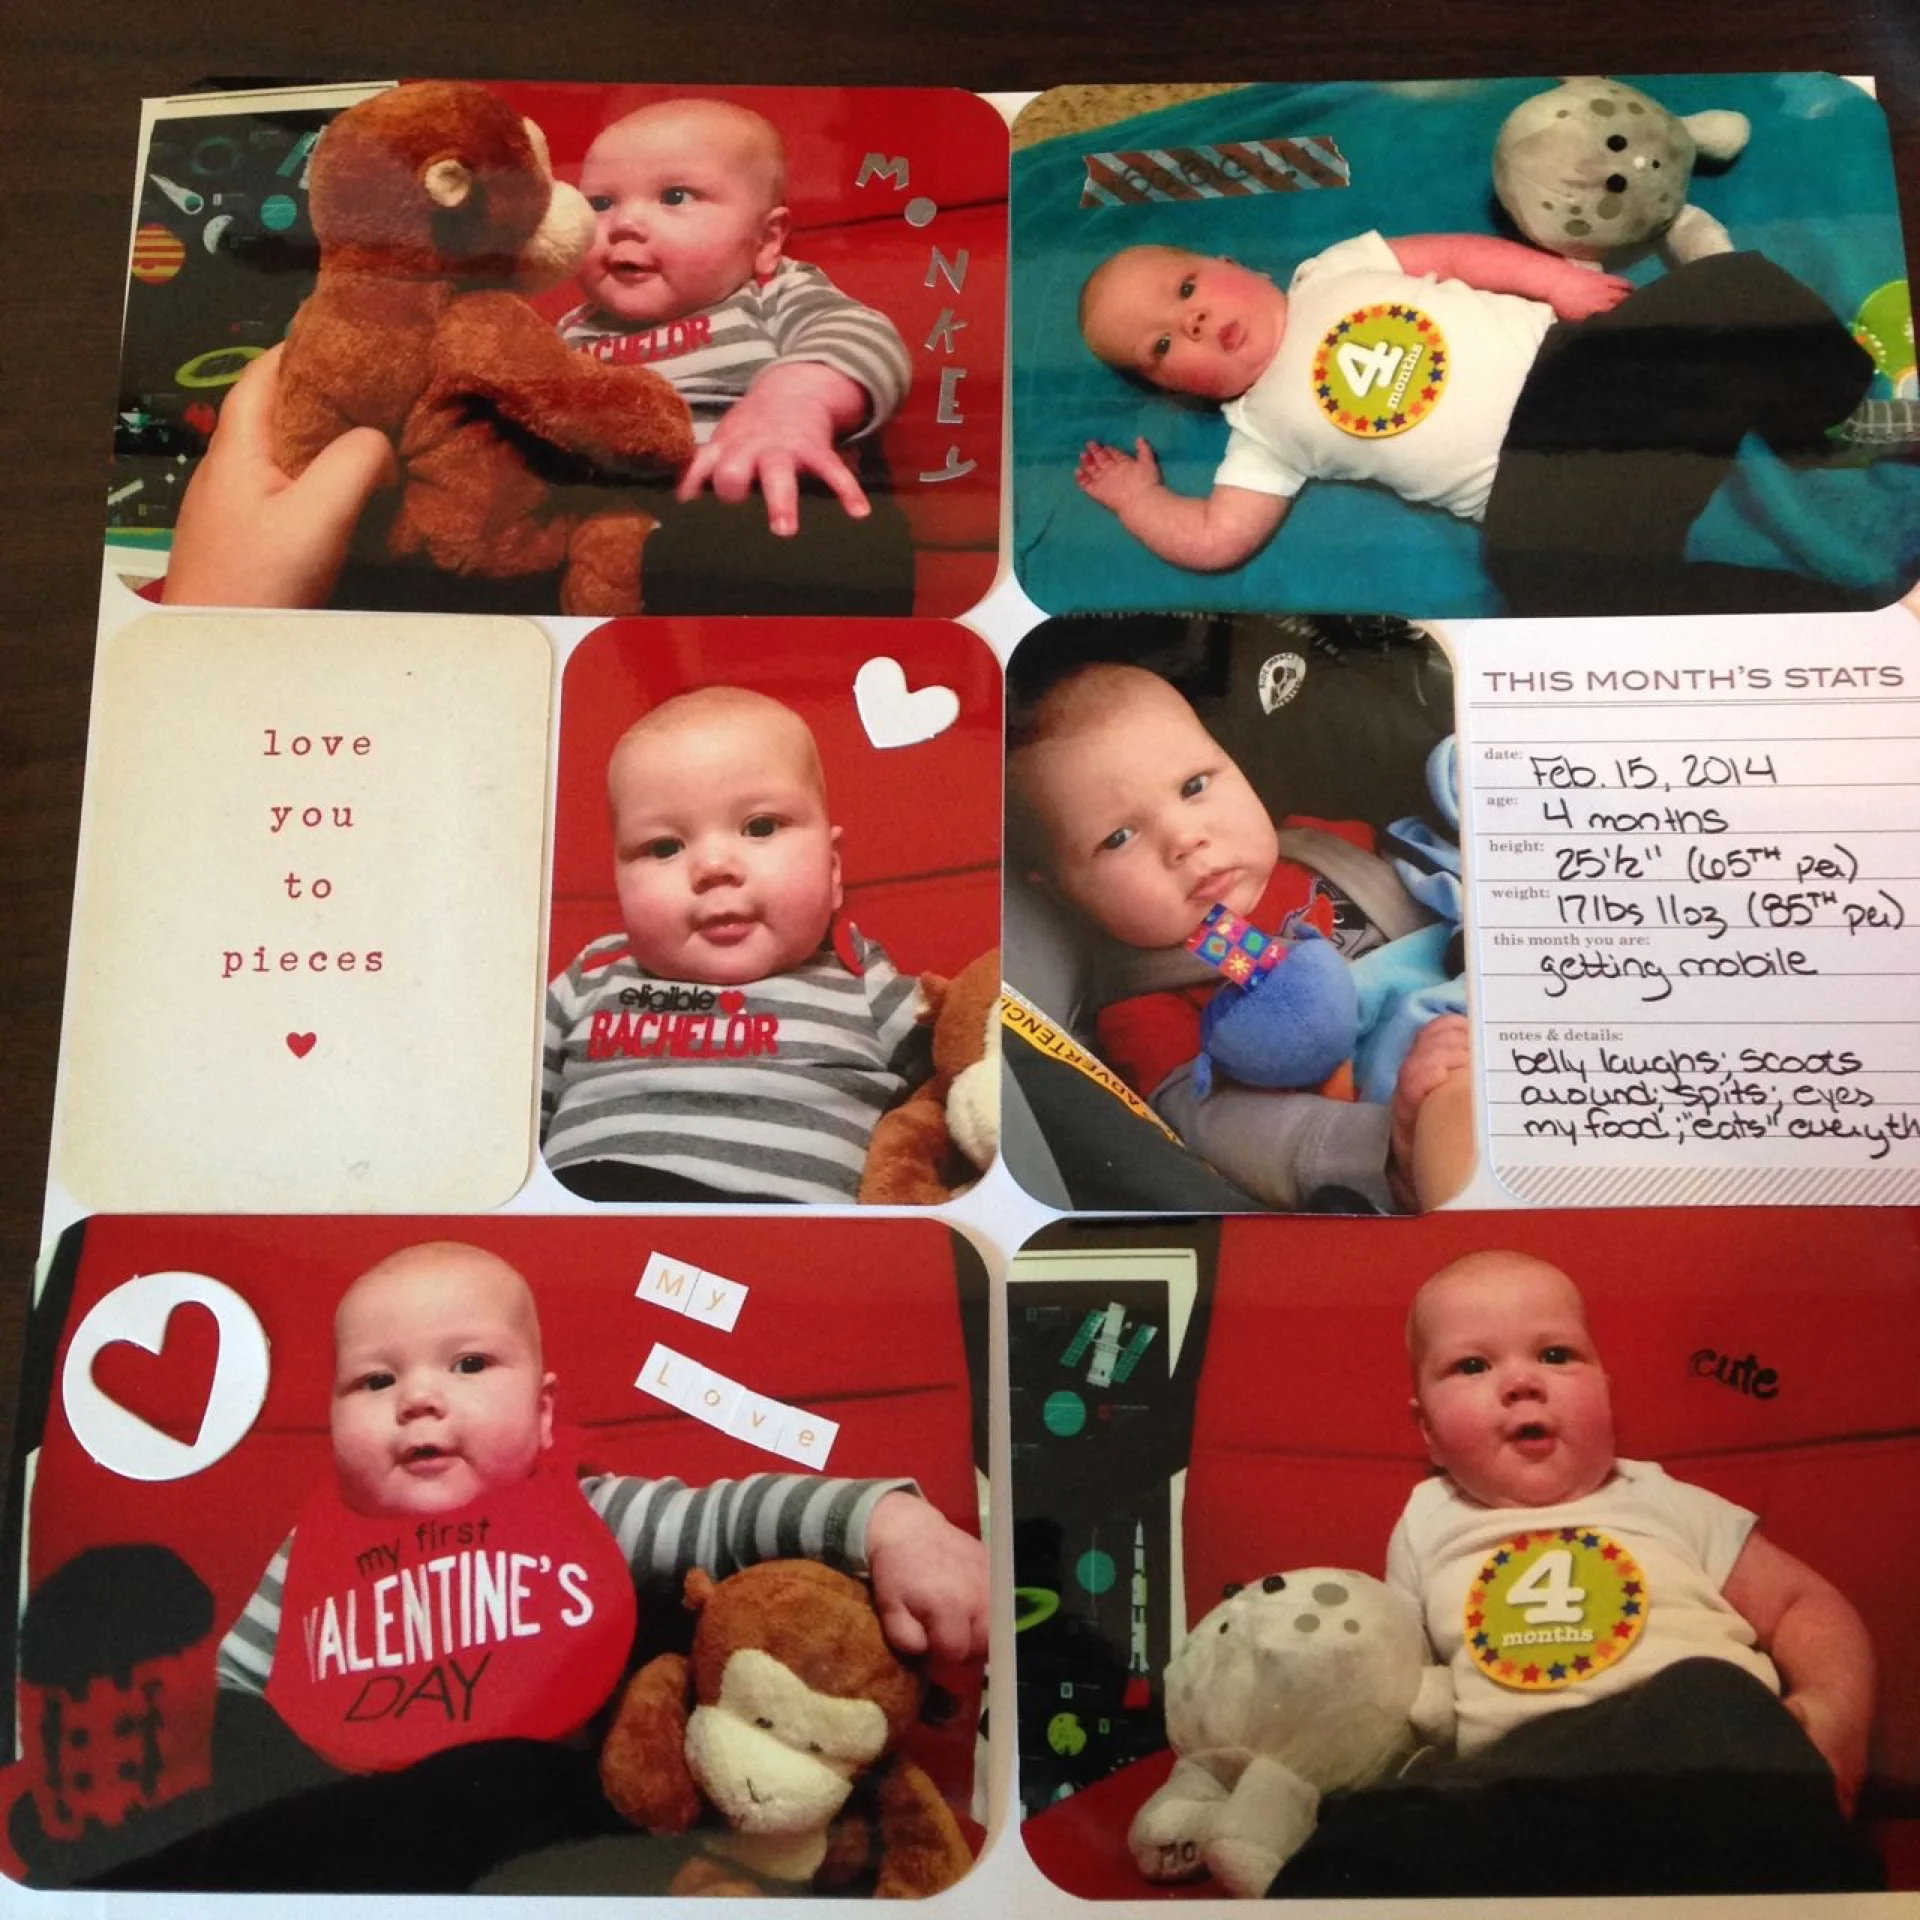
Arthur's Album: Arthur's album is split between Valentine's Day (left side) and 4 months (right side). I wanted to create some type of balance in the spread. Other than the hearts, I didn't add any embellishments.
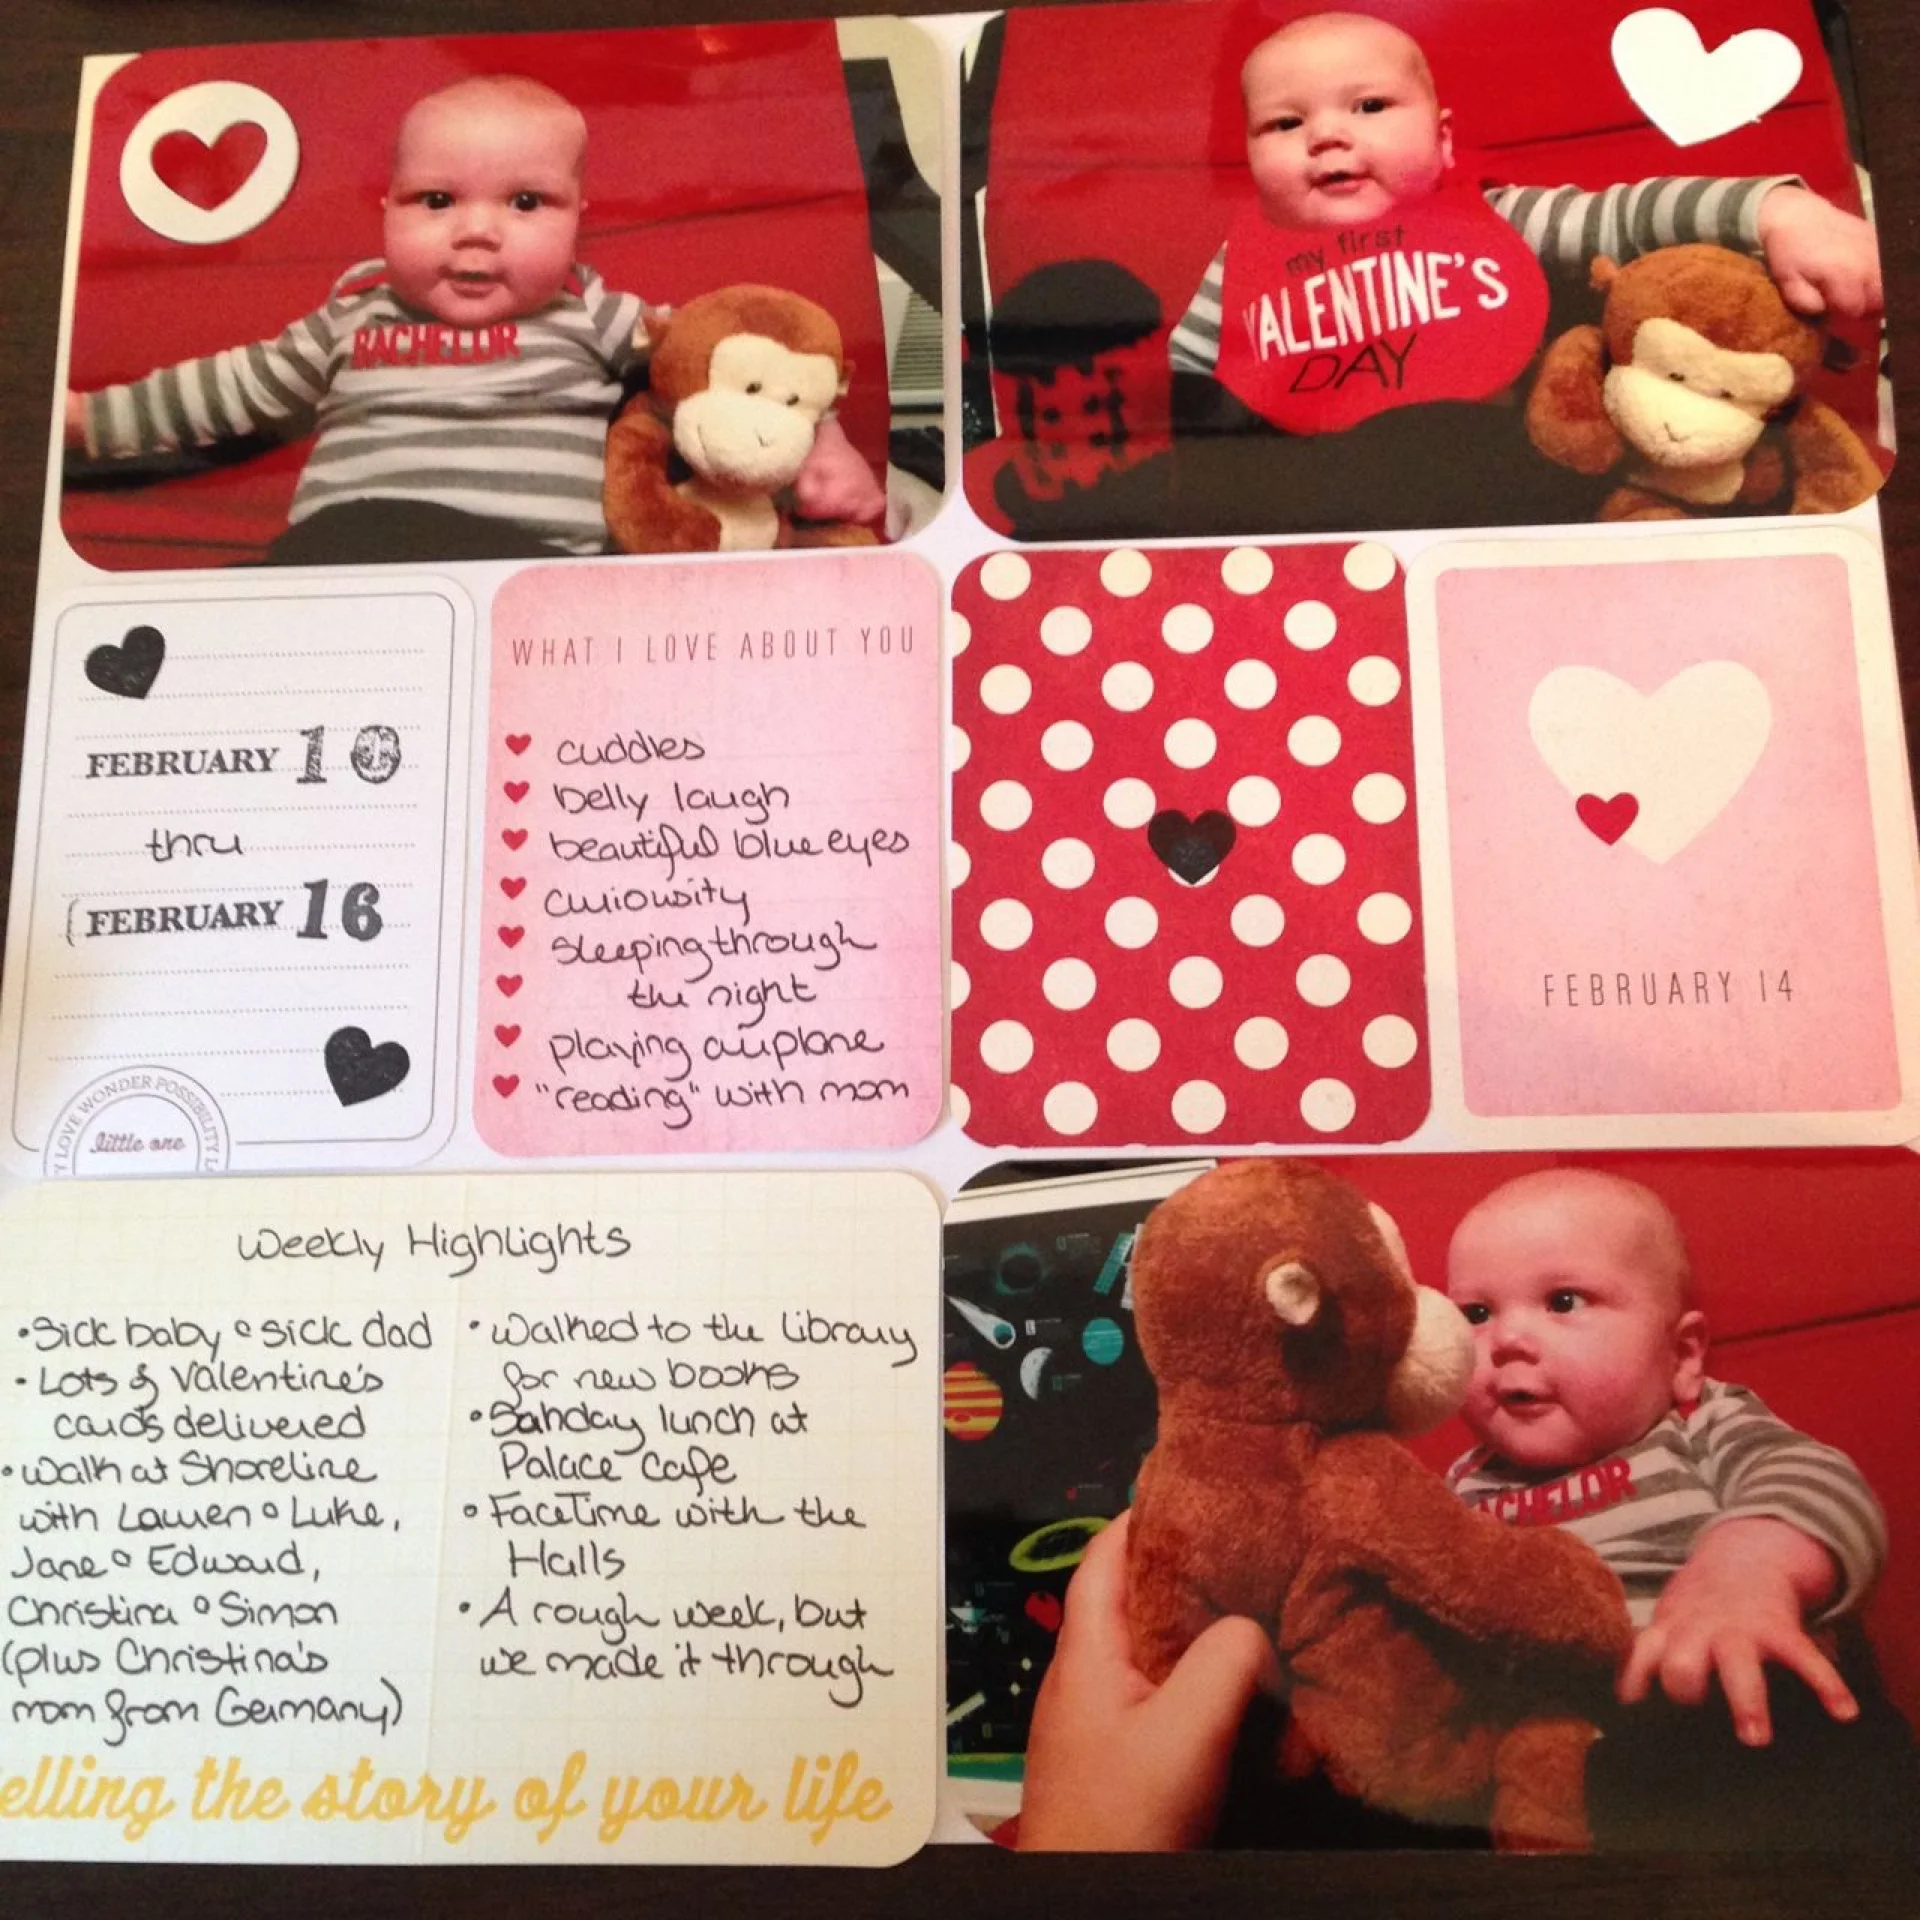
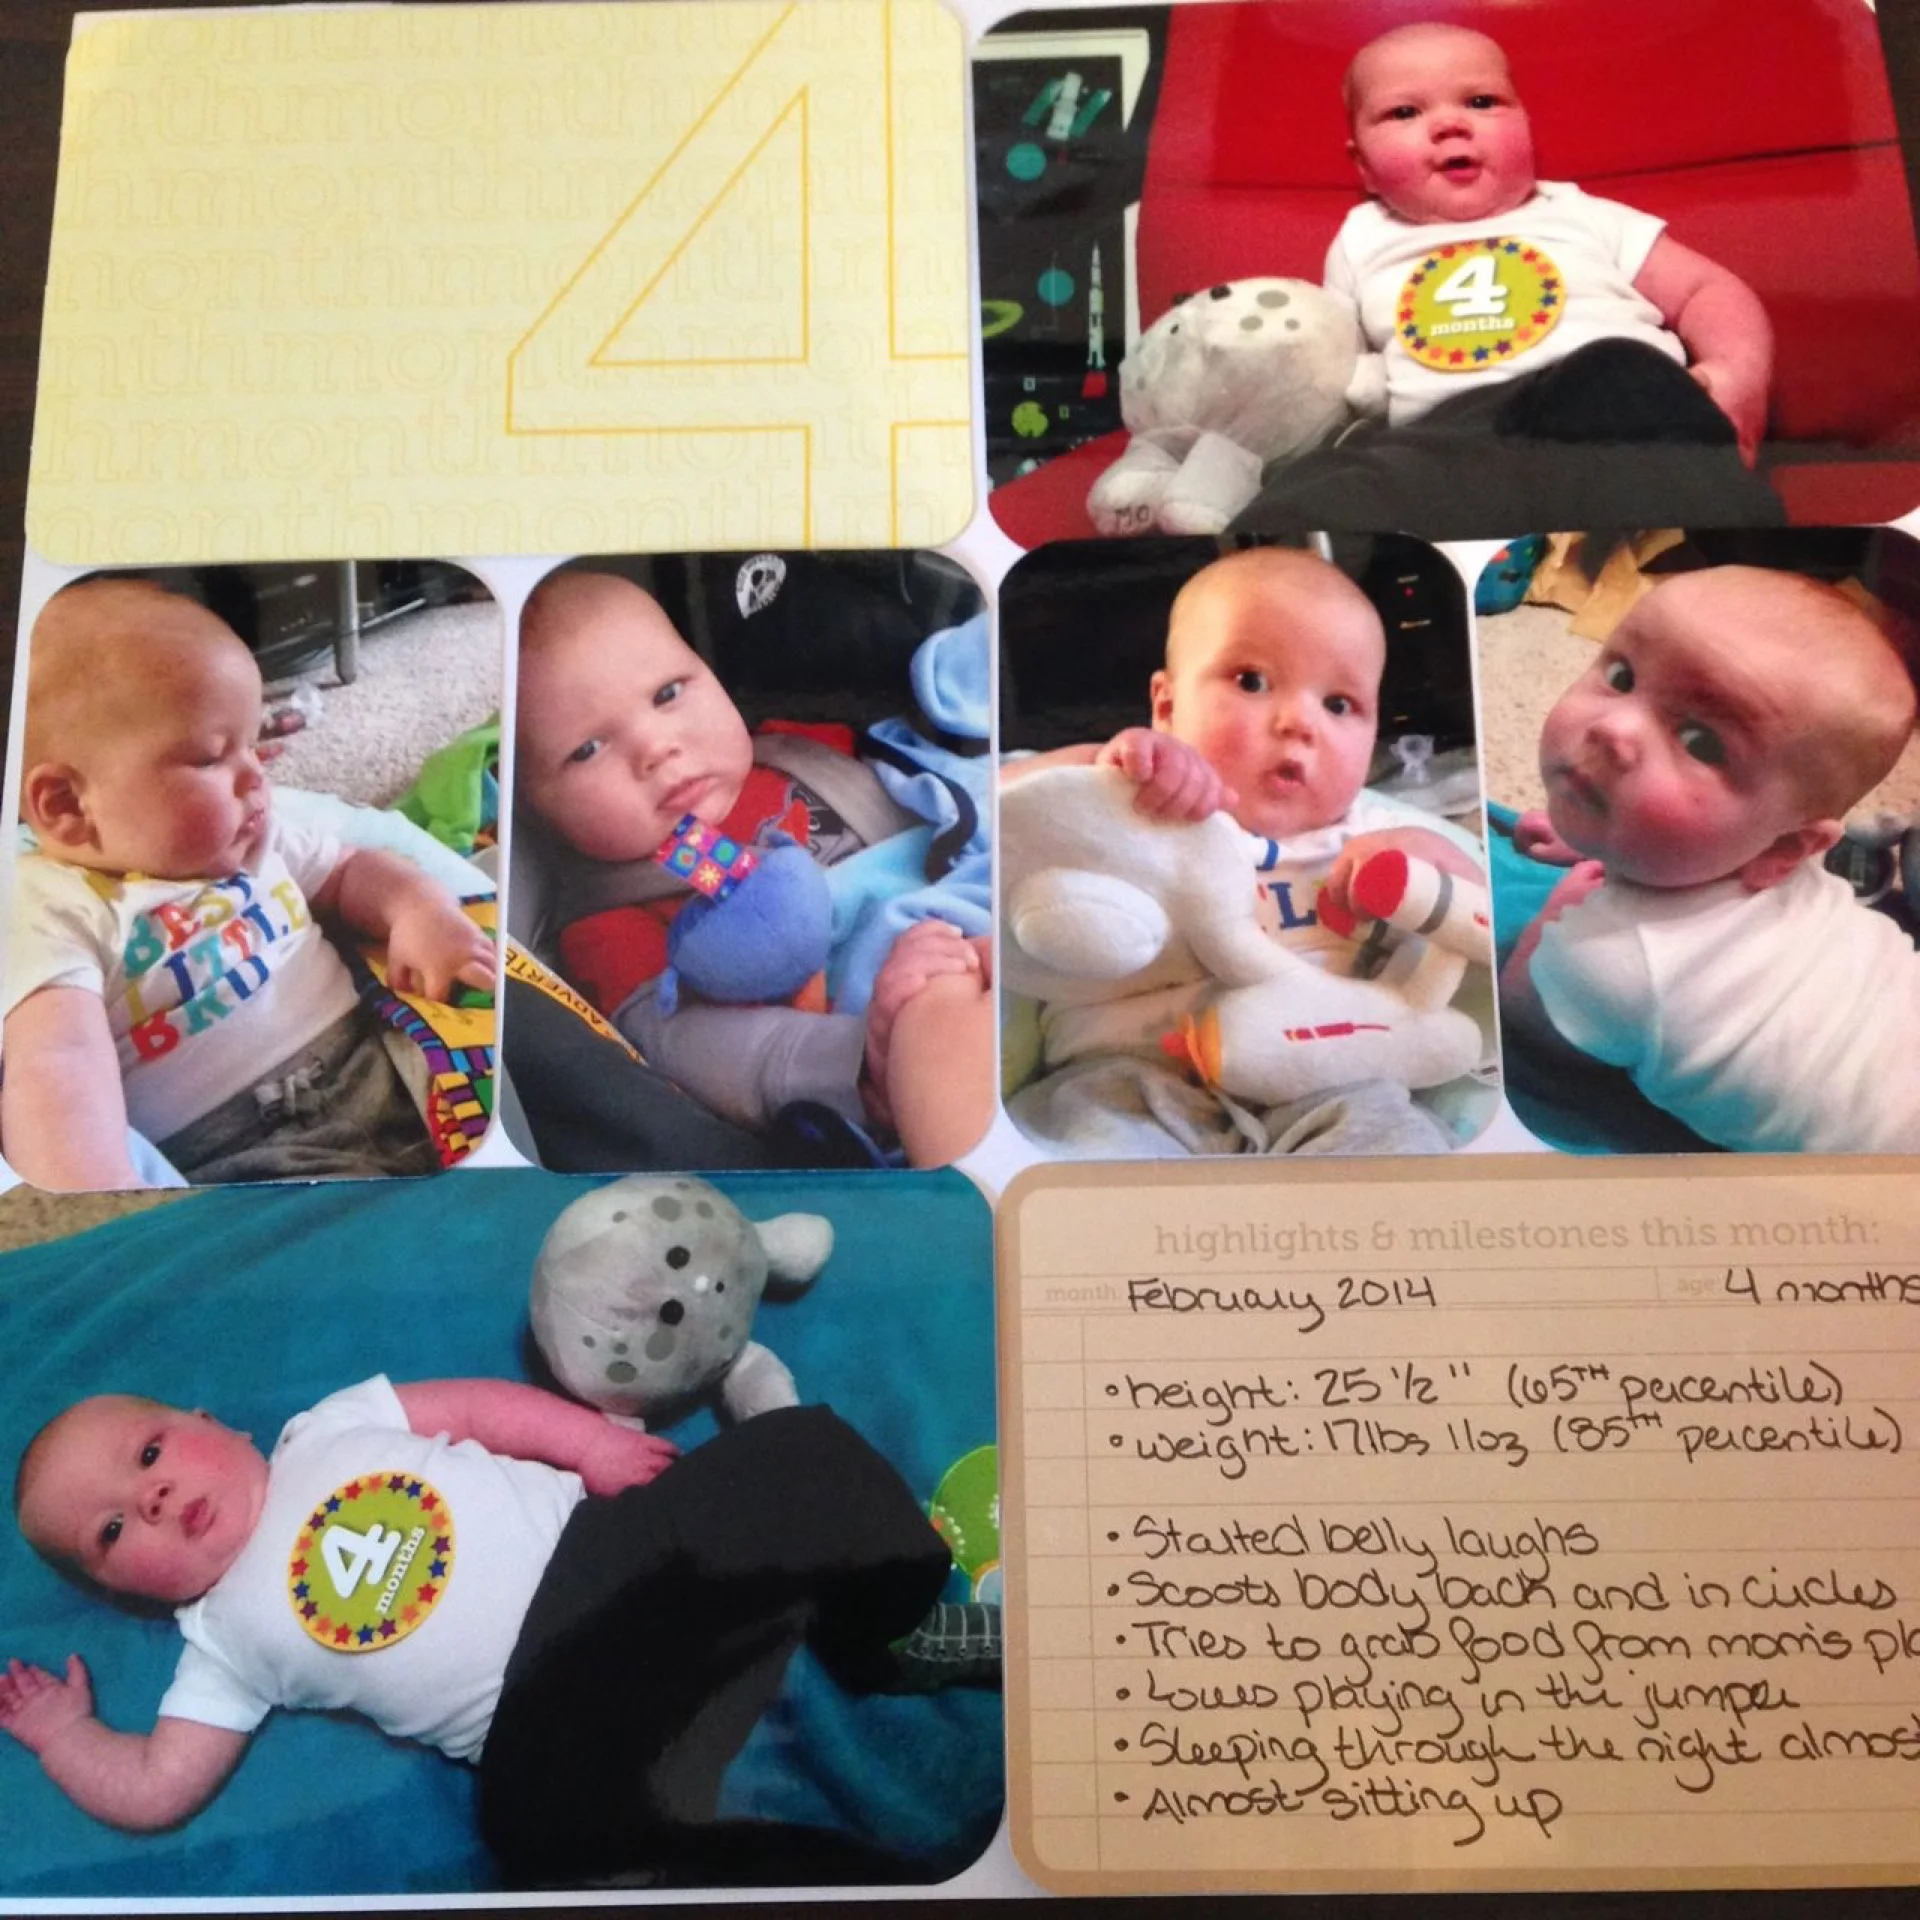
Supplies:
- PL Neutral Baby Kit
- PL Holiday Mini Kit
- Random embellishments
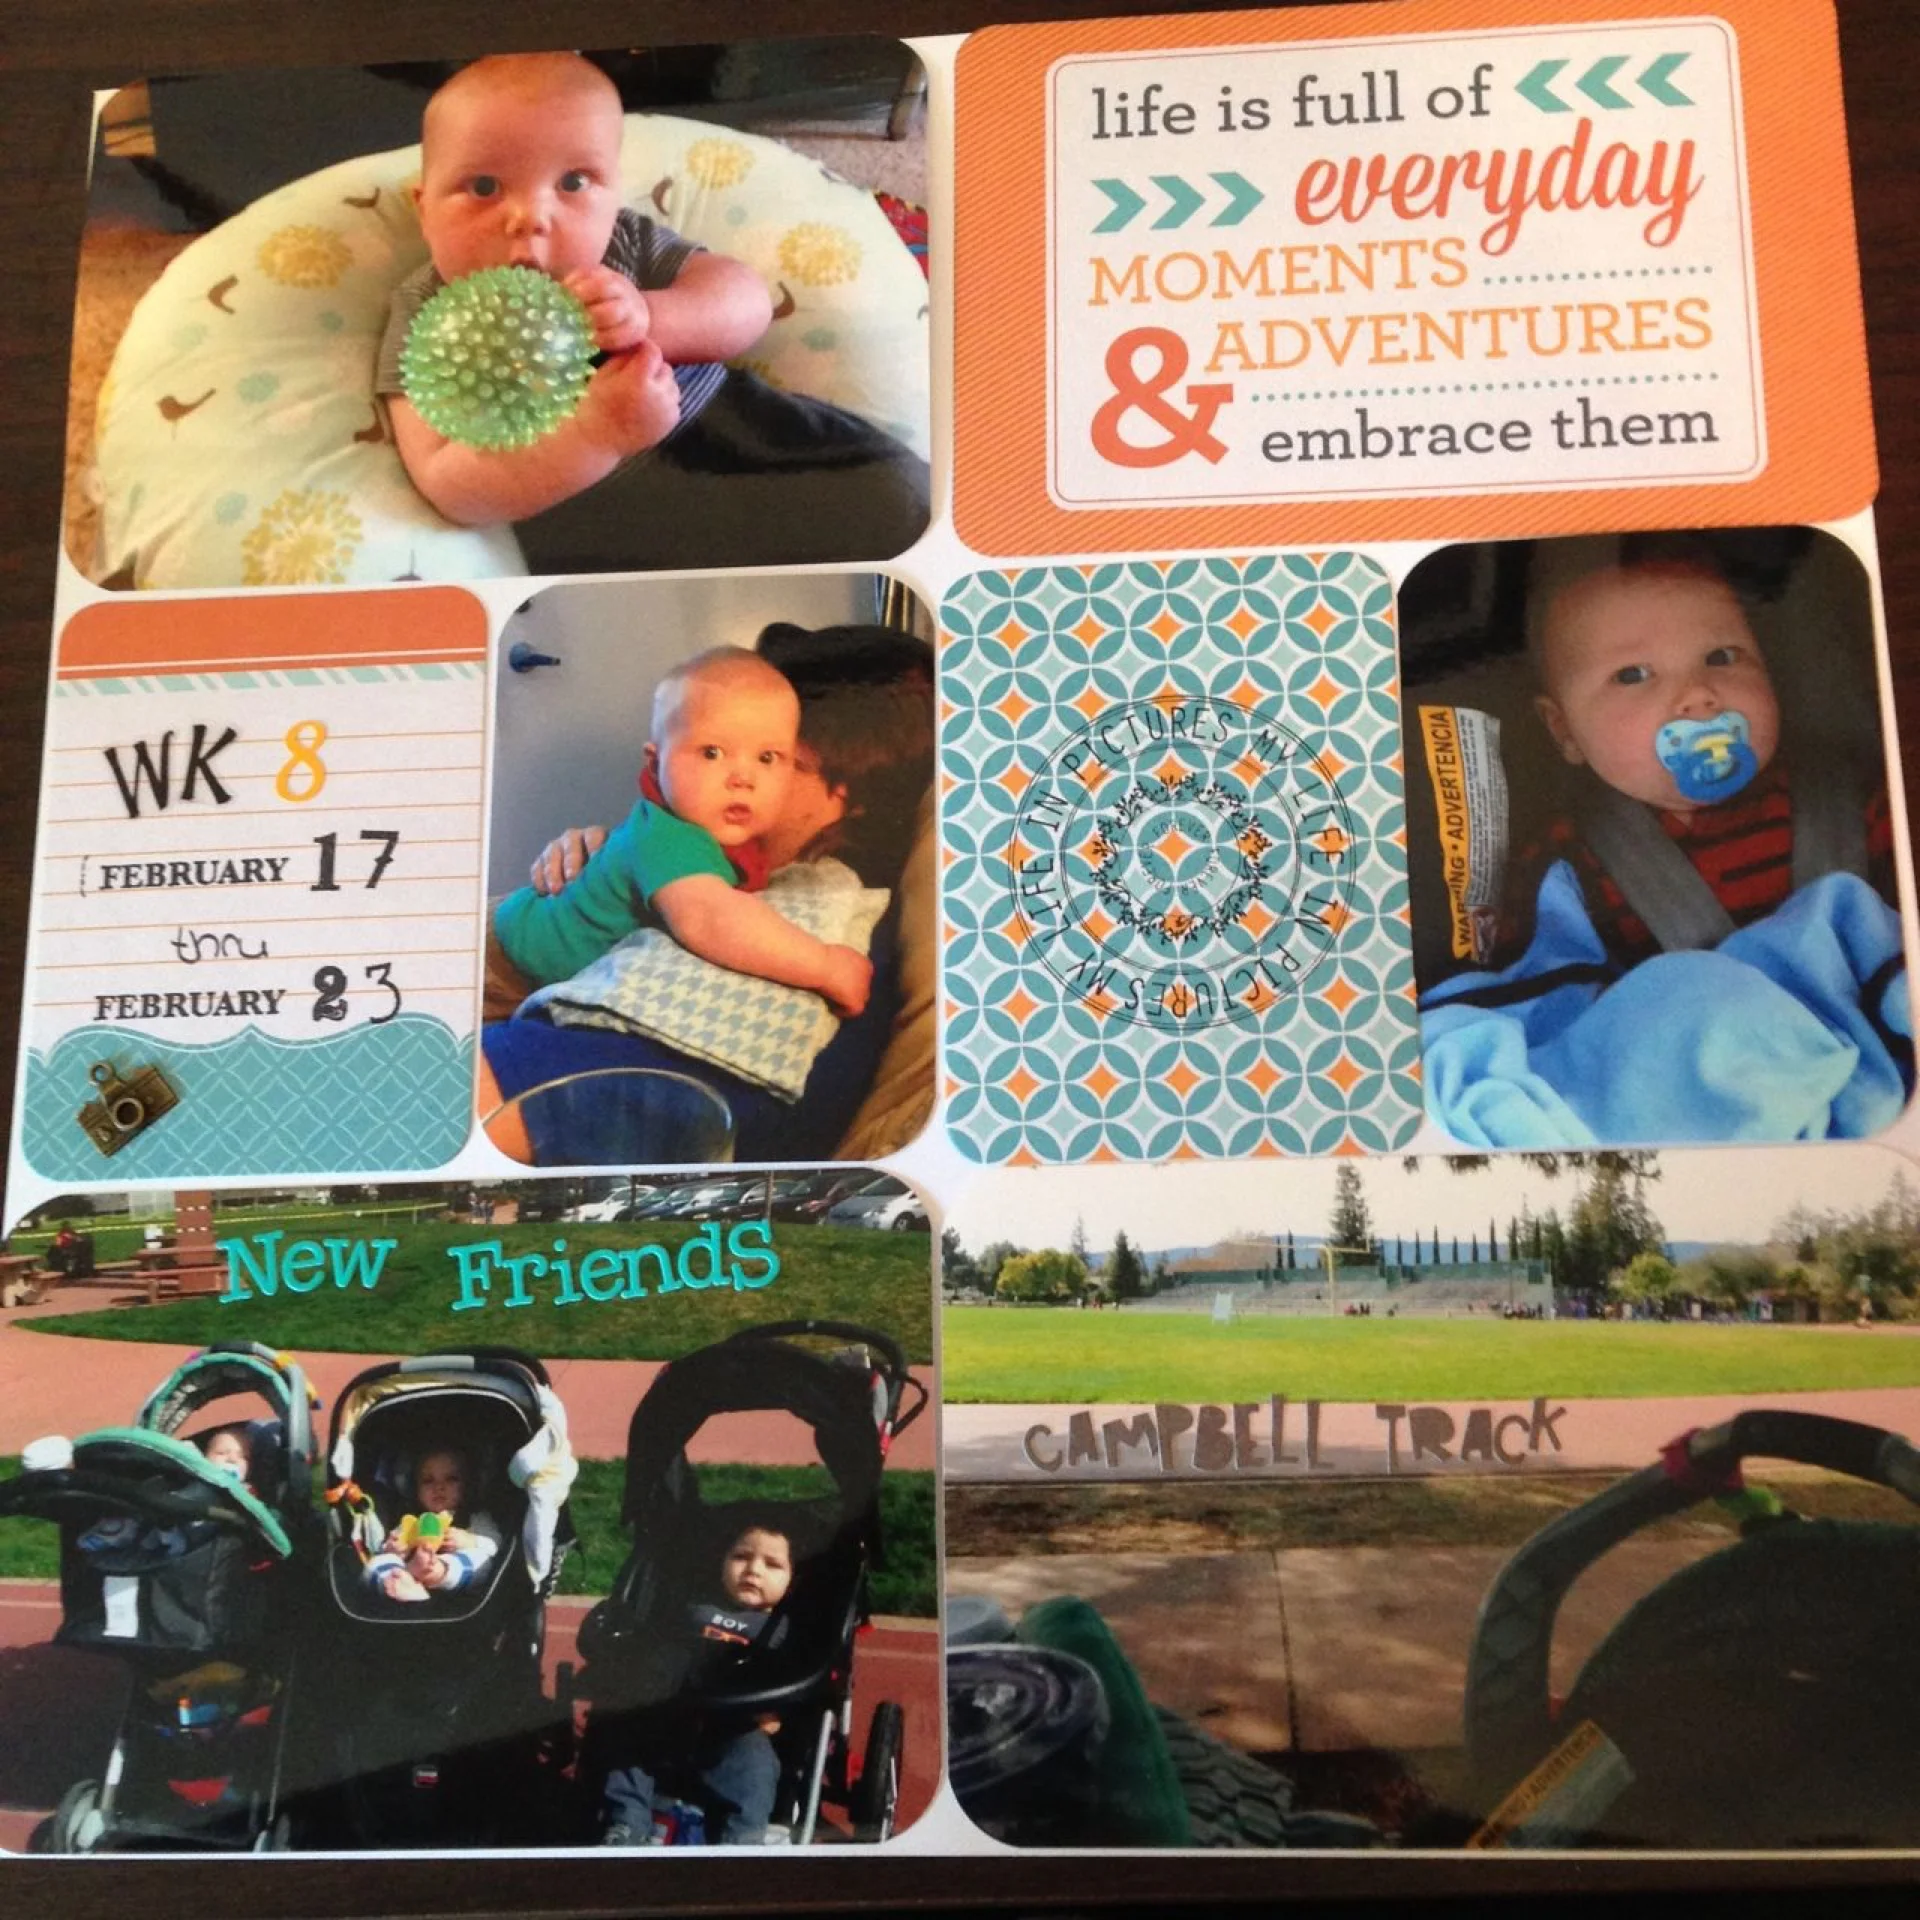
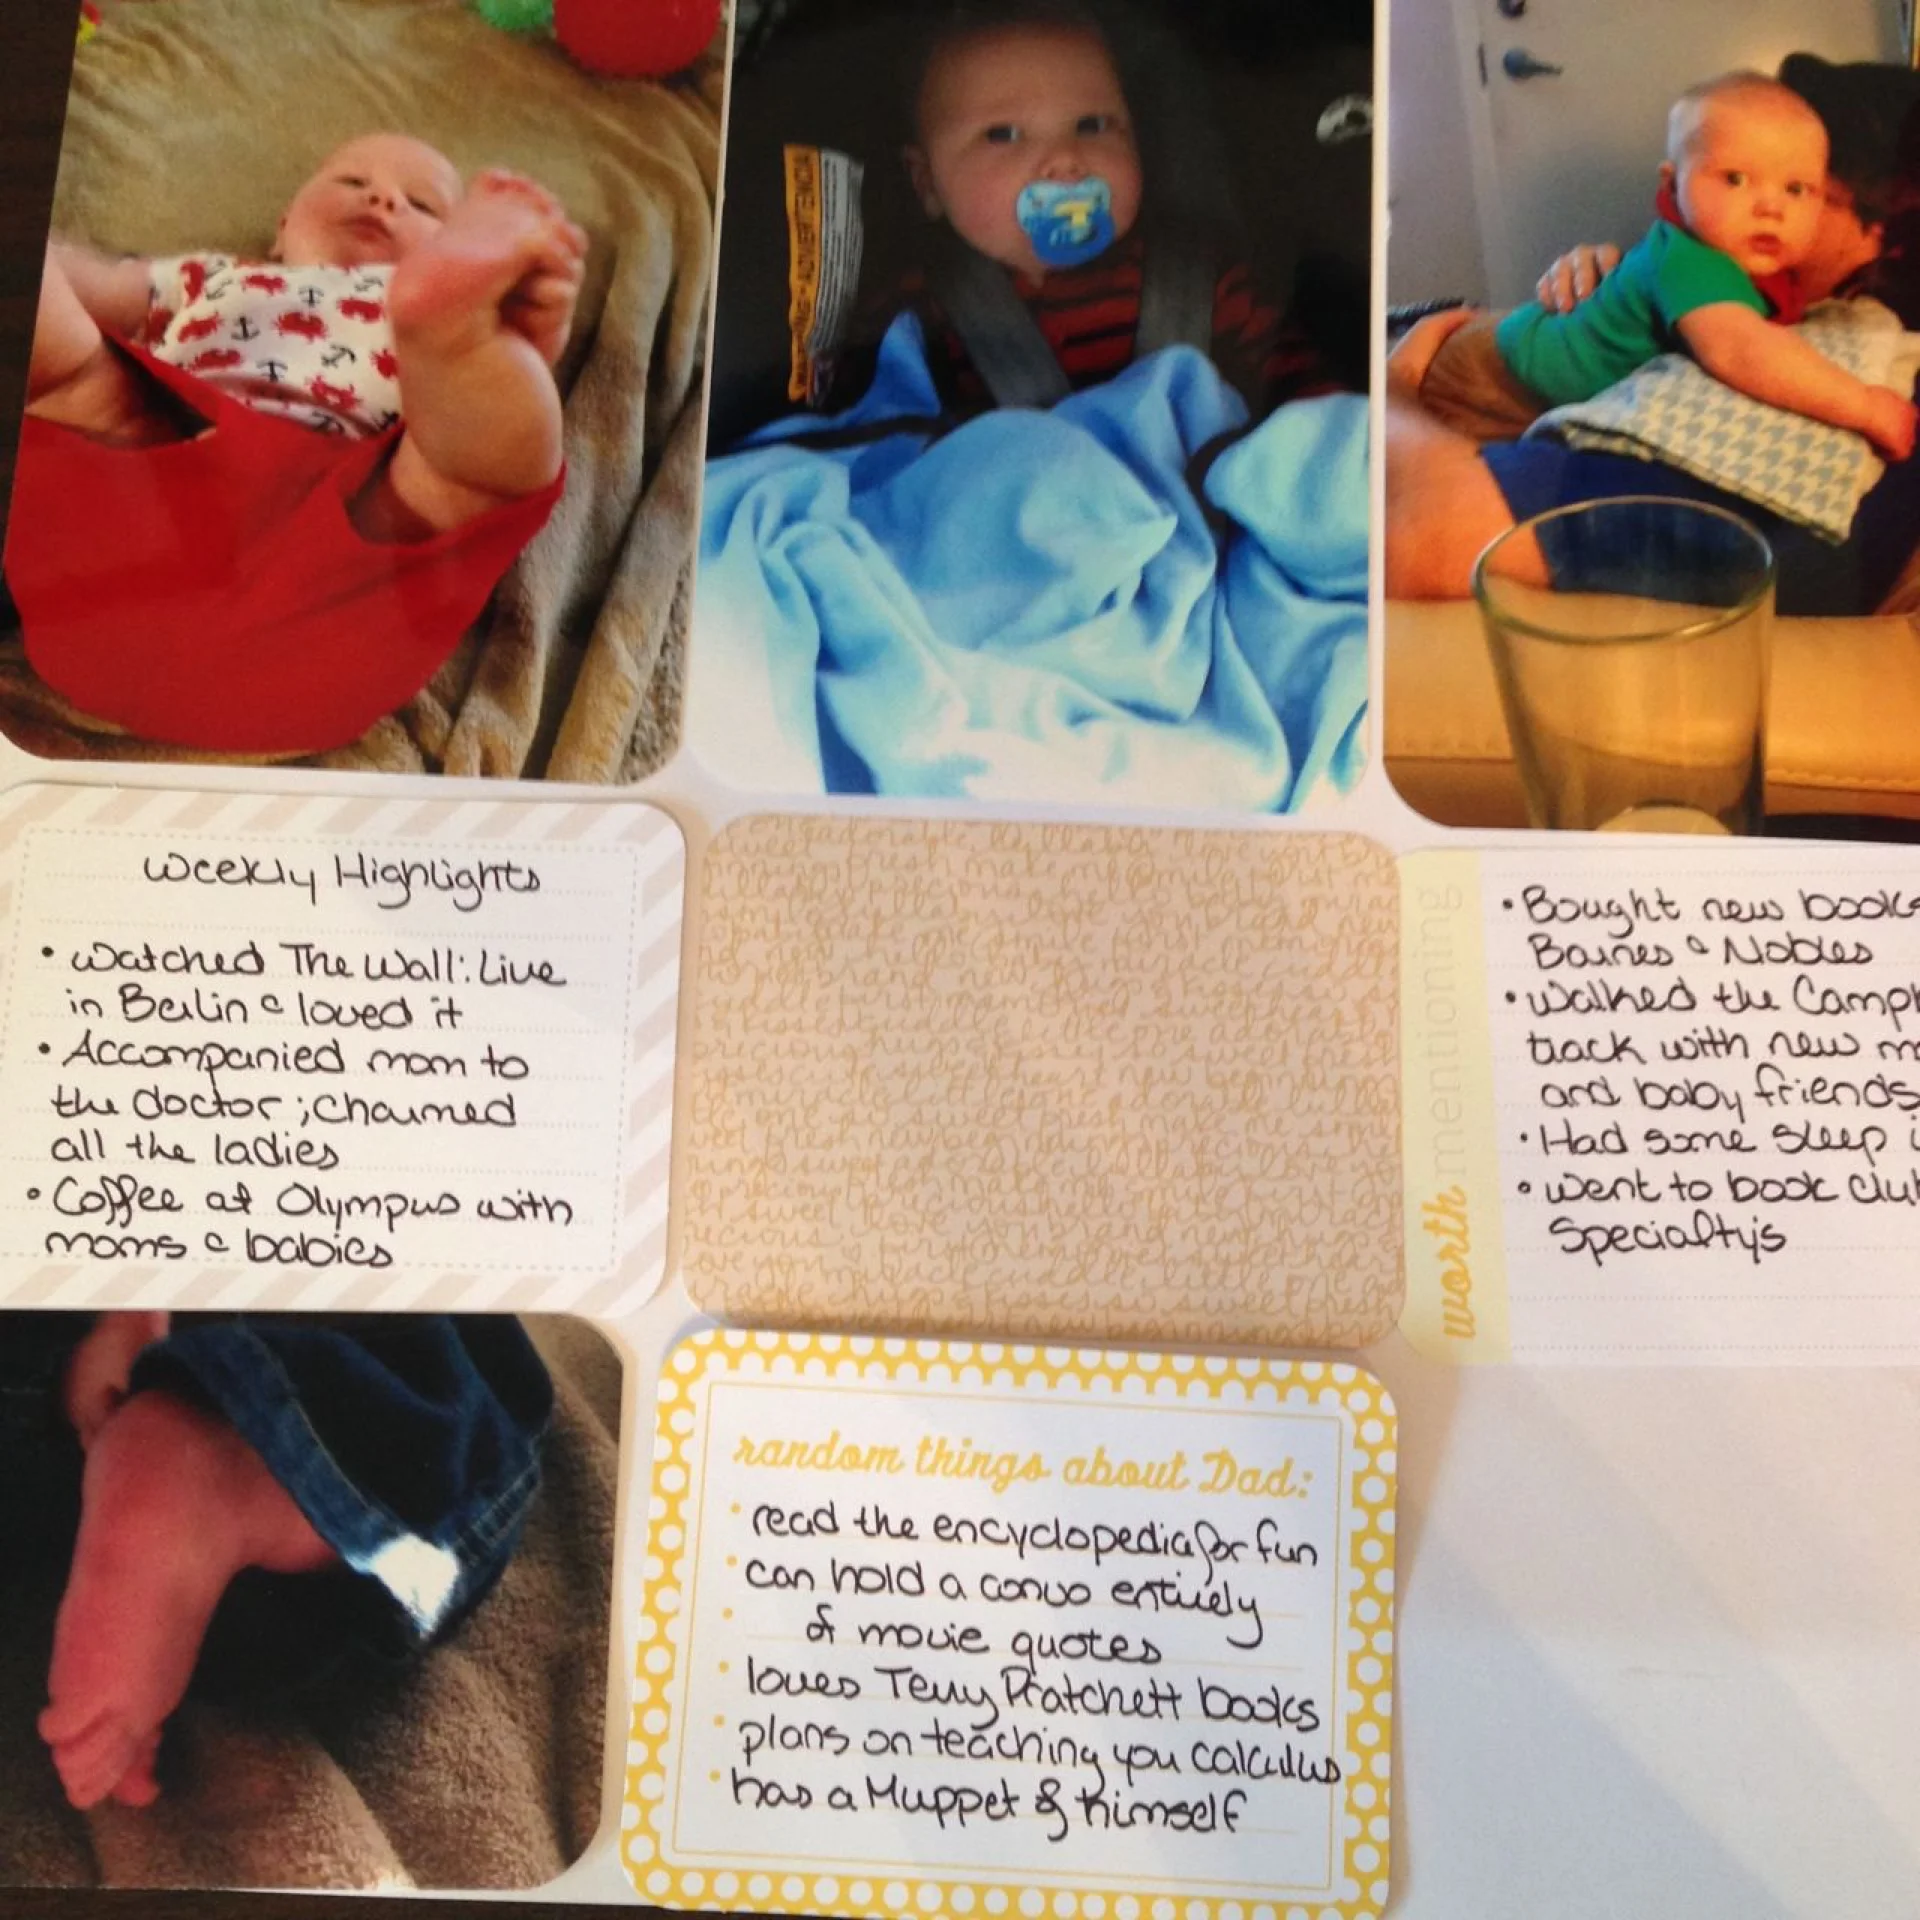
Week 8
Family Album: Somehow I completely lost the right side picture of this week's spread. Oh well. I'll get it finished soon. I kept the embellishing at a minimum. I relied on some alphabet stickers to add some interest to the track pictures. I love the visual interest of this week's page.
Supplies:
- WRMK Tangerine Journaling Kit
- Random stamp and alphabet stamps
- Camera charm
Arthur's Album: Arthur's album is missing one picture that will have to go onto the next picture order. No embellishments this week, but I did a huge amount of journaling. I am getting better at storytelling; capturing those little moments.

Supplies:
- PL Neutral Baby Kit