• Home
  • About
  • Archives - Wading Through
  • Archives - The Craft Sea

Wading Through...

  • Home
  • About
  • Archives - Wading Through
  • Archives - The Craft Sea

New Discoveries #1: Take Ten Kits

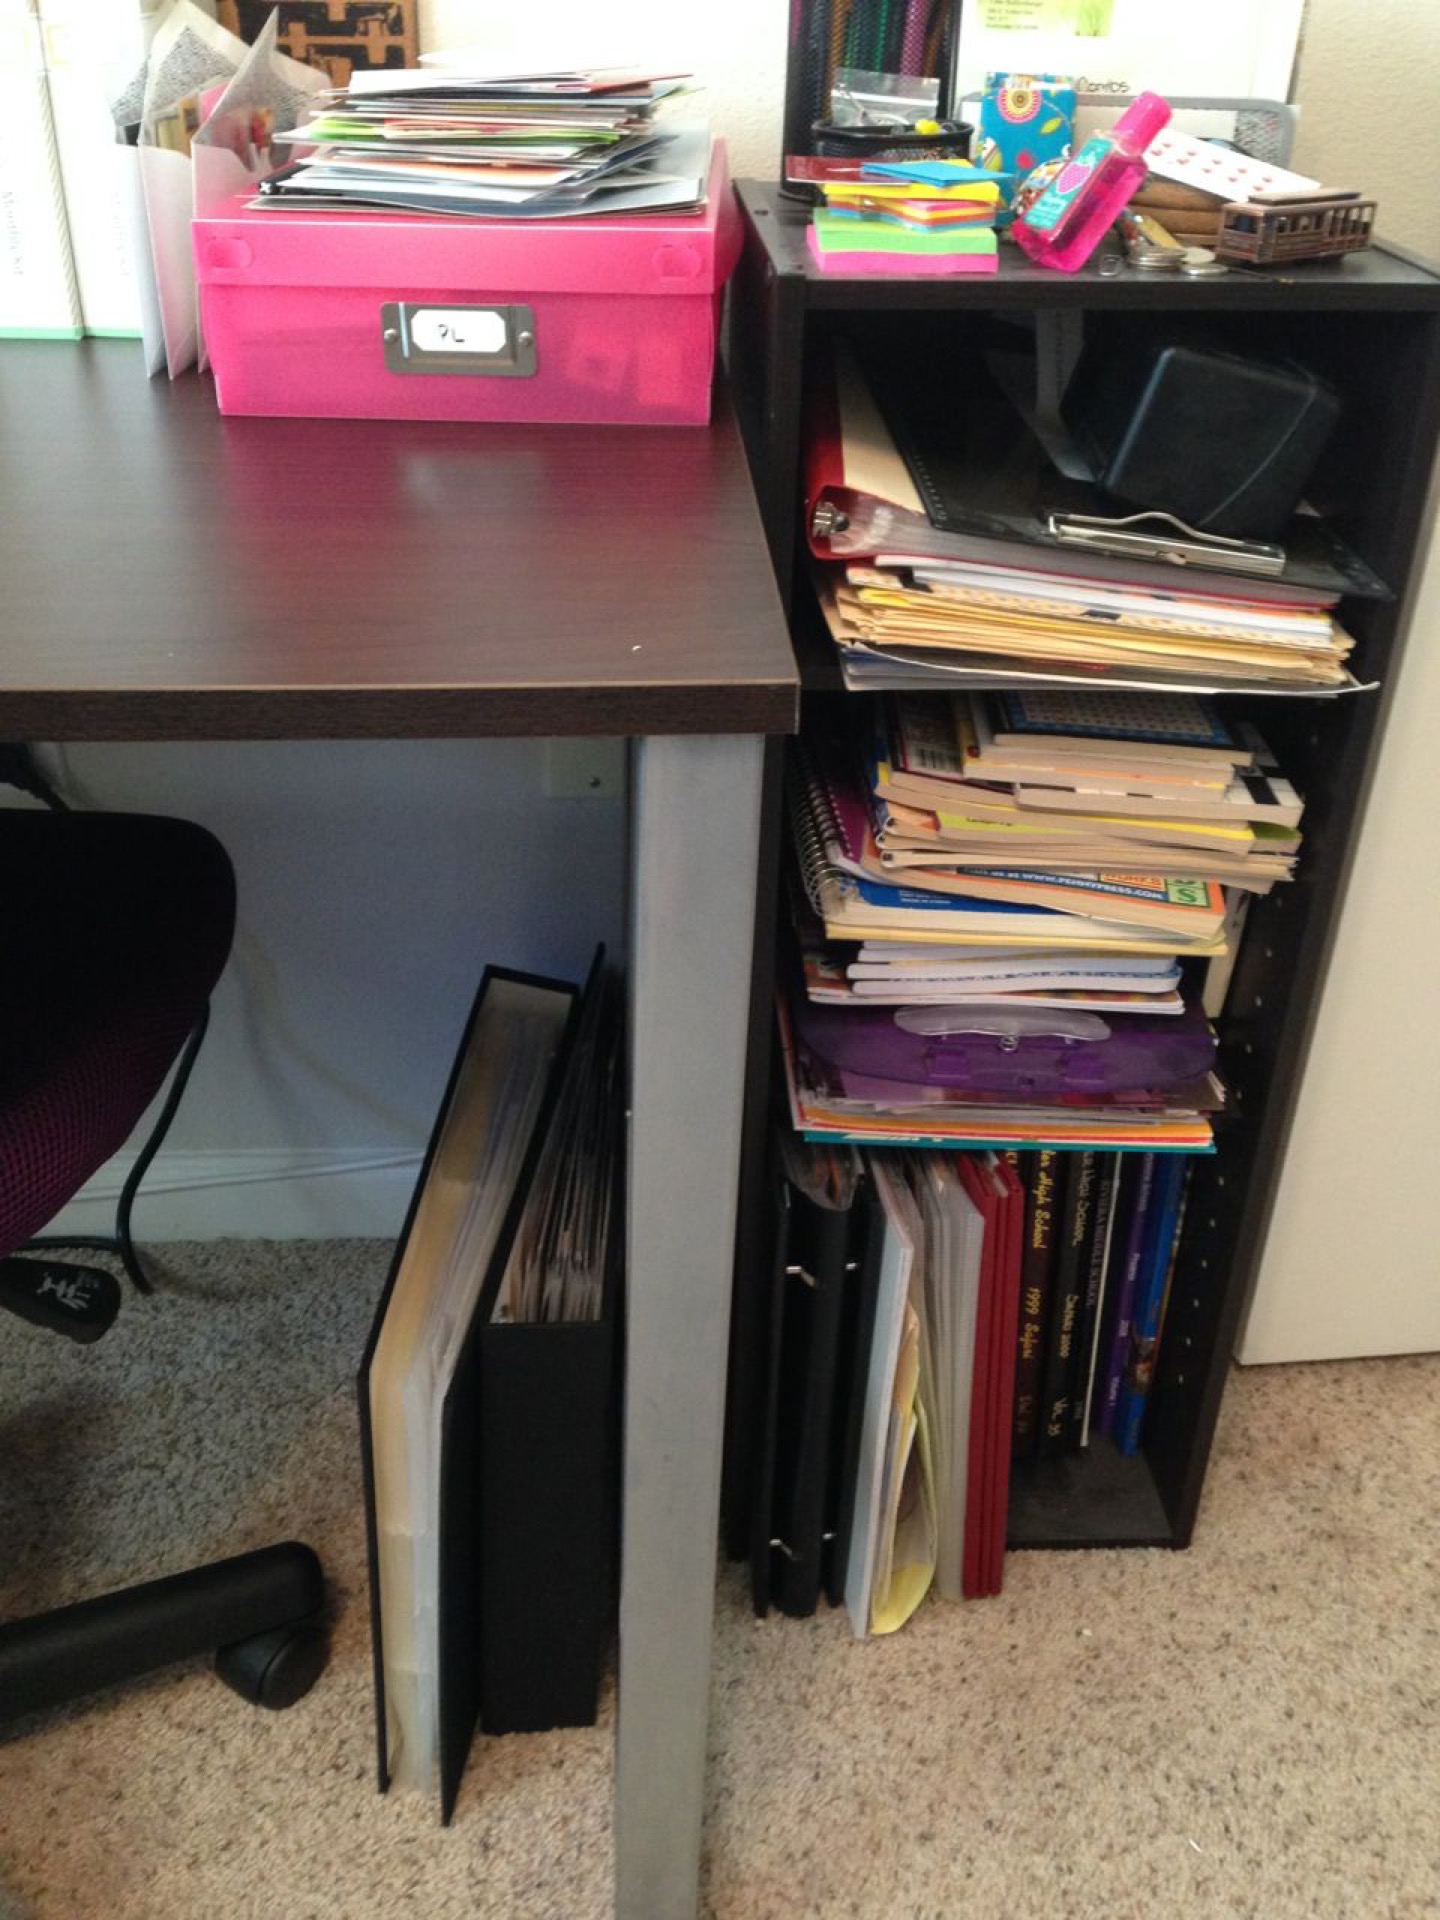
A new weekly feature on The Craft Sea. I would love to share my new crafting discoveries with you.  These may be specific products, websites, techniques, or general crafting ideas. Today on New Discoveries, I would love to highlight a relatively new monthly project life style subscription kit. Colie Kumar from Card Stock Option has created a great, cheap ($10!) monthly kit.  I signed up for the first kit in March, but I was regulated to the wait list.  Thankfully, I made it onto the actual list for April and now for May.  So far, I've received two kits and I am in love with them.  They are fun, coordinated, and actually useful.  The kits are designed, but they haven't moved in to the super-trendy category like Studio Calico's kits (have not been a fan lately, and super expensive in comparison).  The quality of the products is great.  The cards are one-sided, but of great cardstock weight.  I love the option of rounding the corners yourself or leaving them squared.  I prefer rounded corners, but I know many don't.  Overall, this is a great little addition to my crafting stash.

April's Kit:

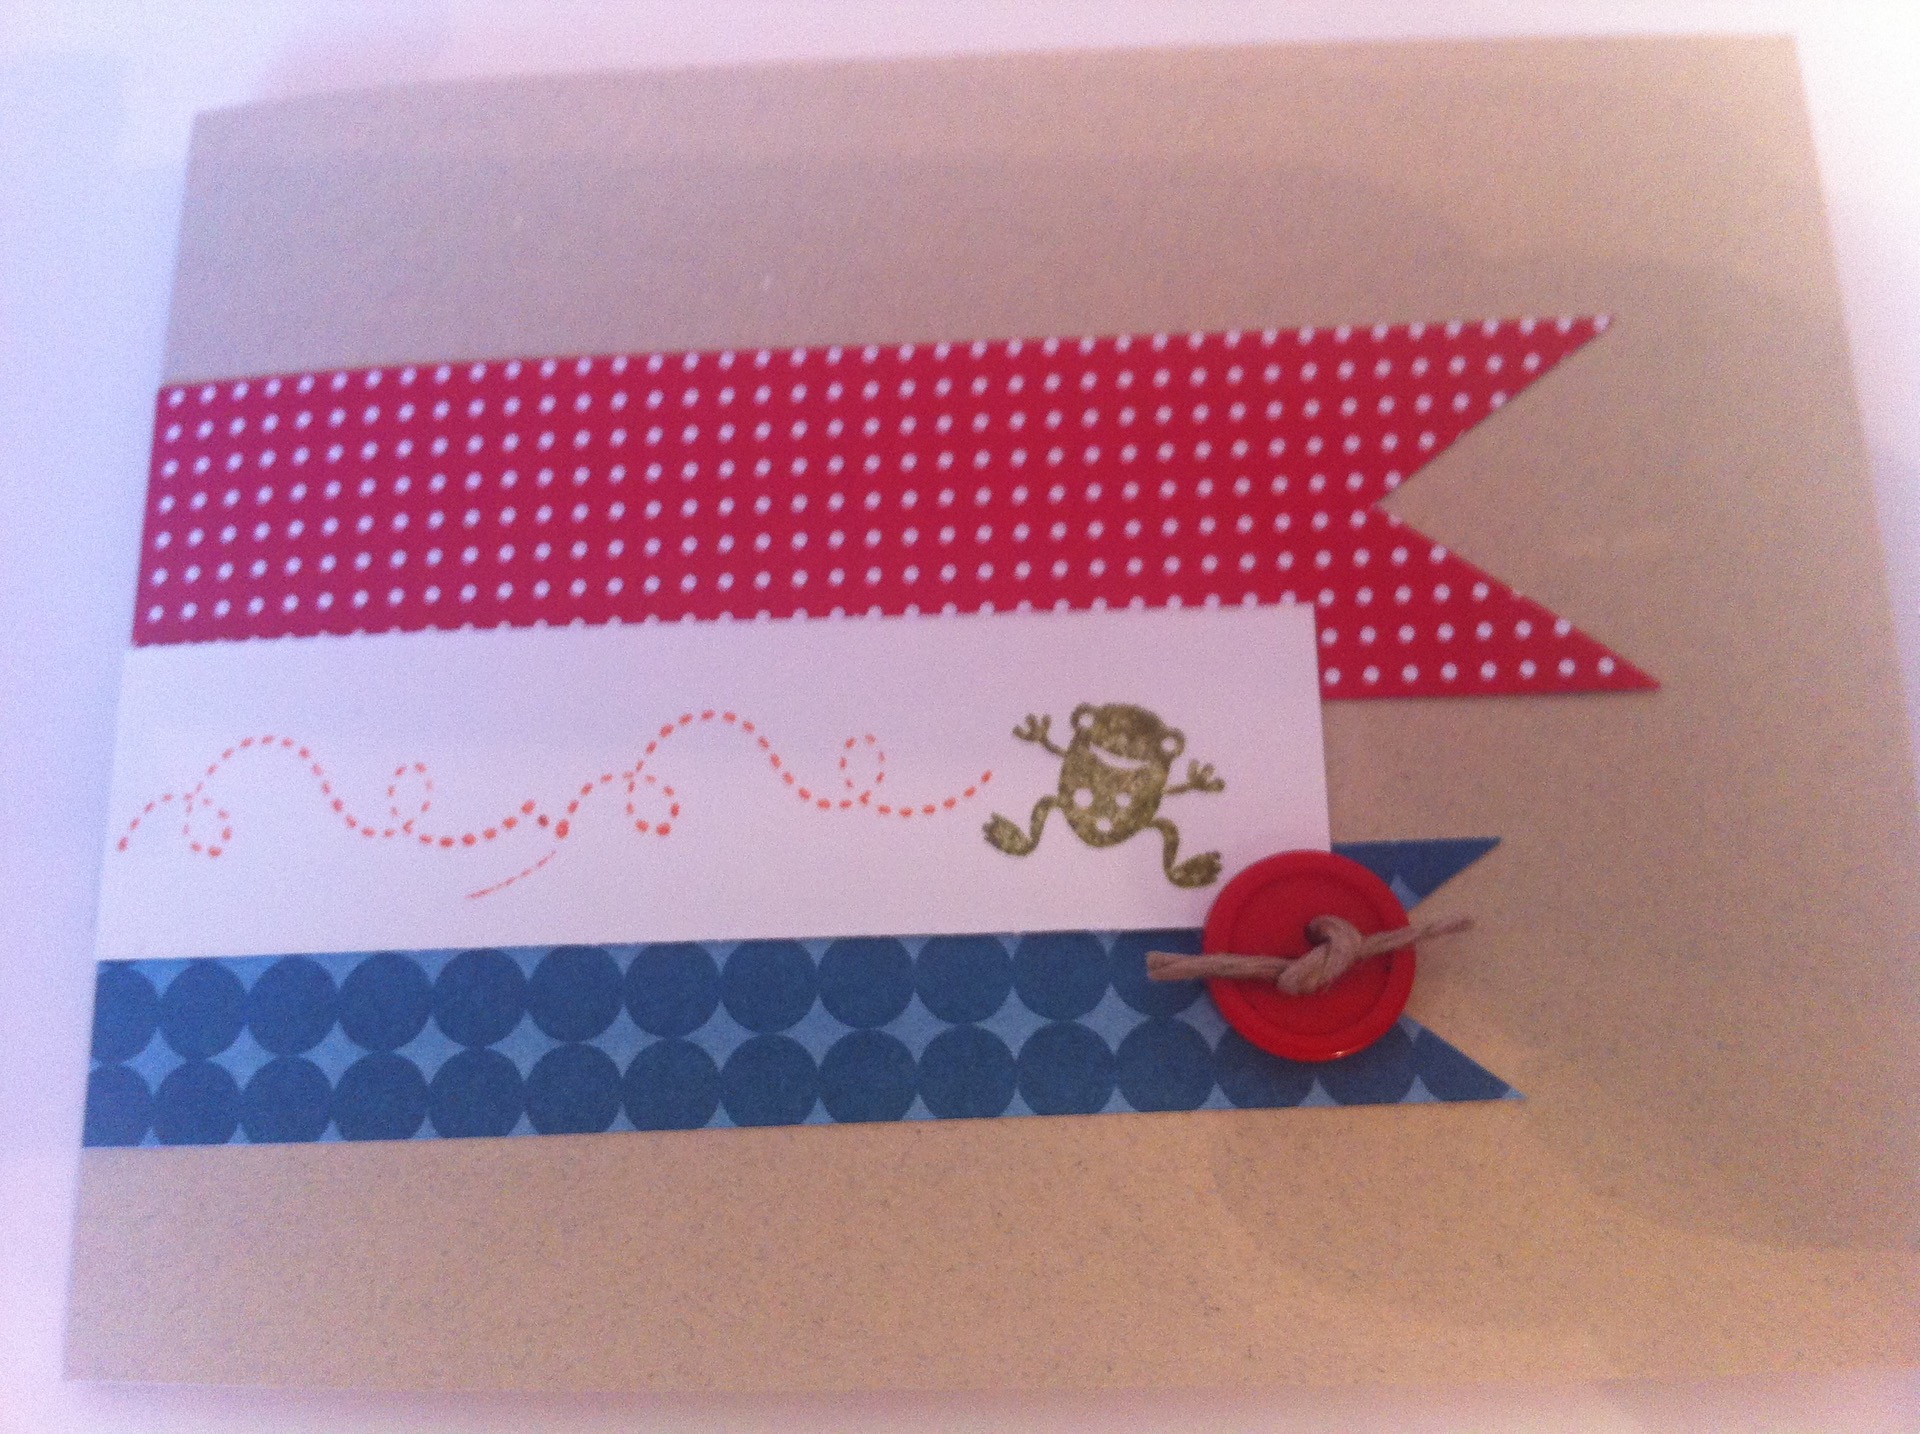
  • Stamp set -- Three border stamps.  Colie offered an add-on stamp that featured words that fit into the border stamps.  I didn't buy it, but it was pretty cute.
  • Silver thickers -- Always love some alphabet stickers
  • Embellishments -- Chipboard geo tags, one piece of button flair, two manilla tags, sample of washi tape.  She offered more matching washi tape as an add-on.
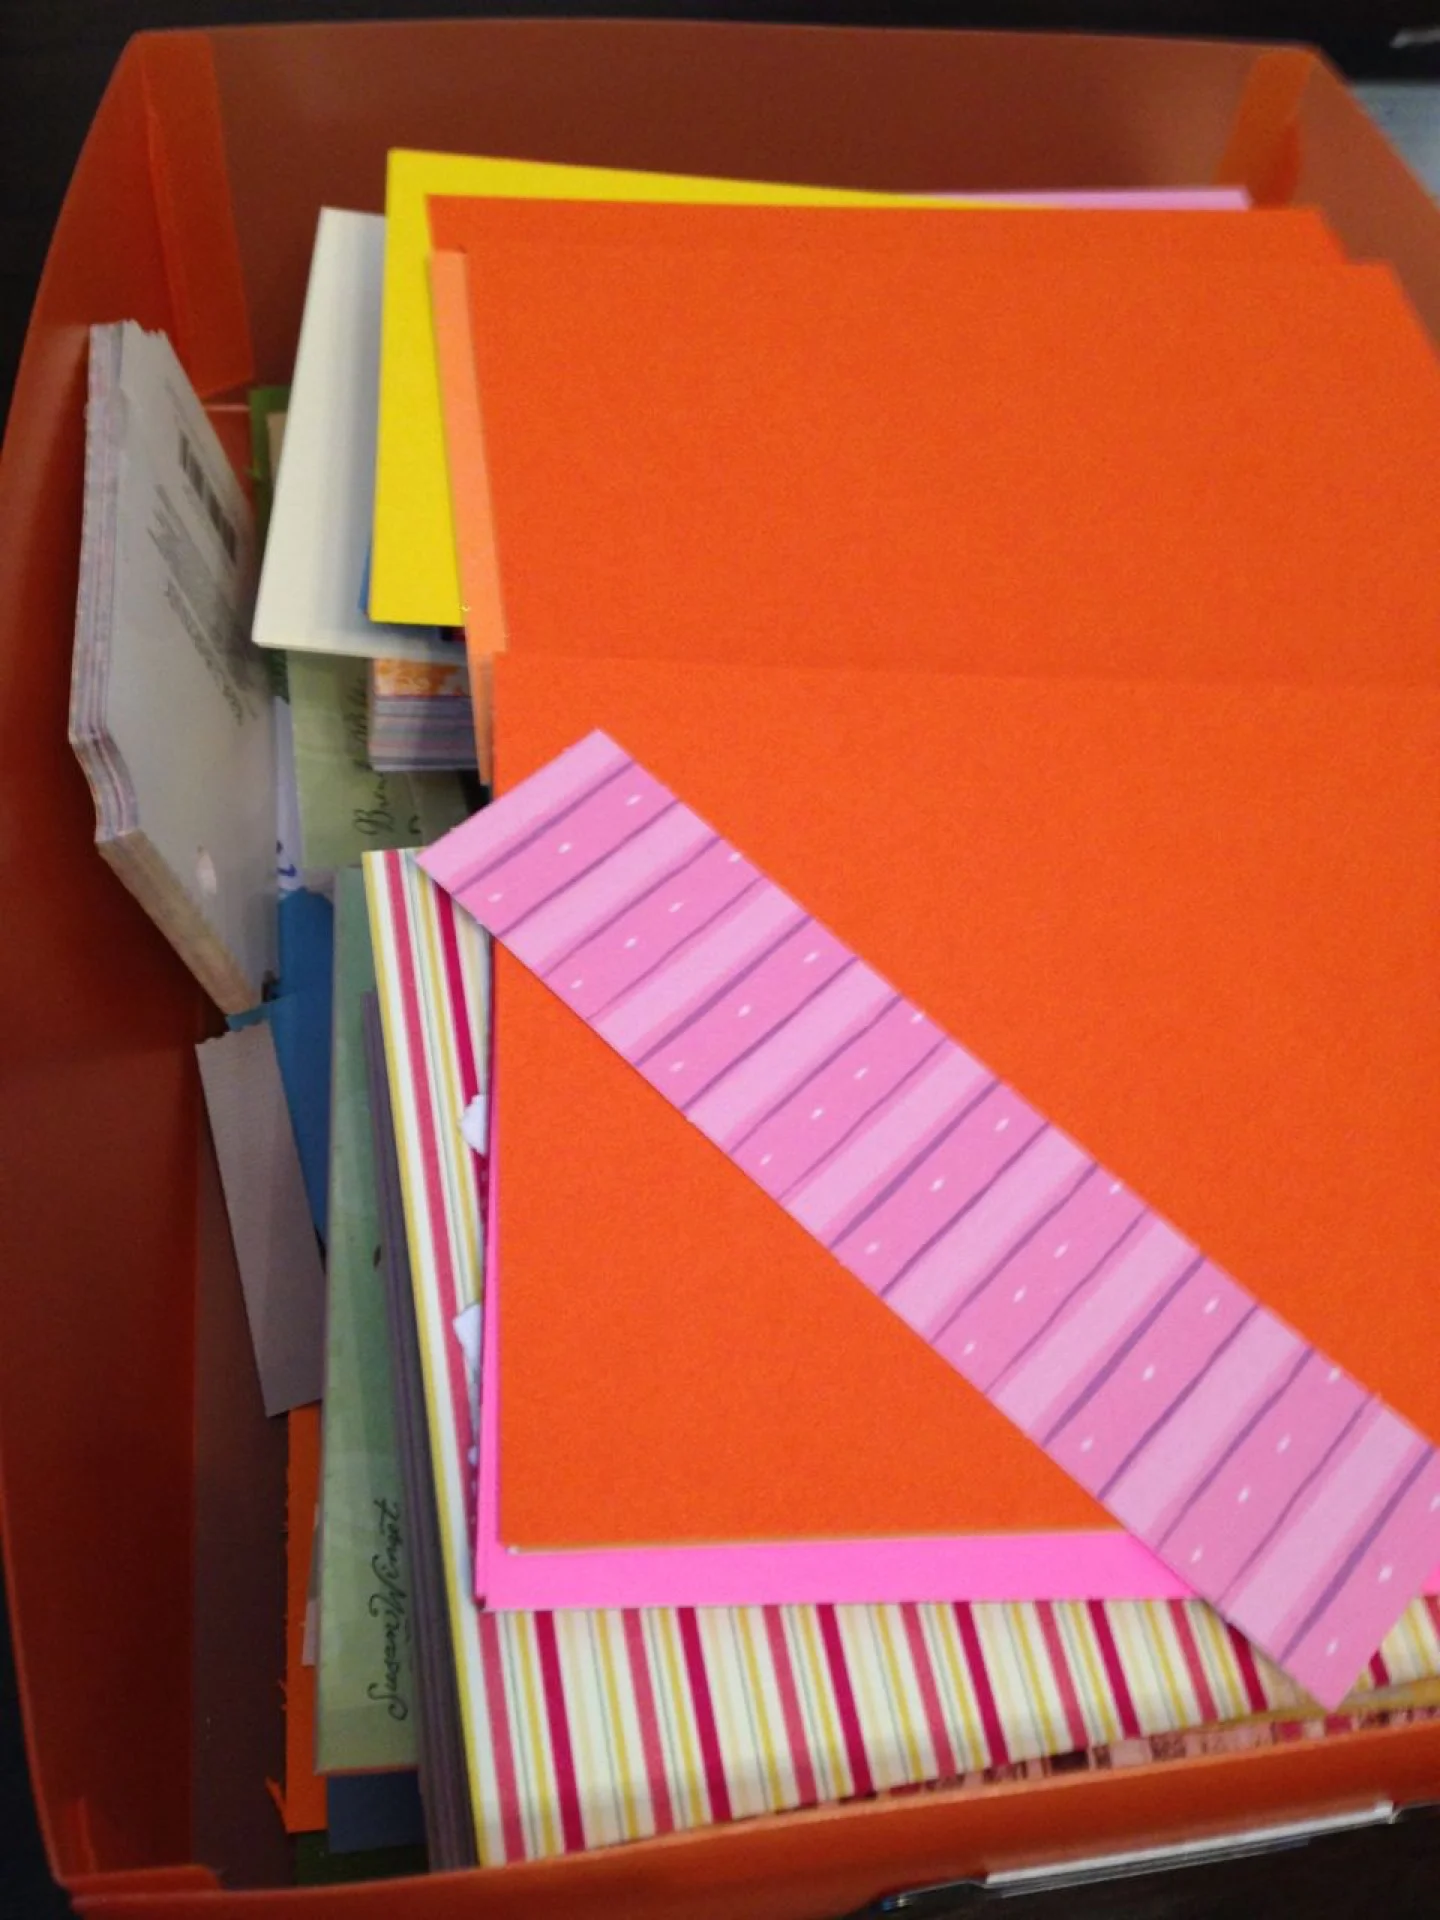
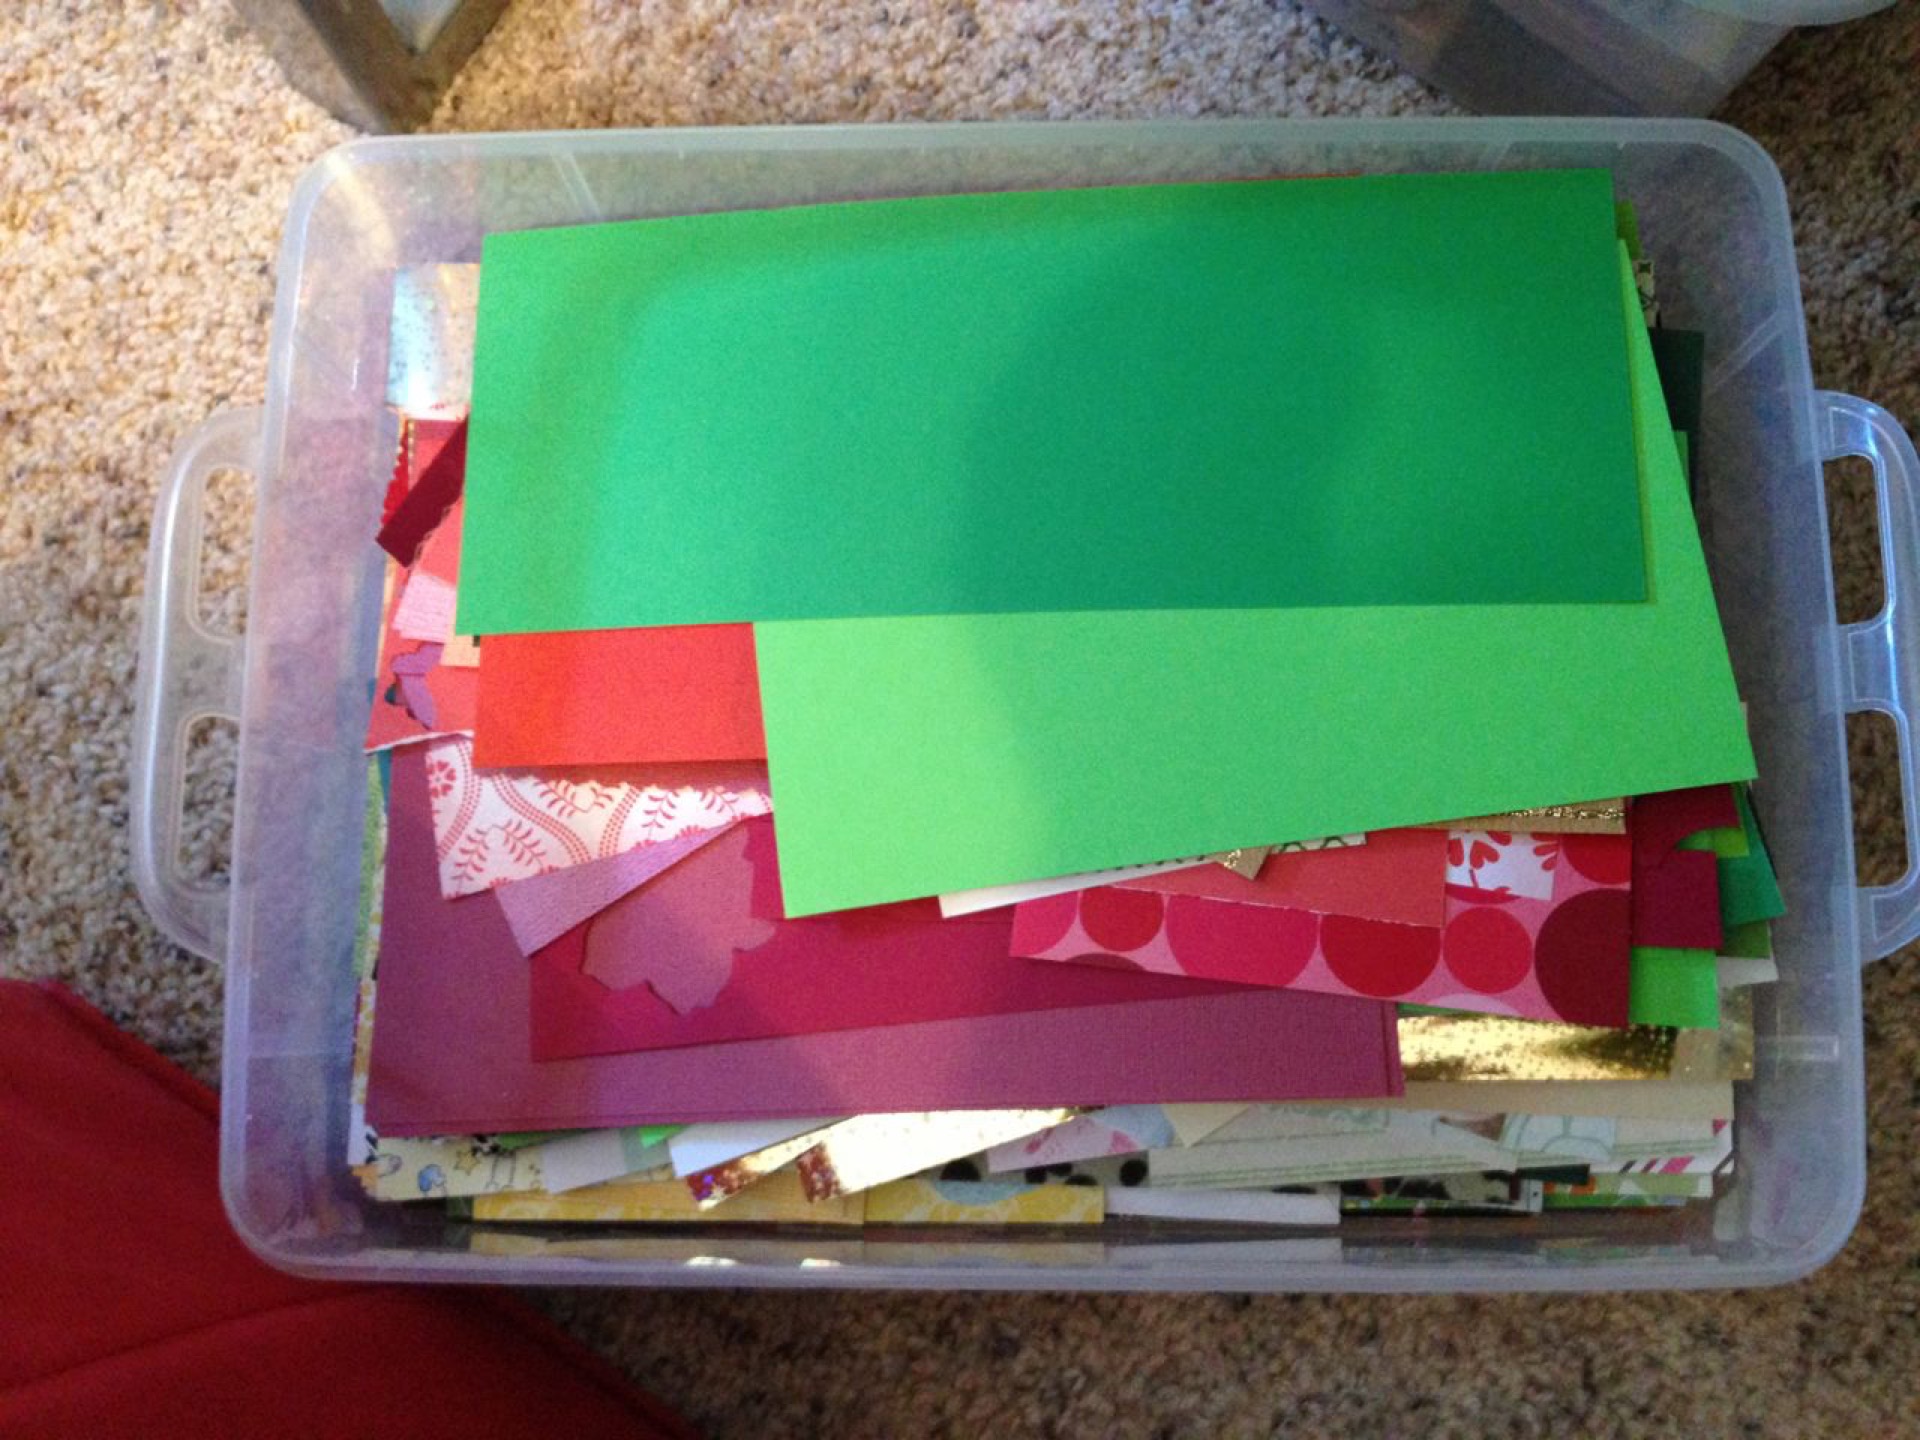
  • 11 3 x 4 Cards
  • 3 4 x 6 Cards

May's Kit:

  • Stamp Set -- Cute little clouds, rain, etc.  I really enjoy this stamp set and can't wait to use it.
  • Green alphas -- Always a welcome addition
  • Embellishments -- Clouds and sun wood veneers, button flair, enamel dots (always use these!), and transparent leaves.
  • 11 3 x 4 cards (embossed!)
  • 3 4 x 6 cards

High points:

  • $10 monthly cost plus shipping: Colie keeps shipping around $2-3 per month.  So your total cost can be as low as $12.
  • Add-ons are offered: If you want to buy some great coordinating products, she offers some great add-ons. The best thing about the add-ons is that you should be able to actual get them if you log onto the Facebook page the first day of the month.  I haven't bought anything, but I have been very tempted...
  • Opt out option: If you aren't a huge fan of the kit, you can opt-out for the month with no penalty.  All you have to do is cancel the invoice.  You still keep your place on the list for the next month.

If you want your own Take Ten Kit, sign up here.

tags: New Discoveries, Subscription Kit, Take Ten Kit
categories: Craft Supplies, Project Life
Thursday 05.08.14
Posted by Tobe Buffenbarger
 

Archives: Playing with My New Supplies

Originally published on February 25th, 2014

This past week, I received a huge Stampin' Up order.  My demonstrator, Pam, told me that she wanted to see me make cards with my new stuff.  Of course, I had to dive right in.  I had so much to play with and try out: tons of DSP, some punches, some stamp stamps, new ink colors, and some new embellishments.  Here's pics of my new stash:

Card #1


Pam gave us the sketch above for our stamp club homework.  I won't be attending March club (Arthur and I are flying that day to Indiana), but I did want to do the homework and get creative.  I started with the idea of using my new Sweet Sorbet DSP.  After finding a few different layering patterns, I paired them with my new Petite Petals stamps and punch.  I love the play of florals with a touch of neutral (Sahara Sand based pattern paper).  I left the card without sentiment because I didn't want it to get too busy.  As an added bonus, everything on this card is Stampin' Up.

 
  • Stamps: Petite Petals
  • Inks: Crisp Cantaloupe, Pistachio Pudding, Summer Starfruit
  • Cardstock: Summer Starfruit, Sweet Sorbet DSP
  • Tools: Petite Petals Punch, SNAIL, Dimensionals

Card #2

The second card is again using the sketch from OWH.  I wanted to play with my new Banner Blast stamps and punch, and this is what came out.  I decided to skip the horizontal piece of DSP as I think it would have been much too busy.  While card #1 used a lot of the floral patterns from the Sweet Sorbet DSP pack, this card uses the geometric designs.  I love the polka dots!  I think that design is my favorite in the entire pack.  I had to use it a background!  Plus, this is another all Stampin' Up card.

 
  • Stamps: Banner Blast
  • Inks: Pool Party, Pistachio Pudding, Crisp Cantaloupe, Basic Black
  • Cardstock: Sweet Sorbet DSP; Summer Starfruit
  • Tools: Banner Punch, SNAIL, Dimensionals

Card #3

I initially tried to complete the sketch with patterns from the Birds of a Feather DSP, but found myself making some big changes.  Ultimately, this is what came out after a lot of playing and changing pieces up.  I loved the birds on a wire look and wanted to incorporate that piece somehow.  Because of the big pattern with both bird designs, I designed to go subtle for the background patterns.  They are all from the same design pack so of course they all work together.  Another all SU card.

 
  • Stamps: Express Yourself
  • Inks: Raspberry Ripple
  • Cardstock: Primrose Petals; Birds of a Feather DSP
  • Accessories: 2012-2014 In Color Dahlias
  • Tools: Artisan Label Punch, SNAIL, glue dots, dimensionals

Card #4

This is my other attempt to use the sketch and the Birds of a Feather DSP.  I decided that the two pieces overlapping (blue design and brown stripe) really threw off the balance of the card.  So, I put the sentiment on top of the cross and added the dahlias in the opposite corner to help balance the card.

 
  • Stamps: Express Yourself
  • Inks: Primrose Petals
  • Cardstock: Primrose Petals, Birds of a Feather DSP
  • Accessories: 2012-2014 In Color Dahlias
  • Tools: Artisan Label Punch, SNAIL, Dimensionals, Glue dots

Card #5

IMG_7016

I wanted to play some more with the Sweet Sorbet DSP pack, so I went onto my Pinterest boards for inspiration.  The above card caught my eye and I knew I had to use it as inspiration.  Just like Angie, I initially didn't know what to do with that black based pattern.  It's incredibly loud in a 12 x 12 sheet, but if you cut it down and only use a piece, I really really love it.  I kept her basic layout, but changed up some of the supplies for ones from my own stash.

 
  • Stamps: Perfect Pennants; Banner Blast
  • Inks: Crisp Cantaloupe, Summer Starfruit, Pool Party, Basic Black
  • Cardstock: Crisp Cantaloupe, Pistachio Pudding, Sweet Sorbet DSP
  • Accessories: WRMK Sew Easy Floss
  • Tools: Chevron scissors, Chevron Embossing Folder, Banner Punch, SNAIL, Dimensionals, Glue Dots

Card #6


Another card inspired by a Pinterest pin.  For my last card, I realized that I don't have any Pool Card cardstock, so I can't recreate the exact coloring on the above card.  Instead, I used a piece of black scrap to give the card a bolder look.  I love the look of the banners in a row.  Plus, the colors really pop against the black (they look much brighter in person).

 
  • Stamps: Banner Blast
  • Inks: Pistachio Pudding, Crisp Cantaloupe, Basic Black, Pool Party, Summer Starfruit
  • Cardstock: Whisper White, Black scrap, Pistachio Pudding, Sweet Sorbet DSP
  • Accessories: WRMK Easy Sew Floss
  • Tools: Banner Punch, SNAIL

Overall, I'm really loving my new supplies.  Next week I want to branch out to some of the other pattern papers.  I have a plan to use some for One Sheet Wonders...

tags: Banner Blast, Birds of a Feather DSP, Embossing Folder, Express Yourself, Perfect Pennants, Petite Petals, Sketch, Sweet Sorbet DSP
categories: Craft Supplies, Misc- Cards, No Sentiment
Saturday 05.03.14
Posted by Tobe Buffenbarger
 

Archives: Tour of My Crafting Station

Originally published on January 30th, 2014


Since coming back from Christmas break, I attempted to organize my crafting space.  A few weeks later and I'm ready to reveal my area.  My space is one half of our third bedroom.  The other half of the room is filled with J's modeling supplies and workspace.  The closet is full of bookcases.  So, that leaves the half by the door (minus the corner dedicated to the servers and various computer stuff) and a small space of the long table.  From the above picture, you can see my limited space.

Let's start with the area by the window:


On top of the white table I keep a variety of things.  I have my red bin (we'll look inside in a few minutes), finished cards (currently just stacked up), envelopes, and all my 8.5" x 11" paper.  I decided to buy some Ikea cheapy magazine holders to sort my paper by color.  The last holder on the left holds cut card bases and my Stampin' Up catalogs.  I plan on adding fun scrap paper to the magazine holders to liven them up a bit.


Tucked under the white table is my beloved Ikea Alex drawer set.  I bought this piece right after we moved in almost two years ago and am still in love with it.  It has a total of six drawers.  The top three are shorter and the bottom three are longer height-wise.  All the drawers are extremely deep.  They hold 12" x 12" paper with room to spare.  We couldn't put the drawers under the table with the opening facing out because of a vent (you can see the corner in the pic).  Instead we slide it in sideways.  I can still open the drawers without moving this extremely heavy piece.  The extra room sticking out was the perfect size to hold my boxed Project Life kits.  Currently I have a pocket pages box, a Baby Neutral kit, a Sunshine kit, a Seafoam kit, a Holiday kit, and a Seasons kit residing there.  It makes it really easy to grab a kit to work with and frees up a ton of space on my table.

Inside the Alex drawers, I have a ton of supplies.  The first two drawers hold a lot of various office supplies not worth looking at.  The third drawer (short drawer) holds my Christmas supplies.  I finally decided to sort out my Christmas only supplies from the rest.  Best decision I've made in a long time.


The fourth drawer (first tall drawer) used to hold all my stickers for scrapbooking.  Since I am moving towards Project Life, I've slowly used my stickers and haven't bought much more.  Because of that, this drawer is slowly becoming a paper drawer.  One of next projects is to sort through my 12" x 12" paper and organize them by colors / patterns.


The fifth drawer is a split drawer.  Half is full of more 12" x 12" paper.  Half is full of my paper punches.  Fairly soon I'm going to have to make more room for paper punches.  I'm thinking about moving the punches up to the sticker drawer as I use those.

The last drawer is another half and half drawer.  Half is paper, half is my heat embossing supplies and my scoring board.  Kind of random, but I don't use my heat embossing tools all the time.

Finally on top of the window table I have one of my red bins.  This one is filled with all my Stampin' Up stamp cases, SU framelits, and SU embossing folders.  I would like to have my stamp cases in a more visual spot, but I need to think more about how I want to do that.

Here's the view of my main work space.  I bought this very basic table from Amazon.  I love that I have a large area to work with and nothing for me to get tangled onto.

The right side is a big hodgepodge of stuff.  The little shelving unit contains random notebooks, the twins' scrapbooks I'm currently working on, and my yearbooks.  The top of it has some random office supplies and coasters.  Under the desk, I have my two Project Life albums.  On top, I have my Project Life supply box, two Studio Calico PL supply boxes, and a few PL specific embellishment envelopes.


The pink box contains Project Life specific supplies.  I have a few rotary stamps, some photopolymer stamps, a corner rounder, day stickers, and some random things.  I tried to make it easier on myself when I got to do my weekly spreads.  I didn't want to spend a lot of time searching through supplies.  Having a dedicated box cuts my time in half. Love it!


On the left side of the table, I have a PL album (not usually there), a couple of paper stacks for notes, and four boxes of supplies.  The bottom box (darker blue) is pictures and ephemera for the twins' scrapbooks.  I haven't switched them over to PL (probably won't until I fill the current album).  I tend to scrap there pages once every few months.  So, I throw everything in this bin to keep for later.


The turquoise box holds all my small embellishments. I have a ton of buttons, brads, flowers, jewels, and die cuts.


The orange box holds paper scraps.


The green box has all my ribbon and washi tape.  Given my current obsession with washi tape, I will probably have to rethink this box soon.


Under the table holds the last of my supplies.  I have a few bins and my tool caddy.


The red bin contains my Stampin' Up ink pads, my stamp scrubber, my snail refills, and a few random ribbon spools.  I usually keep my ink pads horizontally, but for the pictures I put them vertical to see the colors.  I don't want the ribbon in this bin, but I ran out of room in the ribbon box.

The second scraps box.  I think I have a scraps problem.  I really need to do a scrap purge.

This bin holds all my non-Stampin' Up stamps.  I think I need a better way of accessing my stamps.  I'll have to think about it.

Lastly, I have my tool caddy.  I try to keep all my scissors, markers, and random tools in one easy access place.  Plus, this holder is mobile!


Overall, I am satisfied with my crafting area.  However, there are a few things that I want to improve in the near future.  I've filled my Pinterest board with crafting room inspiration.  I see a trip to Ikea in my future!

tags: Organization
categories: Craft Supplies
Friday 05.02.14
Posted by Tobe Buffenbarger
 

Archives: Cards #22

Originally published on April 28th, 2013

A great stamp club meeting on Monday.  I love doing homework every month. It's great to see how everyone else interprets the sketch.  I got some great ideas from the others.  We also made three great cards.  I kept seeing negative cards, but no one had an instruction page.  I learned the secret: versa mark ink, glossy paper, and a brayer!  I can't wait to try it out myself.


I also did a bit more scrapbooking.  Finished summer 2012 for the family album.  Now I need to do summer 2012 for the boys' albums. I already have the pictures printed, I just need to actually scrap them into pages. I've decided to keep with my method until October, when I will switch to Project Life.  I think it will be a time saver.  Plus I really love their simplistic layouts and options for styles.  I put a baby themed one on the Amazon baby registry.  And I plan on buying a general one for the family album.  Can't wait to get started!

tags: A Round Array, Blooming with Kindness, International Bazaar DSP, Mixed Bunch
categories: Birthday Cards, Craft Supplies, Misc- Cards, Thank You
Sunday 04.27.14
Posted by Tobe Buffenbarger
 

Archives: Cards #16

Originally published on February 3rd, 2013

I went a bit crazy this week and crafted a ton of cards.  Instead of cluttering up this post, I made a separate post yesterday to show off my creations.  As to general crafting, we had our first Stampin' Up Club meeting this past Monday.  It's Sale-a-Bration, so of course I had to spend $50 to get my free product.  Here are my goodies:

  • Versamark (for my new embossing heat tool)
  • Pewter embossing powder
  • Small butterfly punch (coordinates with both stamp sets
  • Papillion Potpourri
  • Bloomin Marvelous (Sale-a-Bration pick)
  • Print Poetry DSP (lots of fun designs)
 

And of course I had some cute cards to show from Stamp Club and Card Class.


tags: Bloomin' Marvelous, Itty Bitty Banners, Mother's Day, Papillon Potpurri, Print Poetry DSP
categories: Baby/Wedding/Anniversa..., Craft Supplies, Misc- Cards, No Sentiment, Other Holiday Cards
Saturday 04.26.14
Posted by Tobe Buffenbarger
 
Newer / Older

Powered by Squarespace.